The electric clutch serves 2 functions in the operation
of the mower:
• Starting and stopping the power flow to the cutter
blades.
• The clutch also acts as a brake to assist in stopping
blade rotation when the PTO is switched off or the
operator presence control is interrupted.
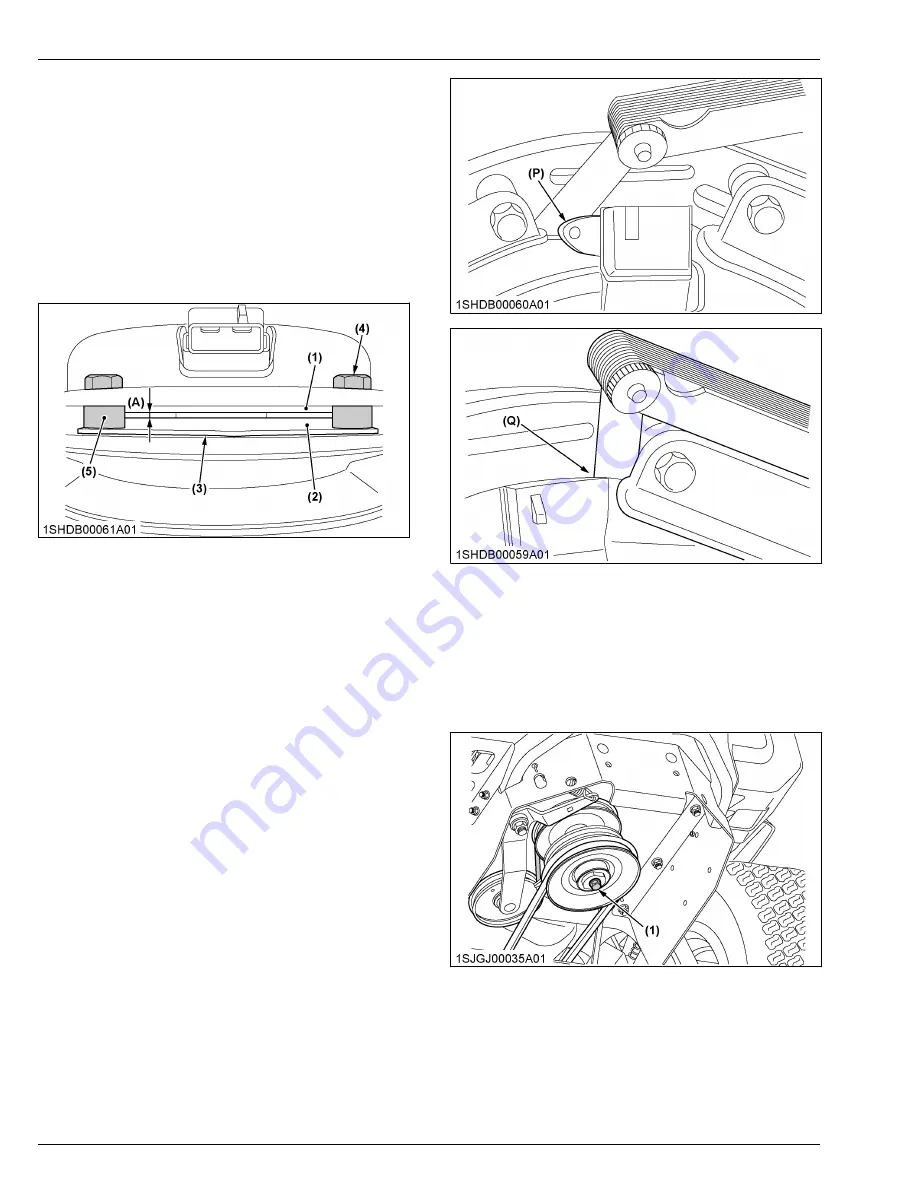
When the clutch is disengaged, the air gap between the
armature and rotor should be less than 2.5 mm
(0.100 in.) and more than 0.25 mm (0.010 in.). Perform
the following procedure to check the electric clutch
function.
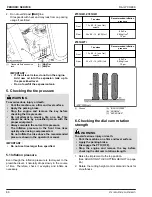
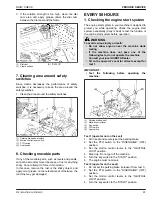
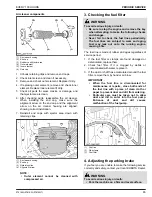
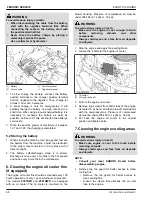
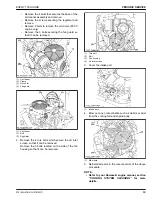
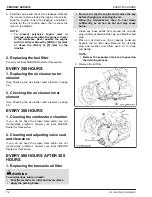
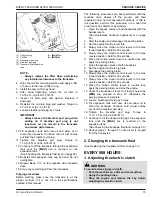
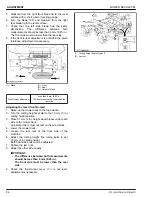
(1) Rotor
(2) Armature
(3) Shim
(4) Brake mounting bolt
(5) Aluminum spacers
(A) Air gap
1. Using a pneumatic line, blow out any debris from
under the brake pole and around the aluminum
spacers.
2. Check air gap between rotor and armature face on
both sides of the brake pole. If air gap is 2.5 mm
(0.100 in.) or greater, or if clutch is having trouble
engaging when hot, proceed to step 3. Otherwise,
skip to step 9.
3. Loosen both brake mounting bolts 1 full turn.
4. Use pliers or hand to remove the shim. Do not
discard shim until proper clutch function has been
confirmed.
5. Using a pneumatic line, blow out any debris from
under the brake pole and around the aluminum
spacers.
6. Tighten each brake mounting bolt. Torque to
13-14.2 N
⋅
m (9.5-10.5 lbf
⋅
ft).
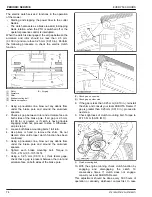
7. Using a 0.25 mm (0.010 in.) thick feeler gage,
check that a gap is present between the rotor and
armature face on both sides of the brake pole.
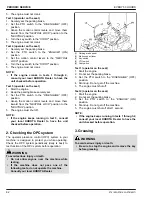
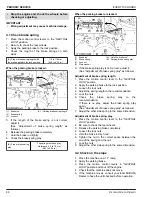
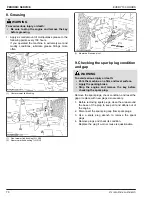
(P) Check gap on one side
(Q) Check gap on other side
8. If the gap is less than 0.25 mm (0.010 in.), reinstall
the shim and consult your local KUBOTA Dealer. If
gap is greater than 0.25 mm (0.010 in.), proceed to
next step.
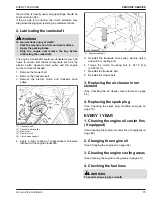
9. Check tightness of clutch mounting bolt. Torque to
67-75 N
⋅
m (50-55 lbf
⋅
ft).
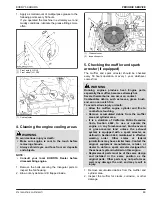
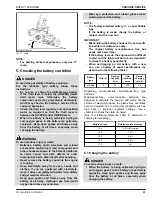
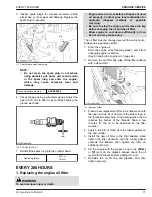
(1) Clutch mounting bolt
10. With the engine running, check clutch function by
engaging and disengaging the clutch 10
consecutive times. If clutch does not engage,
consult your local KUBOTA Dealer.
This adjustment should be done every 500 hours of
operation or annually, whichever comes first. In case
PERIODIC SERVICE
EVERY 500 HOURS
74
Z751KWi,Z781KWi,Z781KWTi
Summary of Contents for Z751KWi
Page 3: ...OPERATOR S MANUAL 1SJGJ00001A01 READ AND SAVE THIS MANUAL MODELS Z751KWi Z781KWi Z781KWTi ...
Page 15: ...SAFETY LABELS SAFE OPERATION 10 Z751KWi Z781KWi Z781KWTi ...
Page 16: ...SAFE OPERATION Z751KWi Z781KWi Z781KWTi 11 ...
Page 17: ...SAFE OPERATION 12 Z751KWi Z781KWi Z781KWTi ...
Page 18: ...SAFE OPERATION Z751KWi Z781KWi Z781KWTi 13 ...
Page 19: ...SAFE OPERATION 14 Z751KWi Z781KWi Z781KWTi ...
Page 21: ...16 Z751KWi Z781KWi Z781KWTi ...

