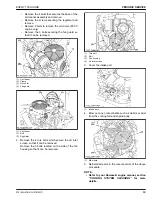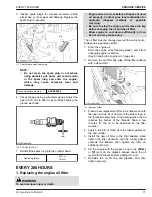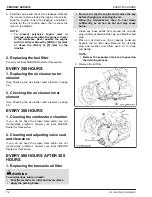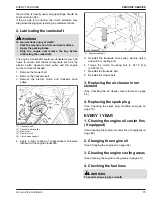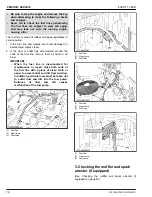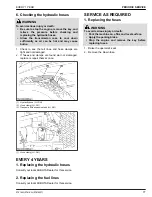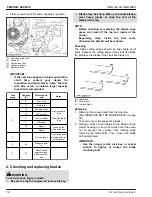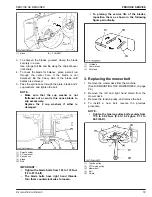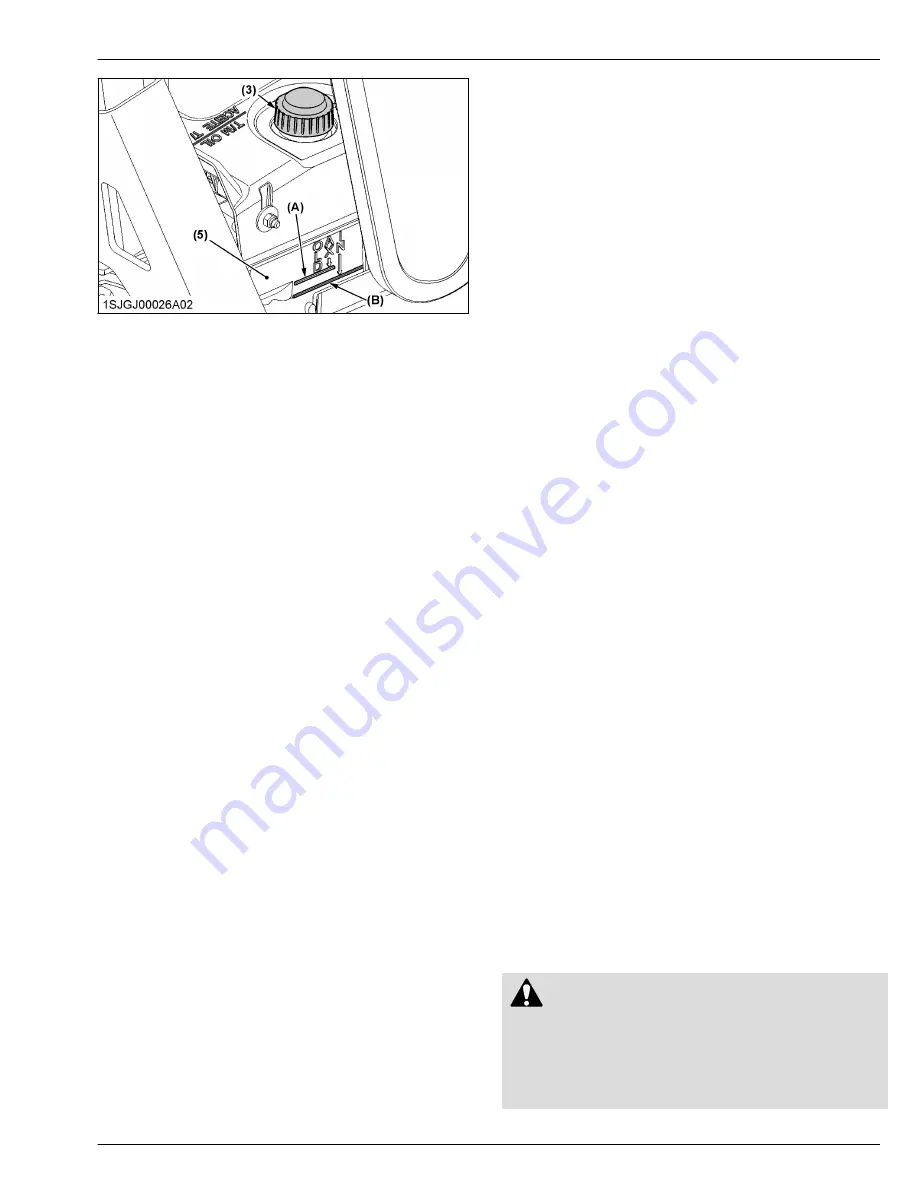
(1) Oil drain plug
(2) Oil filter
(3) Expansion tank cap
(4) Breather port plug
(5) Transaxle fluid expansion
tank
(A) [MAX] line
(B) [MIN] line
NOTE :
• Always replace the filter when performing
any internal maintenance to the transaxle.
4. Wipe the oil filter mounting surface and apply a film
of new oil to the new oil filter o-ring.
5. Install the new oil filter by hand.
6. After hand tightening, torque the oil filter to
13-15.2 N
⋅
m (9.60-11.2 lbf
⋅
ft).
7. Inspect oil drain plug and washer. Replace if
damaged.
8. Reinstall the oil drain plug and washer. Torque to
5.7-8.4 N
⋅
m (4.2-6.1 lbf
⋅
ft).
9. Loosen breather port plug by 3 turns.
IMPORTANT :
• Always loosen the breather port plug when
adding oil. If breather port plug is not
loosened, air can remain in the transaxle
and reduce performance.
10. Fill expansion tank with new oil and allow oil to
drain into transaxle. Continue until oil just comes
out from the breather port plug.
11. Tighten the breather port plug. Torque to
11.3-13.5 N
⋅
m (8.34-9.95 lbf
⋅
ft).
12. Continue to fill the transaxle through the expansion
tank until the
[MAX]
line is reached on the
expansion tank.
(See Checking the transaxle fluid level on page 59.)
13. Reinstall the expansion tank cap by hand. Do not
overtighten.
14. Repeat steps 1-13 on the opposite side transaxle
drive.
15. Purge any remaining air from the transaxles.
Purging procedures
Before starting, make sure the transaxle is at the
proper oil level. If it is not, fill to the specifications
outlined in this manual.
The following procedures are best performed with the
machine drive wheels off the ground, and then
repeated under normal operating conditions. If this is
not possible, perform this procedure in an open flat
area free of any objects or bystanders.
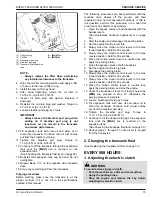
1. Open the bypass valves of both transaxles with the
bypass levers.
(See Hydrostatic transaxle bypass lever on page
45.)
2. Start the engine and disengage the parking brake.
3. Set the engine throttle to low idle.
4. Slowly move the motion control levers to the max
forward position. Hold for 30 seconds.
5. Slowly move the motion control levers to the max
reverse position. Hold for 30 seconds.
6. Place the motion control levers in neutral lock and
apply the parking brake.
7. Close the bypass valves of both transaxles.
8. Set the engine throttle to high idle.
9. Disengage the parking brake.
10. Slowly move the motion control levers to the max
forward position. Hold for 30 seconds.
11. Slowly move the motion control levers to the max
reverse position. Hold for 30 seconds.
12. Place the motion control levers in neutral lock,
apply the parking brake, and stop the engine.
13. Check the transaxle oil level. If oil level is below the
[MIN]
line, proceed to step 14. Otherwise, the
purging process is complete.
14. Loosen breather port plug by 3 turns.
15. Fill expansion tank with new oil and allow oil to
drain into transaxle. Continue until oil just comes
out from the breather port plug.
16. Tighten the breather port plug. Torque to
11.3-13.5 N
⋅
m (8.34-9.95 lbf
⋅
ft).
17. Continue to fill the transaxle through the expansion
tank until the
[MAX]
line is reached on the
expansion tank.
(See Checking the transaxle fluid level on page 59.)
18. Repeat steps 1 through 13 until all air is purged
from the transaxles.
2. Changing the transaxle fluid
(See Replacing the transaxle oil filter on page 72.)
EVERY 500 HOURS
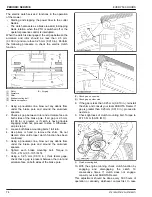
1. Adjusting the electric clutch
WARNING
To avoid serious injury or death:
• Park the machine on a firm and level surface.
• Apply the parking brake.
• Stop the engine and remove the key before
adjusting the electric clutch.
EVERY 500 HOURS AFTER 300 HOURS
PERIODIC SERVICE
Z751KWi,Z781KWi,Z781KWTi
73
Summary of Contents for Z751KWi
Page 3: ...OPERATOR S MANUAL 1SJGJ00001A01 READ AND SAVE THIS MANUAL MODELS Z751KWi Z781KWi Z781KWTi ...
Page 15: ...SAFETY LABELS SAFE OPERATION 10 Z751KWi Z781KWi Z781KWTi ...
Page 16: ...SAFE OPERATION Z751KWi Z781KWi Z781KWTi 11 ...
Page 17: ...SAFE OPERATION 12 Z751KWi Z781KWi Z781KWTi ...
Page 18: ...SAFE OPERATION Z751KWi Z781KWi Z781KWTi 13 ...
Page 19: ...SAFE OPERATION 14 Z751KWi Z781KWi Z781KWTi ...
Page 21: ...16 Z751KWi Z781KWi Z781KWTi ...

