


9 Installation
6.
Acknowledge the calibration result by pressing the
OK
button.
9.8.6 Device Geometry Calibration
NOTICE!
This calibration produces X-rays. Protect yourself from radiation.
NOTICE!
This calibration is iterative and may need to be run a couple of times
before it passes.
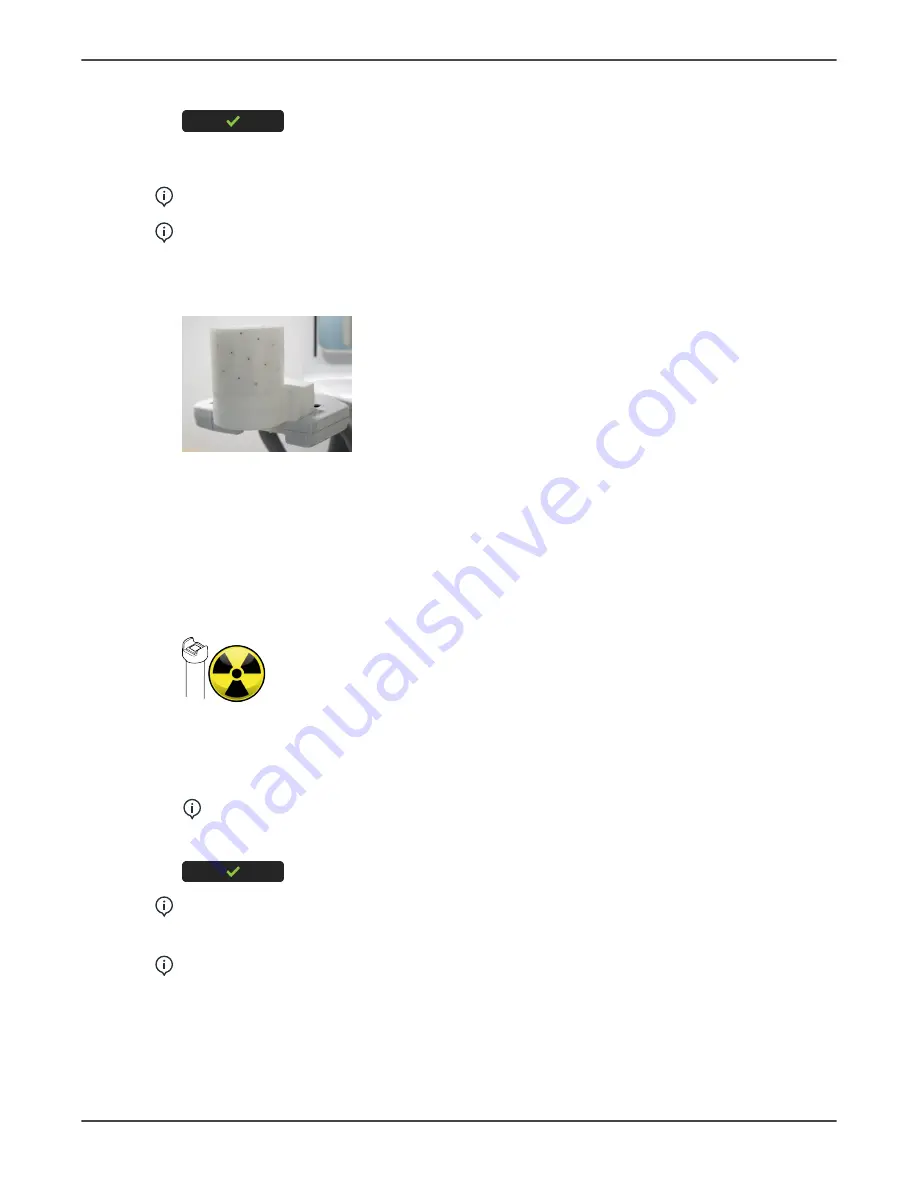
3D Geometry Calibration Phantom is required when performing this calibration.
1.
Attach the 3D Geometry Calibration Phantom to the device.
2.
Select
Device Geometry Calibration
from Calibrations menu.
3.
All patient positioning lights come on. Check that the lights hit the grooves on the
phantom to ensure that the positioning lights are correctly aligned. If the lights do
not hit the grooves, they need to be re-aligned. See chapter
Patient positioning light
adjustment
.
4.
Protect yourself from radiation
5.
Press and hold down the exposure button to take the calibration image.
6.
When the exposure warning stops and the program end tone is played, the program
is complete.
7.
The calibration results appear on the GUI.
NOTICE!
This may take several minutes.
8.
Acknowledge the calibration by pressing the
OK
button.
NOTICE!
If the device geometry calibration fails and the GUI informs you
to adjust the height of the sensor. See chapter
Sensor adjustment
for more
information.
NOTICE!
Repeat the 3D Pixel Calibration if any mechanical adjustment was
needed.
76
ORTHOPANTOMOGRAPH
™
OP 3D


