Model Description
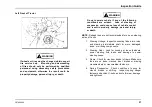
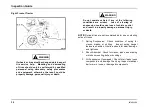
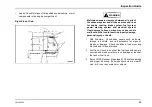
WARNING
To prevent personal injury or death, never put
any part of your body beneath a raised hood
unless the hood is all the way forward in its range
of motion and is fully settled in the over center
position.
CAUTION
To prevent damage to the windshield wipers,
return them to their normal position before
opening or closing hood.
CAUTION
Follow this procedure to prevent damage to the
hood and/or painted surfaces.
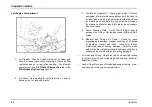
NOTE: To avoid pinching, do not lift or lower the hood from the
side.
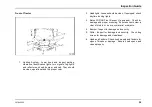
1.
Before opening the hood make sure that there is enough
room in front of the vehicle for the hood to open completely
without pinning or pinching yourself between the hood and
any other structures.
2.
Release the latches on both sides of the cowl.
3.
With both feet firmly on the ground, grasp the hood handle
and pull the hood forward over center and allow it to settle
into the raised position.
4.
Make certain that the hood restraining shock is fully
extended before releasing hood.
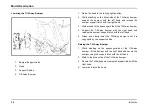
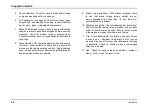
Lowering the Hood
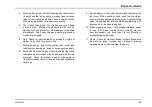
1.
Make sure that the hood has no tools, parts, or people in its
path of motion.
2.
Place both hands on the top edge of the grille and push the
hood backward over center and allow it to settle into lowered
position.
3.
Engage hood latches at both sides of cowl.
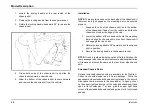
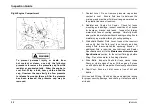
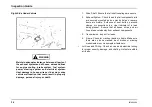
Tilt-Away Bumper
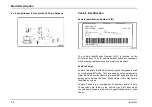
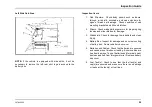
To avoid injury, a decal is attached to the top on each side of the
bumper to identify the location not to place hands when raising
and lowering the tilt-away bumper.
3878859R2
19
Summary of Contents for ProStar+ Eagle Series.
Page 4: ...Operator s Manual ProStar Series Printed in the United States of America 3878859R2 ...
Page 12: ...Table of Contents Section 10 Index Index 235 viii 3878859R2 ...
Page 26: ...Model Description Exterior Components 14 3878859R2 ...
Page 28: ...Model Description 16 3878859R2 ...
Page 59: ...Controls Features 3878859R2 47 ...
Page 70: ...Controls Features Declination Zone Map 58 3878859R2 ...
Page 93: ...Controls Features Center Dash Panel Wing Panel 3878859R2 81 ...
Page 128: ...Sleeper Features 116 3878859R2 ...
Page 182: ...Operation 170 3878859R2 ...
Page 241: ...Maintenance Intervals and Specifications Typical Interior Fuse Panel Layout 3878859R2 229 ...
Page 262: ...Index 250 3878859R2 ...

