


Virtual SVV™ Instructions for Use - EN
Page 17
4
Operational instructions
System startup
Enabling and disabling the Virtual SVV™ system
To enable the Virtual SVV™ system press the OK button on the handheld remote for approximately 2
seconds until the green ON LED indicator begins to blink, then release the button. The system initiates
after a further 3 seconds and the green ON LED ceases to blink and remains illuminated.
To disable the Virtual SVV™ system, press the two buttons
and
simultaneously for approximately
five seconds until the green ON LED extinguishes.
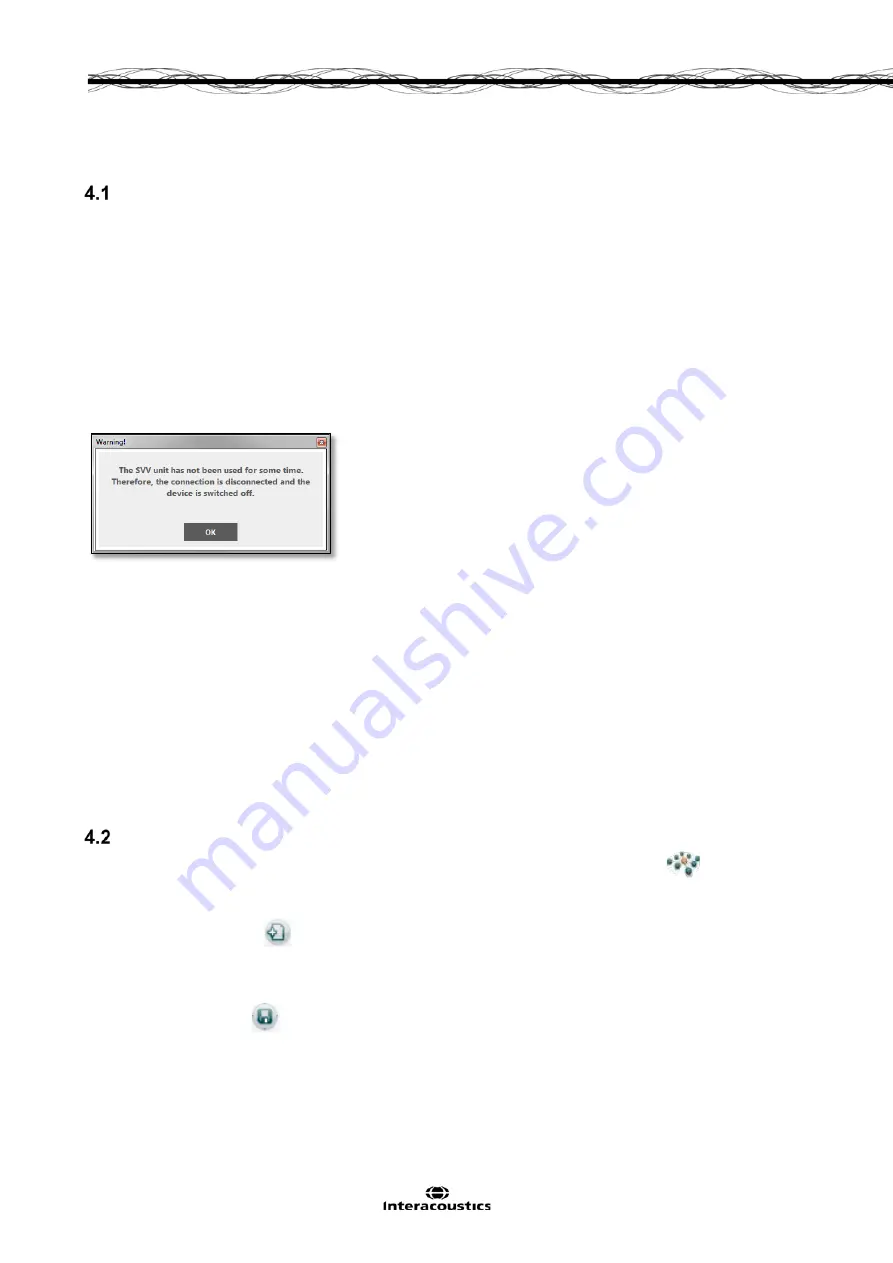
If the Virtual SVV™ system is not disabled manually, the handheld remote includes an internal timer that
is programmed to disable the system automatically after a predetermined interval. The standard factory-
set interval is 10 minutes. This interval can be set under the Preferences tab of the application software to
a value up to 30 minutes. The application software notifies the operator of automatic disabling of the
system with the following message box:
Figure 4-1 Message indicating automatic system disable after prolonged inactivity
The device can be re-enabled by pressing the OK button until the green ON LED lights up again.
NOTICE
To avoid total discharge and possible damage to the batteries the Virtual SVV™ device will also disable
automatically when the battery voltage reduces to a critical level. This condition is signaled to the operator
by the application software. If this occurs, the handheld remote must be recharged in the base station
cradle.
Once enabled, from the Windows
®
desktop, click or touch the OtoAccess
TM
database icon to launch
OtoAccess.
Entering patient information
From the Windows
®
desktop, tap the OtoAccess
TM
database icon to launch OtoAccess.
The
database will be populated with a list of all patients previously entered, which will be shown in the grid at
the bottom of the screen.
Select the New Client icon
to create a new client record. The fields marked with a red dot indicate
the fields that are mandatory. These include the patient’s first and last name, birth date, and person ID.
Enter the patient information and use the mouse or [Tab] key and [Shift] + [Tab] combination to move
between fields.
Tap the Save Client icon
to save the information to the OtoAccess
TM
database.
Summary of Contents for Virtual SVV
Page 1: ...Instructions for Use Virtual SVV D 0116067 A 2017 09 EN USA DA DE ES IT FR NO SV...
Page 26: ...Virtual SVV Instructions for Use EN Page 22...
Page 34: ...Virtual SVV Instructions for Use EN Page 30...
Page 40: ...Virtual SVV Instructions for Use EN Page 36...
Page 49: ...Instructions for Use US Virtual SVV D 0116071 A 2017 09...
Page 74: ...Virtual SVV Instructions for Use Page 22...
Page 82: ...Virtual SVV Instructions for Use US Page 30...
Page 88: ...Virtual SVV Instructions for Use US Page 36...
Page 97: ...Brugsanvisning DA Virtual SVV D 0116072 A 2017 09...
Page 122: ...Brugsanvisning til Virtual SVV DA Side22...
Page 130: ...Brugsanvisning til Virtual SVV DA Side30...
Page 136: ...Brugsanvisning til Virtual SVV DA Side36...
Page 145: ...Bedienungsanleitung DE Virtual SVV D 0116073 A 2017 09...
Page 170: ...Gebrauchsanweisung Virtual SVV DE Seite22...
Page 178: ...Gebrauchsanweisung Virtual SVV DE Seite30...
Page 195: ...Manual de instrucciones ES Virtual SVV D 0116074 A 2017 09...
Page 220: ...Manual de instrucciones de Virtual SVV ES P gina 22...
Page 243: ...Istruzioni per l uso IT Virtual SVV D 0116075 A 2017 09...
Page 268: ...Istruzioni per l uso di Virtual SVV IT Pagina 22...
Page 276: ...Istruzioni per l uso di Virtual SVV IT Pagina 30...
Page 292: ...Instructions d utilisation FR Virtual SVV D 0116077 A 2017 09...
Page 317: ...Virtual SVV Instructions d utilisation FR Page 22...
Page 325: ...Virtual SVV Instructions d utilisation FR Page 30...
Page 341: ...Bruksanvisning NO Virtual SVV D 0116078 A 2017 09...
Page 344: ...6 STELL OG VEDLIKEHOLD 31 7 FEILS KING 37 8 GENERELLE TEKNISKE SPESIFIKASJONER 39...
Page 366: ...Bruksanvisning for Virtual SVV NO Side 22...
Page 374: ...Bruksanvisning for Virtual SVV NO Side 30...
Page 380: ...Bruksanvisning for Virtual SVV NO Side 36...
Page 389: ...Bruksanvisning SV Virtual SVV D 0116081 A 2017 09...
Page 414: ...Virtual SVV Bruksanvisning SV Sida 22...
Page 422: ...Virtual SVV Bruksanvisning SV Sida 30...