NOTE:
You can use the L&TT diagnostic utility to perform diagnostic functions for the
library. L&TT is a diagnostic tool designed to aid in the installation and maintenance of
Hewlett Packard Enterprise tape storage products. L&TT includes several features designed
for use by both storage customers and trained service personnel. Hewlett Packard Enterprise
updates L&TT periodically with new diagnostic features and device support. When using
L&TT for troubleshooting, download and update to the current version. You can verify that
you are using the latest version and download L&TT without cost from the L&TT website:
http://www.hpe.com/support/TapeTools
Installing a new tape drive
The tape libraries support LTO Ultrium tape drives. The MSL2024 tape library can support one
full-height tape drive or up to two half-height tape drives. The MSL4048 tape library can support
up to two full-height drives or up to four half-height drives. The MSL8048 and MSL8096 can
support up to four tape drives.
To add a tape drive:
1.
Locate the next vacant drive bay on the back of the library, which should be directly above
the currently installed drives. If this is the first tape drive in the library, install the first tape
drive in the bottom drive bay. The MSL8048 and MSL8096 only have drive connectors at
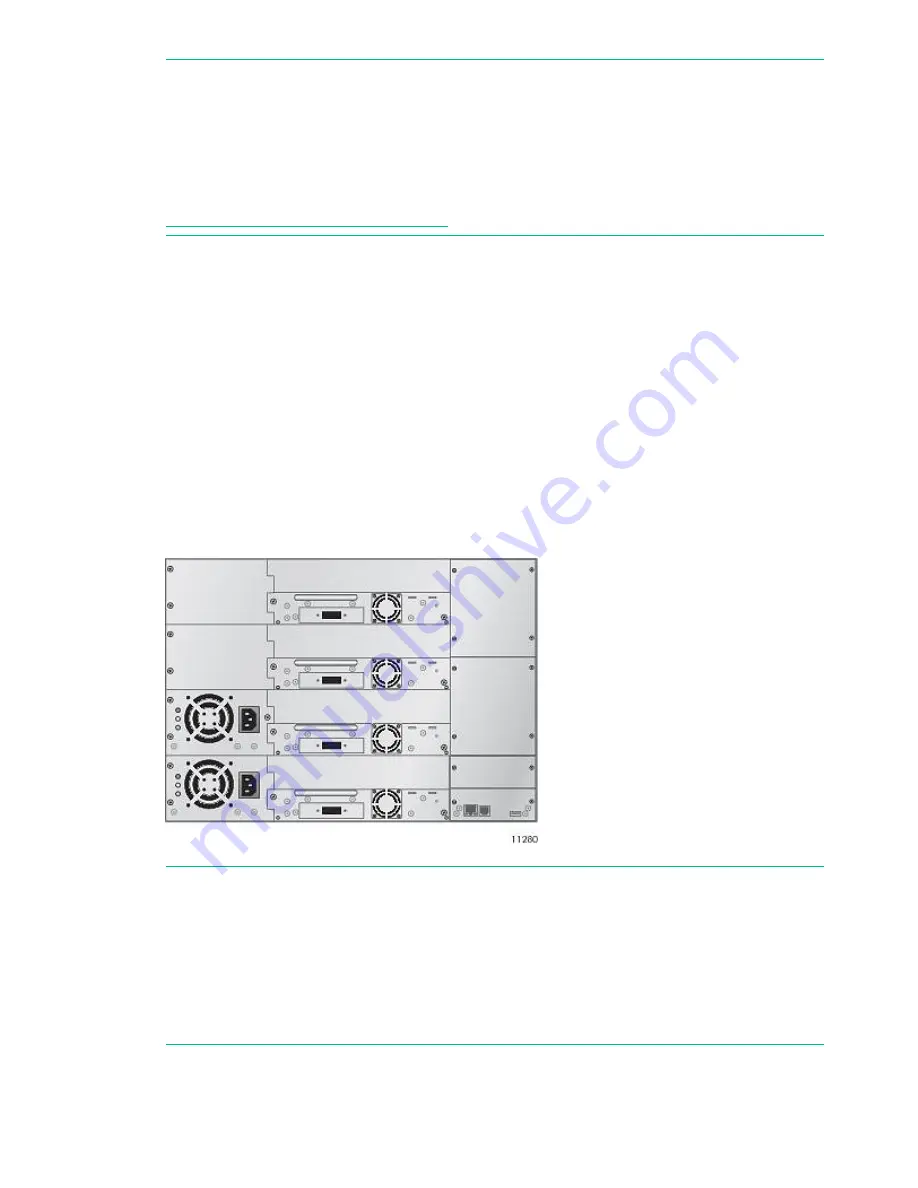
the locations of the full-height drives, so you must leave a half-height space above a
half-height drive, as shown in
“MSL8048 and MSL8096 half-height drive bay locations”
(page 186)
.
Figure 90 MSL8048 and MSL8096 half-height drive bay locations
NOTE:
Tape drives are numbered from the bottom of the library up starting with 1. If you
leave a space and later add a drive in the space, the new drive will be assigned the next
available number, leaving the drives numbered out of order. If the settings are restored to
the factory defaults or the library is power-cycled, the drives will be renumbered and you
might need to update the configuration of your backup software.
NOTE:
The MSL4048 library will not operate with a full-height tape drive installed in the
second and third half-height drive bays. Install a full-height tape drive either in the bottom
two drive bays or the top two drive bays.
Remove the face plate covering the drive bay by removing the screws holding it in place.
Remove one drive bay cover to install a half-height tape drive; remove two drive bay covers
to install a full-height tape drive.
186
Upgrading and servicing the tape library


