DC SAN Backbone Director hardware reference guide
79
Removing a power supply
To remove a power supply:
CAUTION:
Wear a grounded ESD strap when handling DC Director components. The Director chassis provides a
grounding connection above the power connectors. Also,
store ESD-sensitive components in antistatic
packaging.
1.
If the DC Director is not operating during the replacement procedure, go to step
step 2
.
If the DC Director is going to continue operating during the replacement, check the power LEDs to
verify that the minimum number of power supplies is functioning. A fully populated DC Director requires
a minimum of one power supply
slot at all times to ensure power to the DC Director.
2.
Loosen the thumb screw.
3.
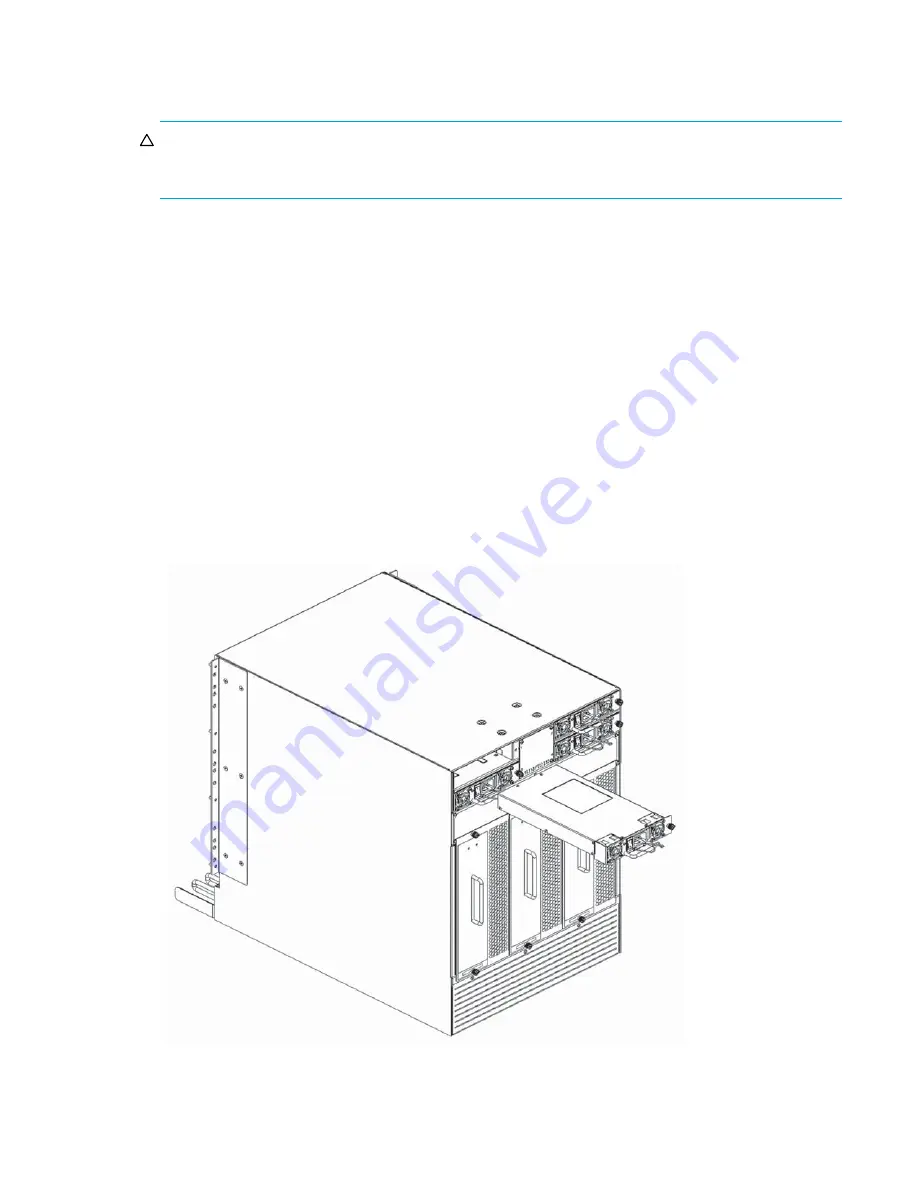
Pull the handle out and down (see
Figure 32
).
4.
Support the power supply from beneath. Use the handle to remove the power supply out of the chassis.
5.
If you are not replacing the power supply, insert a filler panel into the slot.
Replacing a power supply
To replace a power supply:
1.
Remove any filler panel.
2.
Insert the power supply into the slot and push the handle up. Verify that the power supply is seated by
gently pulling on the handle (see
Figure 32
)
.
3.
Tighten the thumb screw.
4.
Verify that the power LED on the power supply
displays a steady green light.
Figure 32
Power supply
26398a
Summary of Contents for A7990A - StorageWorks SAN Director 4/16 Blade Switch
Page 8: ...8 ...
Page 62: ...62 Monitor system components ...
Page 100: ...100 Installing Field replaceable units FRUs ...
Page 122: ...122 Intelligent blades ...
Page 132: ...132 Regulatory compliance and safety notices ...
Page 134: ...134 Port numbering templates 26390a ...
Page 135: ...DC SAN Backbone Director hardware reference guide 135 26389a ...
Page 136: ...136 Port numbering templates 26388a ...
Page 140: ...140 Port numbering templates ...


