


S7999B SYSTEM DISPLAY
65-0283—2
50
Add Curve
To add a new profile curve, select the “Add” button and an
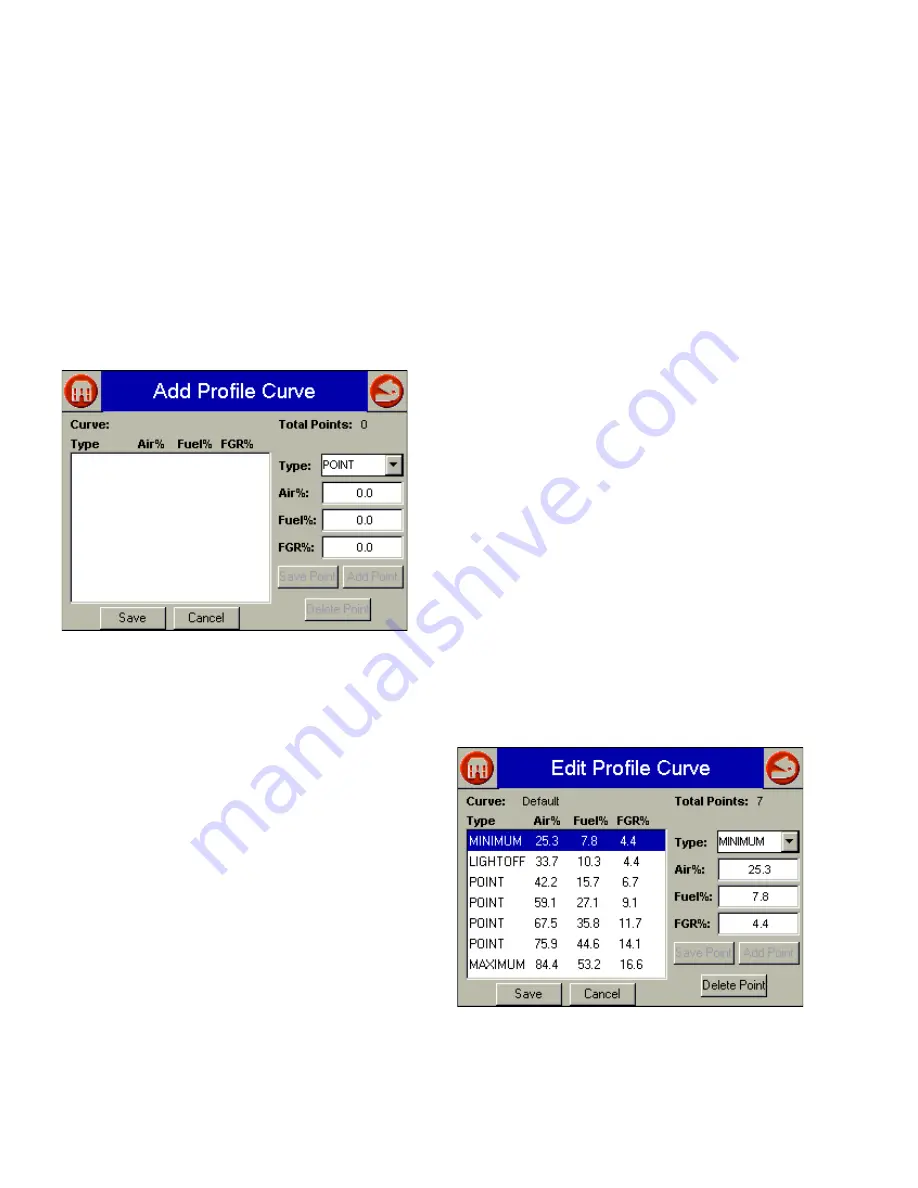
Add Profile Curve page displays (Fig. 105). For each point in
the curve, perform the following sequence:
• Select the point type drop down list to choose the
appropriate point type.
• Select the Air% text box and adjust the open percentage
for the air actuator (Fig. 106).
• Select the Fuel% text box and adjust the open percentage
for the fuel actuator.
• Select the FGR% text box and adjust the open percentage
for the FGR actuator (if applicable).
• Select the “Add Point” button.
Fig. 105. Add Profile Curve.
As each point is created, the point is added to the list box on
the left side of the screen. Up to 24 points can be added to the
curve. To edit or delete a point, select the point in the list box,
and the right side of the screen updates with the settings of
that point. Change any of these settings and select the “Save
Point” button to accept the changes or select the “Delete
Point” button to remove the point from the profile curve (the
list box on the left side of the screen updates itself with the
new settings).
NOTE: To create a profile curve with no FGR, enter zero for
all FGR values when adding/changing points.
Attempting to load a profile curve that has FGR
actuator points into an R7999 that does not have an
FGR actuator will result in loading just the Fuel/Air
curve. Attempting to load a profile curve that has no
FGR actuator points into an R7999 that has an FGR
actuator will result in no points being loaded or a
curve with the FGR line flat on the bottom of the
graph.
To save the new curve to the S7999B flash, select the “Save”
button. A keyboard window displays, asking the user to enter
a name to associate with this curve. This curve is referenced
by the entered name thereafter. After the name is entered, the
original Add Profile Curve page displays again as it saves the
curve to flash.
NOTE: Prior to saving the curve, the points are validated for
some obvious errors before allowing the curve to be
saved. If any errors exist, a dialog box displays with
the type of error. The user must correct the error
before the curve will be saved.
To not save the curve, the “Cancel” button can be selected,
causing none of the user input to be saved.
Control returns back to the primary page for Offline Curve
Building (Fig. 104) after the “Save” or “Cancel” buttons are
selected.
Edit Curve
To edit a profile curve, select the curve in the list on the left
side of the screen (Fig. 104) and select the “Edit” button. An
Edit Profile Curve page (Fig. 106) displays. To edit the curve
settings, perform the following sequence for each point that
needs to be changed:
• Select the point you wish to change in the point list on the
left side of the screen.
• Change the point type, if needed.
• If the point’s position need to be changed, select the Air%,
Fuel% or FGR% text box that needs to change. An edit
value dialog box displays (Fig. 107).
• Adjust the open% value.
• Select the “OK” button to accept the new value.
• Select the “Save Point” button to accept the new settings
for this point.
As each point is saved, the point list on the left is updated with
the changes. Failure to select the “Save Point” button will not
commit any changes for that point, and the changes will be
lost when exiting the page.
Fig. 106. Edit Profile Curve.


