
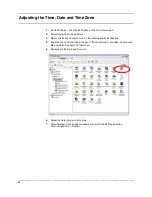


________________________________________________________________________________________________________
Document 800-05305 Rev A
93
11/09
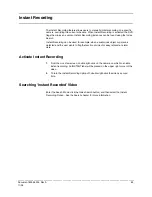
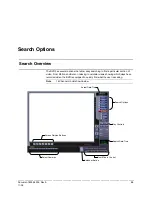
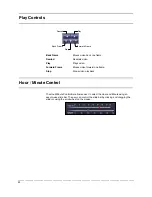
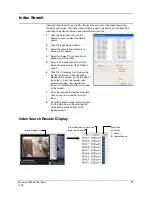
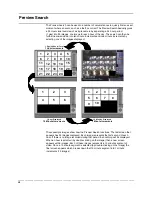
Performing a Basic Search
There are several different types of searches that can be performed on the DVR. The
most basic involves selecting the date, the time, the camera, and clicking play.
1.
Click the Calendar button to select a date.
2.
Select a time by adjusting the hour and minute slide bars.
3.
Select one or more cameras.
4.
Click Play. Video can be played forwards, backwards, or frame-by-frame.
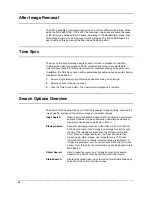
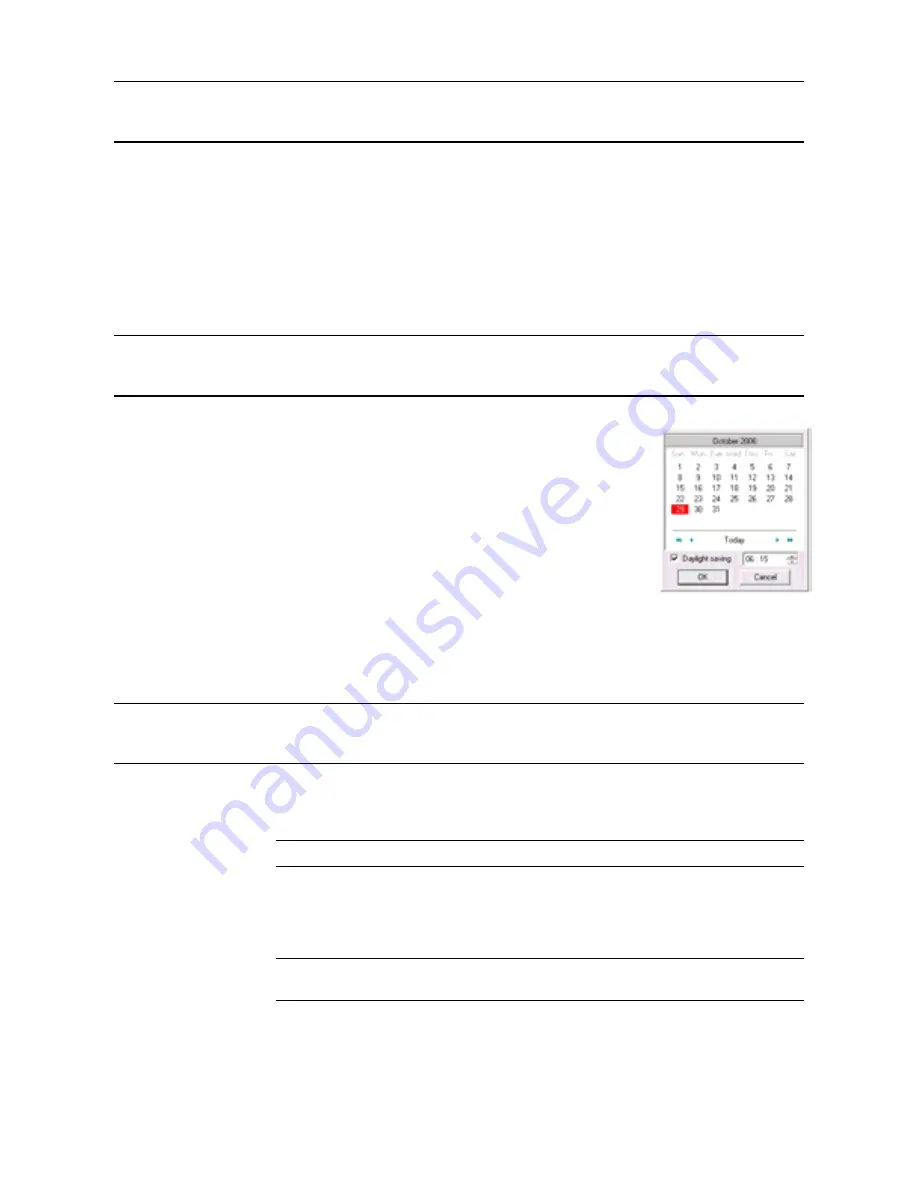
Daylight Saving Time
The DVR automatically adjusts for Daylight Saving Time
changes. When the hour “jumps forward” no video is lost
because an hour is skipped. However when the hour “falls
back” there is a duplicated hour that under normal
circumstances would be recorded over. The DVR records
both hours and allows the user to select which hour to play
if necessary. To access the ‘lost hour.’
1.
From the Search Display, select the Calendar button.
2.
Select the last day of Daylights Saving time. The
Daylight Saving option appears.
3.
Select the Daylight Saving check box.
4.
Click OK to confirm the date and begin playing the video using standard search
features.
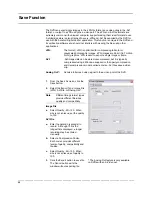
Printing an Image
The DVR can print a recorded image to a local or network printer.
1.
From the Search screen, stop on the image to print. Double-click the image.
Note
Only one camera can be selected at a time for this function to work.
2.
Click on the Print button. A Print Options Window appears. Depending on the
printer being used, there may be several printing options available. Refer to the
printer manual for more information.
3.
Click the Print button to print the selected images.
Note
The message “NO DEFAULT PRINTERS INSTALLED” will display if no
printer is installed.
Summary of Contents for Fusion IV
Page 146: ......