●
Shutdown 2-11
5
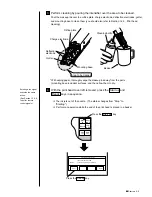
Install the print head cover.
6
Press the power ON/OFF switch to turn OFF the power.
4
If the print head cover is dirty, apply the makeup ink and clean it.
* 1 Clean the portion which became dirty with a splatter on printing or a
splash on ejecting the ink.
* 2 After cleaning, wipe away the makeup ink by using wiping paper.
When wiping the inside of the cover, wipe it by holding the wiping
paper with tweezers.
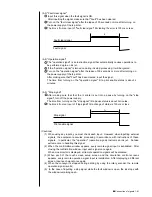
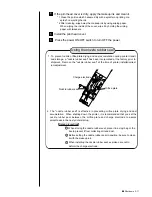
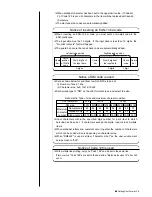
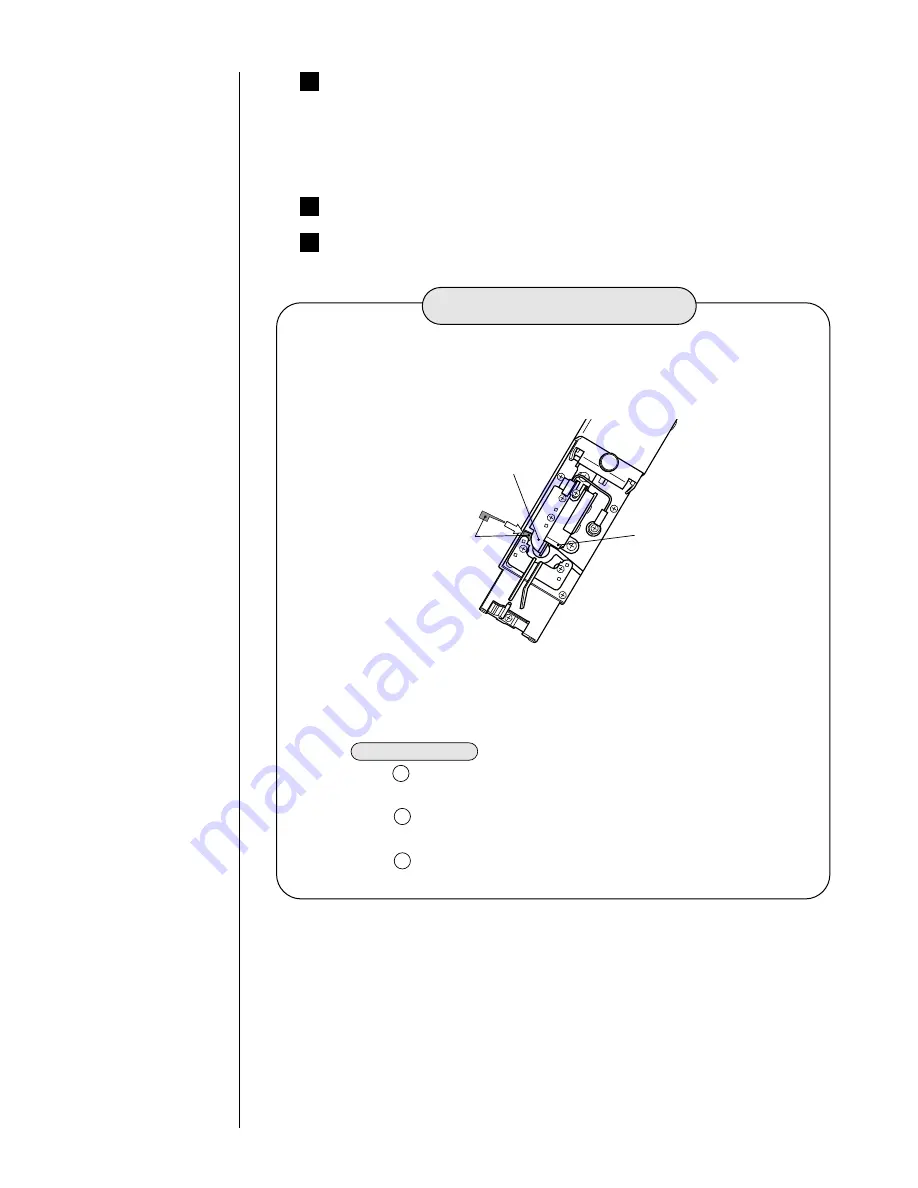
2. The "nozzle rubber seal" is effective in preventing orifice plate drying and dust
accumulation. When shutting down the printer, it is recommended that you set the
nozzle rubber seal between the orifice plate and charge electrode to assure
smoothness in the next printer startup.
Usage precautions
1 When storing the nozzle rubber seal, place it in a vinyl bag or the
like to prevent it from collecting dirt and dust.
2 Before setting the nozzle rubber seal in position, be sure to clean
it with the makeup ink.
3 When installing the nozzle rubber seal, exercise care not to
deform the charge electrode.
1. To prevent nozzle orifice plate drying and dust accumulation during printer transit
and storage, a "nozzle rubber seal" has been incorporated at the factory prior to
shipment. Remove the "nozzle rubber seal" at the time of printer installation/test
run/adjustment.
Charge electrode
Orifice plate
Nozzle rubber seal
Using the nozzle rubber seal
Summary of Contents for PXR-D
Page 319: ...3S23L1307 3B PXR D E7 HEC ...

