2-26
Chapter 2: Label Design
Changing Items in the Label Design
The
Edit
menu contains the usual commands for cut and paste and some other facilities. Most edit commands are
also available on the main tool bar. The right mouse button will bring up a shortcut menu with some edit commands.
To use the edit commands, like cut and copy, the label design must have a selection.
Select an Item
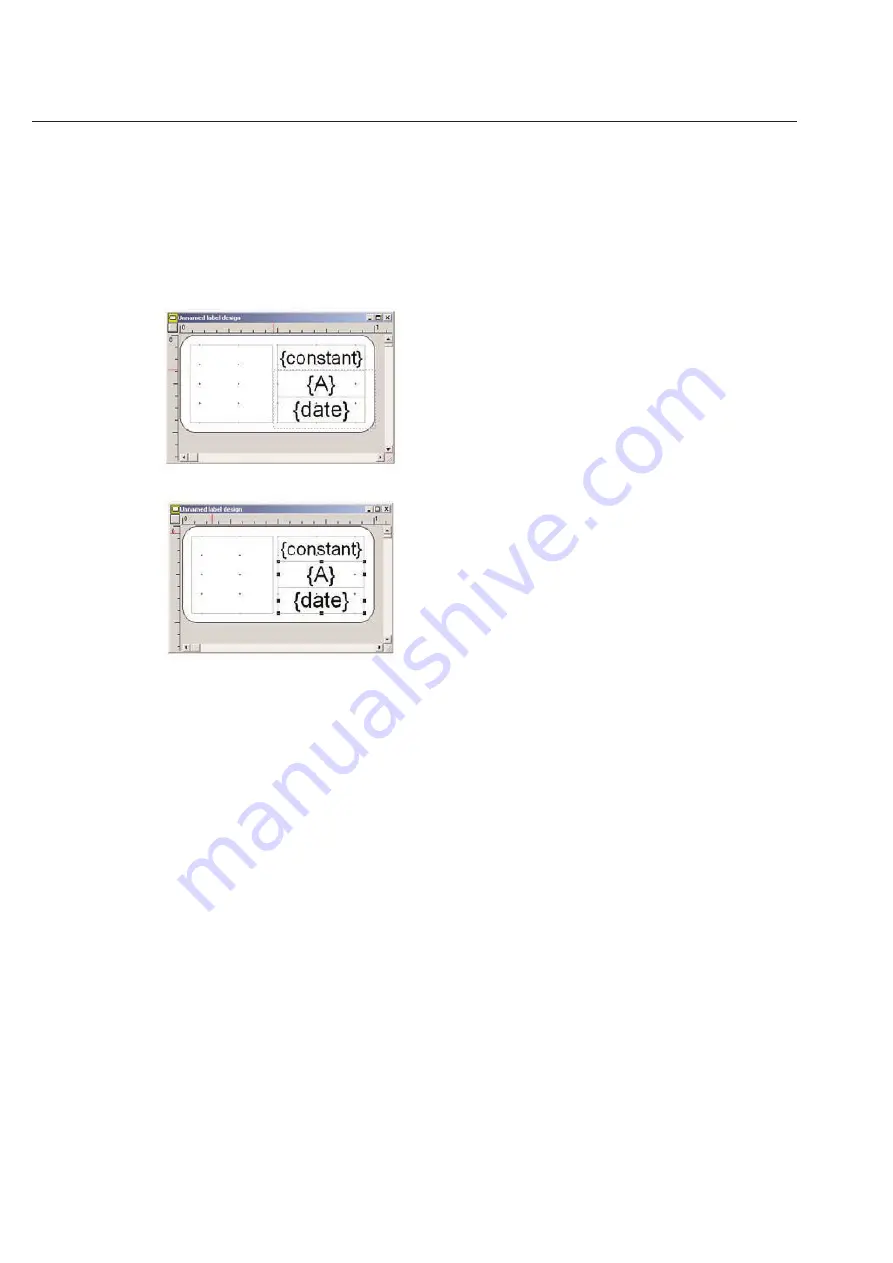
You may select an item by clicking on it once with the cursor. You may select more than one item two ways. You can
draw a frame that completely surrounds the items you wish to choose.
All items inside the frame become selected when you release the mouse button.
You may also select individual boxes by clicking on them while holding down the
Shift
key on your keyboard. You
may also use the
Shift
key to deselect individual items when clicking on them.
Move an item
Items that have been selected can be moved in two ways. You can click-and-hold the mouse button to “pick up” the
item. While continuing to hold down the mouse button, move the cursor to where you would like to put the object
down. An outline of the objects will appear. Release the mouse button and the software will place the item where
you moved it.
You may also move a selected item one pixel at a time by using the arrow keys on your keyboard. The object must
first be selected. If you hold down
Shift
the arrow keys will move the object 10 pixels at a time. Moving with key-
board arrows will terminate when
Enter
is pressed. This method is a bit slower, but can aid in placing an item exactly
where you want it.
Re-Size a Box
You can re-size a selected box by clicking on one of the 8 boxes or “handles” on the border of the box. Click-and-
drag on one of the boxes and move the cursor to re-size the box. Release the mouse button to place the item. To
change the shape of the box in one direction only, choose a non-corner handle. Using the corner handle will change
both height and width proportionately to one another.
Default Font Style and Point Size
You can set the default font and point size by first creating a template, but do not select anything within the template.
If you use the design wizard, you can click on the
Cancel
button, once you have selected your label size. The screen
will look as follows:
Summary of Contents for TagPrintPRO
Page 1: ...Version 2 0 User s Manual...
Page 20: ...Installing TT310SM TT210SM TT1210 Printer Drivers Page 13 Click Finish Select Continue Anyway...
Page 70: ...3 14 Chapter 3 Table...
Page 80: ...3 24 Chapter 3 Table...
Page 106: ...6 8 Chapter 6 Thermal Transfer Printers...


