Service
Replacing and Activating FlexPay EMV CRIND
Page 4-4
MDE-4771H Encore® S Enhanced FlexPay™ EMV® CRIND® Start-up/Service Manual · November 2019
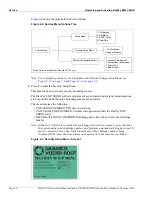
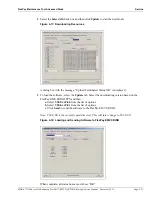
shows the options in the Service Menu.
Figure 4-6: Service Menu Options Tree
Service Menu
Setup Menu
Security Setup Menu
System Configuration Menu
1-IP Address
2-Net Mask
3-DHCP Client
4-Date/Time
1-Unit Activation
2-Reader Warning
1-Contact Card Reader
2-Contactless Card Reader
3-Printer Port
4-Mode Select*
*Mode Select is available on Bundle 6X.7.21 only.
Note: For configuring options in the Setup Menu and System Configuration Menu, see
and
5
Press
2
to enter the Security Setup Menu.
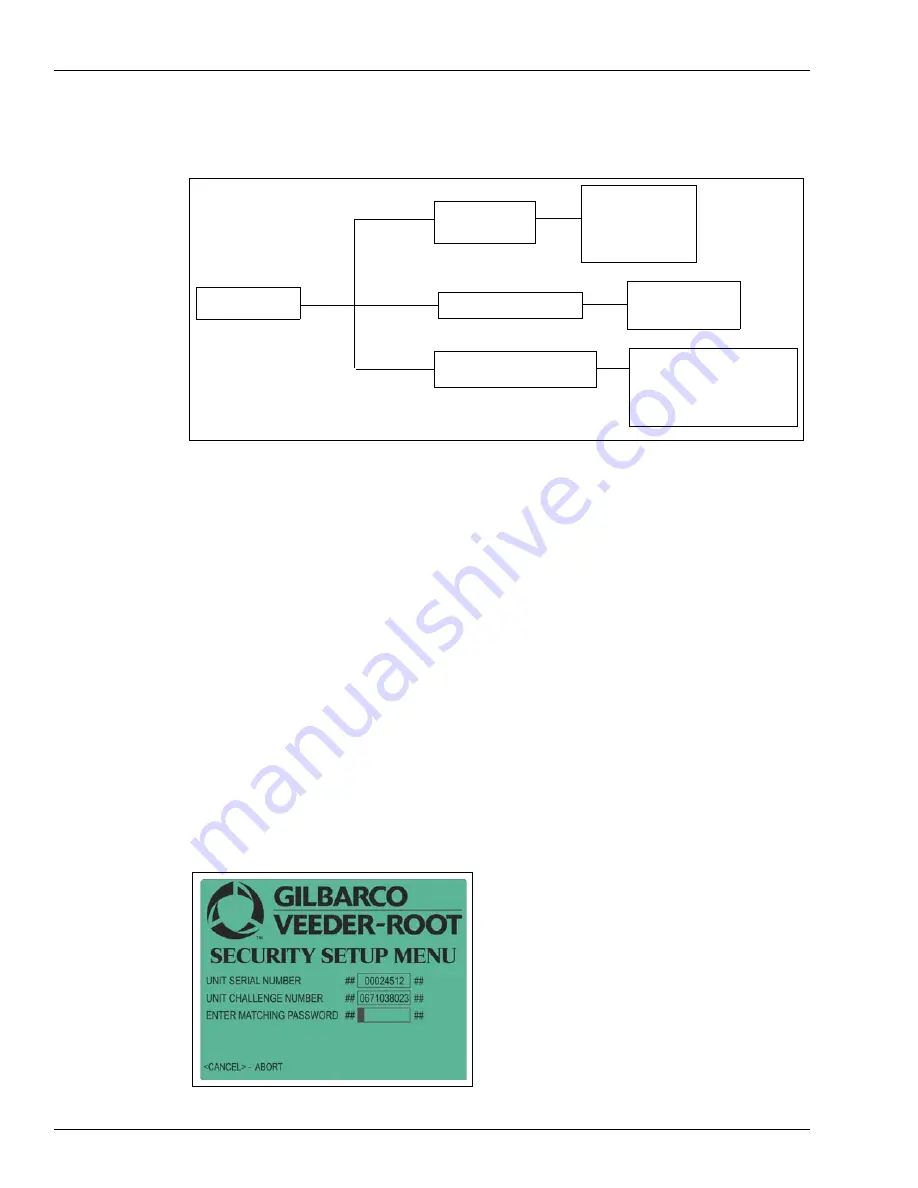
This menu is used to activate security mounting sensors.
The FlexPay EMV CRIND software modules are not activated and system communications
are not possible until the unit’s mounting sensors are activated.
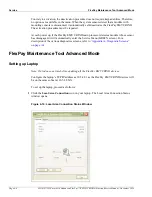
The menu displays the following:
• UNIT SERIAL NUMBER: PPN shown at start-up.
• UNIT CHALLENGE NUMBER: Variable code generated when the FlexPay EMV
CRIND starts.
• ENTER MATCHING PASSWORD: Matching password is the answer to the challenge
number.
Note: Gilbarco’s Call Center provides the matching password by a secure process that uses
the serial number and challenge number, and produces a unique matching password. It
must be entered within a time limit (one minute) of the challenge number being
displayed. Otherwise, the screen times out and reverts to the main Service Menu.
Figure 4-7: Security Setup Menu - Screen 1


