GE
D
IRECTION
FQ091019, R
EVISION
2
V
IVID Q
N S
ERVICE
M
ANUAL
Chapter 3 - System Setup
3-155
3-10-9-3-8
Saved Worksheets
On the Vivid q N scanner, it is possible to view the Worksheet and press
Store
. This will generate a still
frame showing a snapshot of the Worksheet with the visible measurements on it. This same snapshot
will also be visible in the MPEGvue Viewer.
This feature allows users to archive some important measurements into the MPEGvue file.
3-10-9-3-9
Reports (.CHM files)
When Reports have been generated and saved on the Vivid q N scanner, they will be exported, along
with the rest of the MPEGvue exam to the remote PC where they can be reviewed as CHM files.
When an exam contains Reports, an additional button is displayed on the bottom of the MPEGvue
Screen enabling the user to view the Reports of that exam.
3-10-9-3-10 Using MPEGVue over E-mail
NOTE:
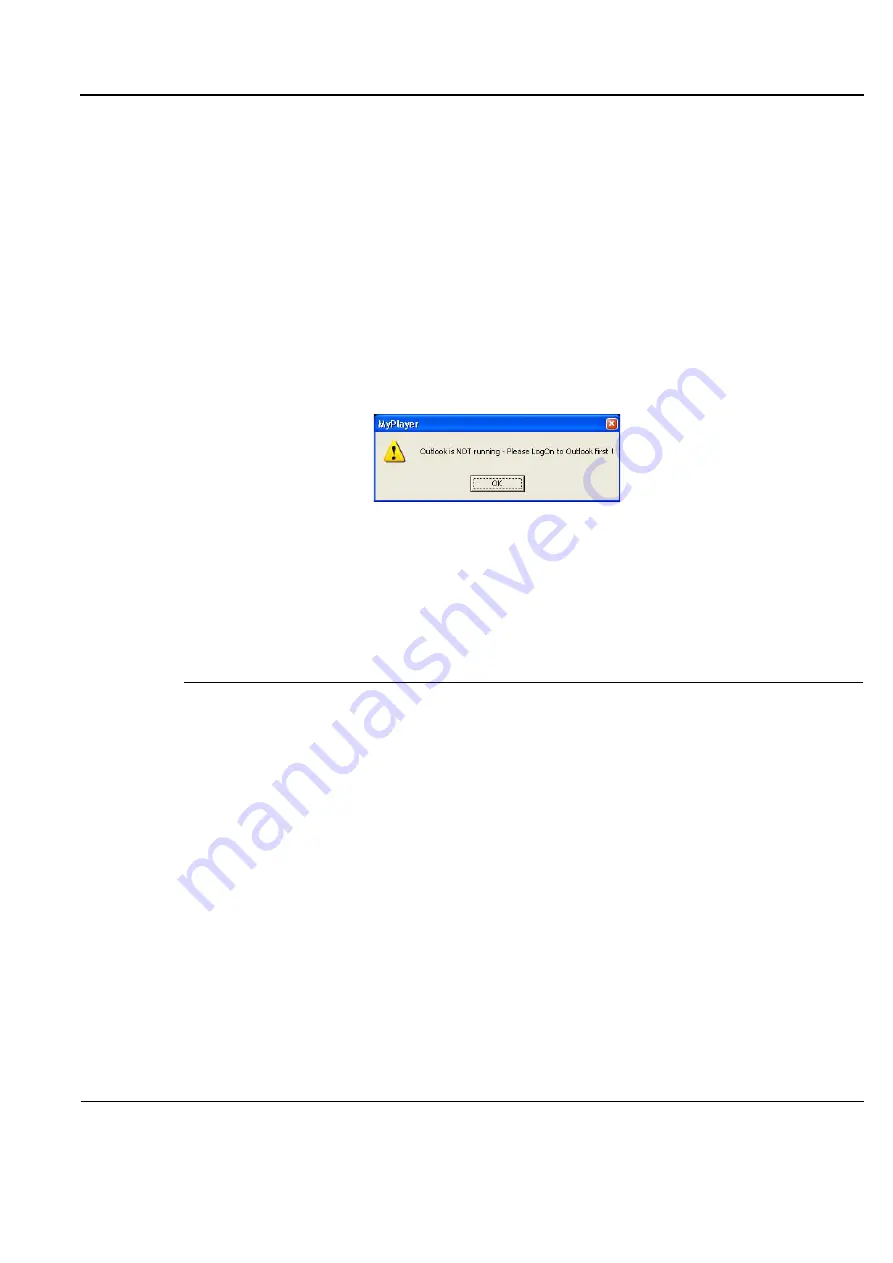
To use the MPEGVue over E-mail feature, Microsoft Outlook must be currently running. If not,
the following message is displayed prompting the user to first logon to Outlook:
It is possible to send images, loops, or full exams from any eVue PC. An eVue PC is a PC which
contains the MPEGvue player and an e-mail client application (e.g. Microsoft Outlook).
The currently-selected image, or the entire examination, can be sent by e-mail as an attachment to one
or several regular e-mail messages. Refer to
Sending a Full Examination by E-mail
below, or
an image by E-mail" on page 3-157
, as applicable.
The recipient PC of those e-mail messages (where the eVue viewer is installed), will receive the exams
and will integrate them into its Patient List, for easy review.
Sending a Full Examination by E-mail
NOTE:
If this is the first time your recipient is receiving MPEGVue images, it is necessary to attach the
MPEGVue Player - refer to the instructions for
"Sending the MPEGVue Player Software by
1) From the MPEGVue Screen, open the examination to be sent and click the
button (#10 in
).
The
E-mail Dialog
box is displayed (see
2) Activate the
Send Current Exam
radio button (and if necessary, the
Attach Player Software
check box), as shown in


