Page 45
Step 3. (Tab )
A
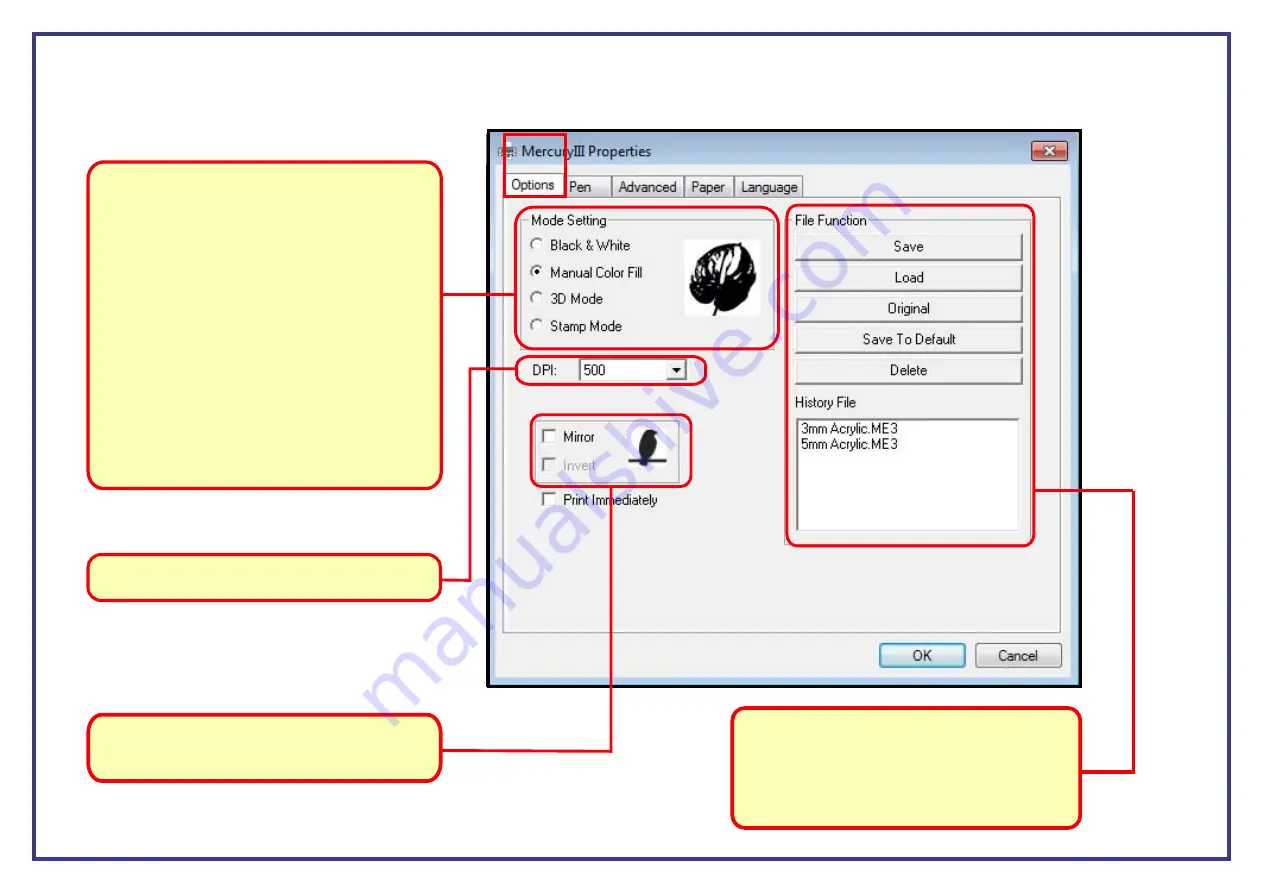
The first tab shown is the ‘
Options
’ tab. Here you will need to select which type of engrave mode you would like to use with your project. Once you
have selected the relevant engrave mode click on the next tab.
Brief explanation Of
The Engrave Modes
Black and White.
This mode is for use with grayscale images, such
as bitmaps and photos.
Manual Colour fill.
This Mode is for use with any file that is
monochrome, such as text, clip art images.
3D Mode.
This is for use with Images that have a black
background and a white foreground.
Stamp Mode.
This allows you to taper the sides of the engrave so
that the base of your design will have more support
so that it can used as a stamp.
This part of the Option tab will let you invert and/or
mirror you design. This can be useful when
producing engraving for stamps or printing.
DPI
stands for “Dots per Inch”. This can be set
between 125 - 1000.
File function
This is where you can save and load your print
setup information using the name of the material
it’s setup for ie; 3mm Acrylic. It is best to set up all
of the tabs before saving your settings.
A


