Page 42
Step 1.
Ensure that all the cables are correctly connected to the laser cutter, i.e you have the power and correct data cable linking the laser cutter to your computer.
If this is OK, turn on the laser cutter at the rocker power switch.
Step 2.
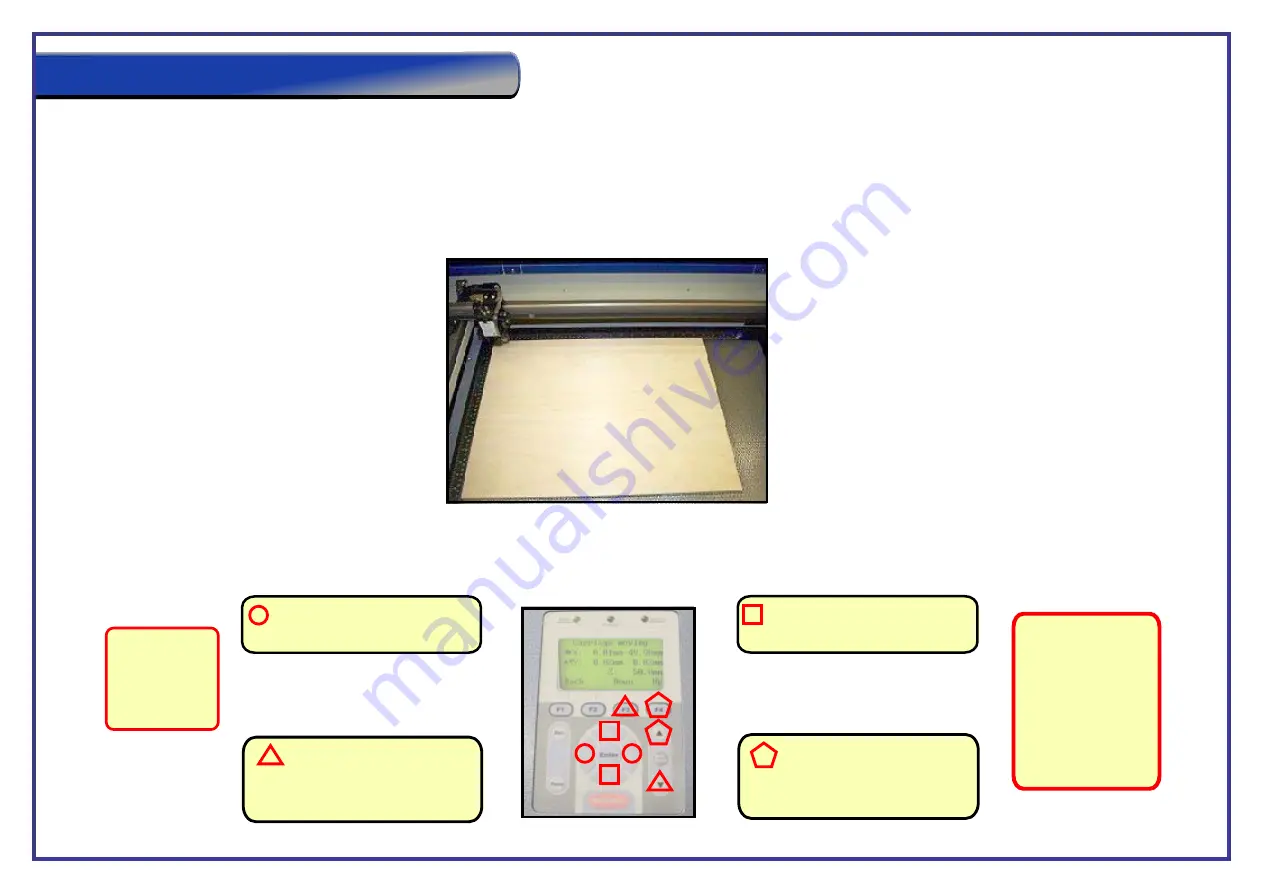
Wait for the laser cutter to complete its initialisation process before loading your material onto the honeycomb bed. Lower the material flat onto the
honeycomb cutting table. Locate it against the guides so that it sits in the back left hand corner of the honeycomb table (See below).
Step 3.
Use the cursor keys on the control panel to move the head of the laser over the solid material. To do this press any directional key located around the enter
button once, this will bring up the
It is easier and quicker to grab the laser head and move it to your desired location, you will not damage the machine doing this. If the head will not move
carriage moving
screen on the lasers LCD panel. Then press and hold a directional button to move the head in that direction.
= These two buttons control the
X axis control of the laser head.
= These two buttons control the
Y axis control of the laser head.
=F4 can be used to control
the Z axis’s upwards motion
of the bed in the machine when in
the movement screen.
= F3 buttons can be used to
control the Z axis’s downwards drop
of the bed in the machine when in
the movement screen
Note
: You can also
move the laser head
manually simply by
moving it around
by hand. This is
extremely useful
when using the
machine in relative
position mode.
To access the
movement
screen press
any of the
directional keys
Setting Up the Machine


