Page 37
This step by step section of the guide will run through how to assign the
in Coreldraw to create a print order for the laser cutter.
Custom Colours
This will determine which sections of the design are engraved, scorn or cut out.
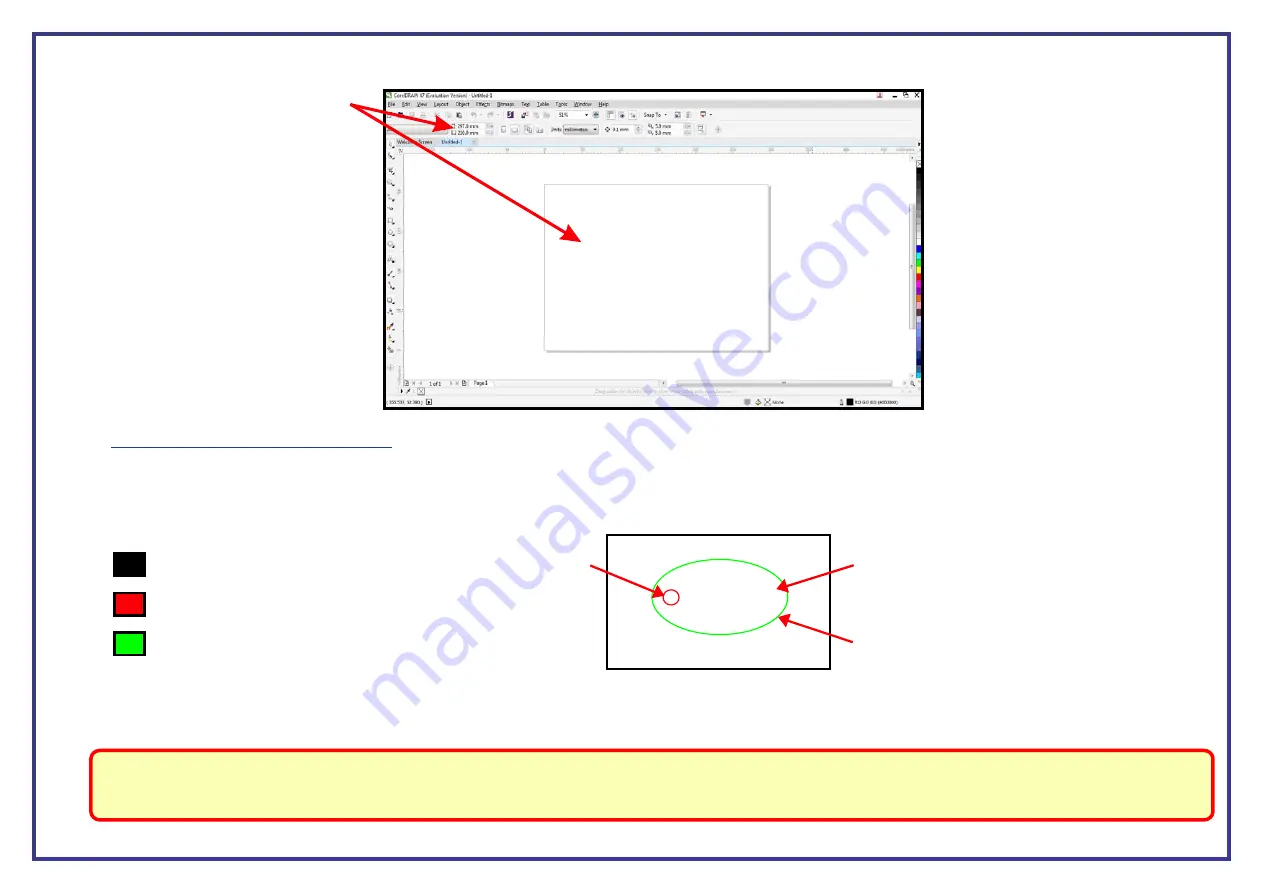
The recommended use of how to setup up colours with the laser cutter is:
Black (1st) = for engraving and/or scoring material.
Red (2nd) = for inside cuts.
Green (3rd) = for outside cuts.
Project 1
Example
2. Inside cut
3. Outside cut
1. Engrave
Note:
The colours assigned to your project do not represent cuts or engraves, they simply represent the order for the laser to operate in. ie: black is the first part of the job,
red is the second and green is your third part of the job. It’s by inputting the power and speed settings that determine whether the colour will be cut or engraved
along with setting either a fine line for cutting and solid objects for engraving.
These colours are recommended in this order so that your project will be printed working from the inside out and always starting with the engrave. This is the best way to
work with the laser as some material, after being cut, can drop out of position (ie: when using slightly warped material). By cutting in this recommended order your design will
be held in focus until the final part of the project has been completed.
Step 2
. Once you press ENTER your CorelDraw page size will now adjust and represent the size of the material in the laser cutter.
Assigning the Colours in CorelDraw


