


79
Using the printer connected to a PC
6
Using
the
printer
connected
to
a
PC
Solution
Check
Check
Solution
■
The Macintosh hangs when the memory card is accessed.
Install the software (
→
P.68).
Is the software installed?
Solution
■
A warning message appears when the memory card was removed or the
USB cable was disconnected from the printer.
This operation may destroy the memory
card and data. Drag the drive icon to
“Trash” before disconnecting the USB cable
from the printer.
Was the USB cable unplugged while the
printer was mounted as a disk drive?
APPLICATION PROBLEMS-Macintosh
Solution
■
I want to quit Exif Launcher.
Select “Exif Launcher Setting” in the FinePixViewer “Settings” menu and click “Quit Exif
Launcher immediately”.
■
I want to stop FinePixViewer from launching automatically.
Either of the following two methods can be used to prevent FinePixViewer from
launching automatically.
• Change the Exif Launcher settings
q
Select “Exif Launcher setting” in the “Settings” menu in FinePixViewer and click “Do
not run Exif Launcher at restart”.
w
Restart your Macintosh.
✽
To restore the original setting, use the same procedure and select the “Run Exif
Launcher at restart” checkbox. Then restart your Macintosh.
• Remove Exif Launcher.
q
Select “Exif Launcher Setting” in the “Settings” menu in FinePixViewer and select
the “Quit Exif Launcher immediately” checkbox.
w
Open “System Folder”
→
“Startup Items” and drag “Exif Launcher” to the Trash.
e
Select “Empty Trash...” in the “Special” menu.
✽
To restore the original setting, reinstall the software.
Solution
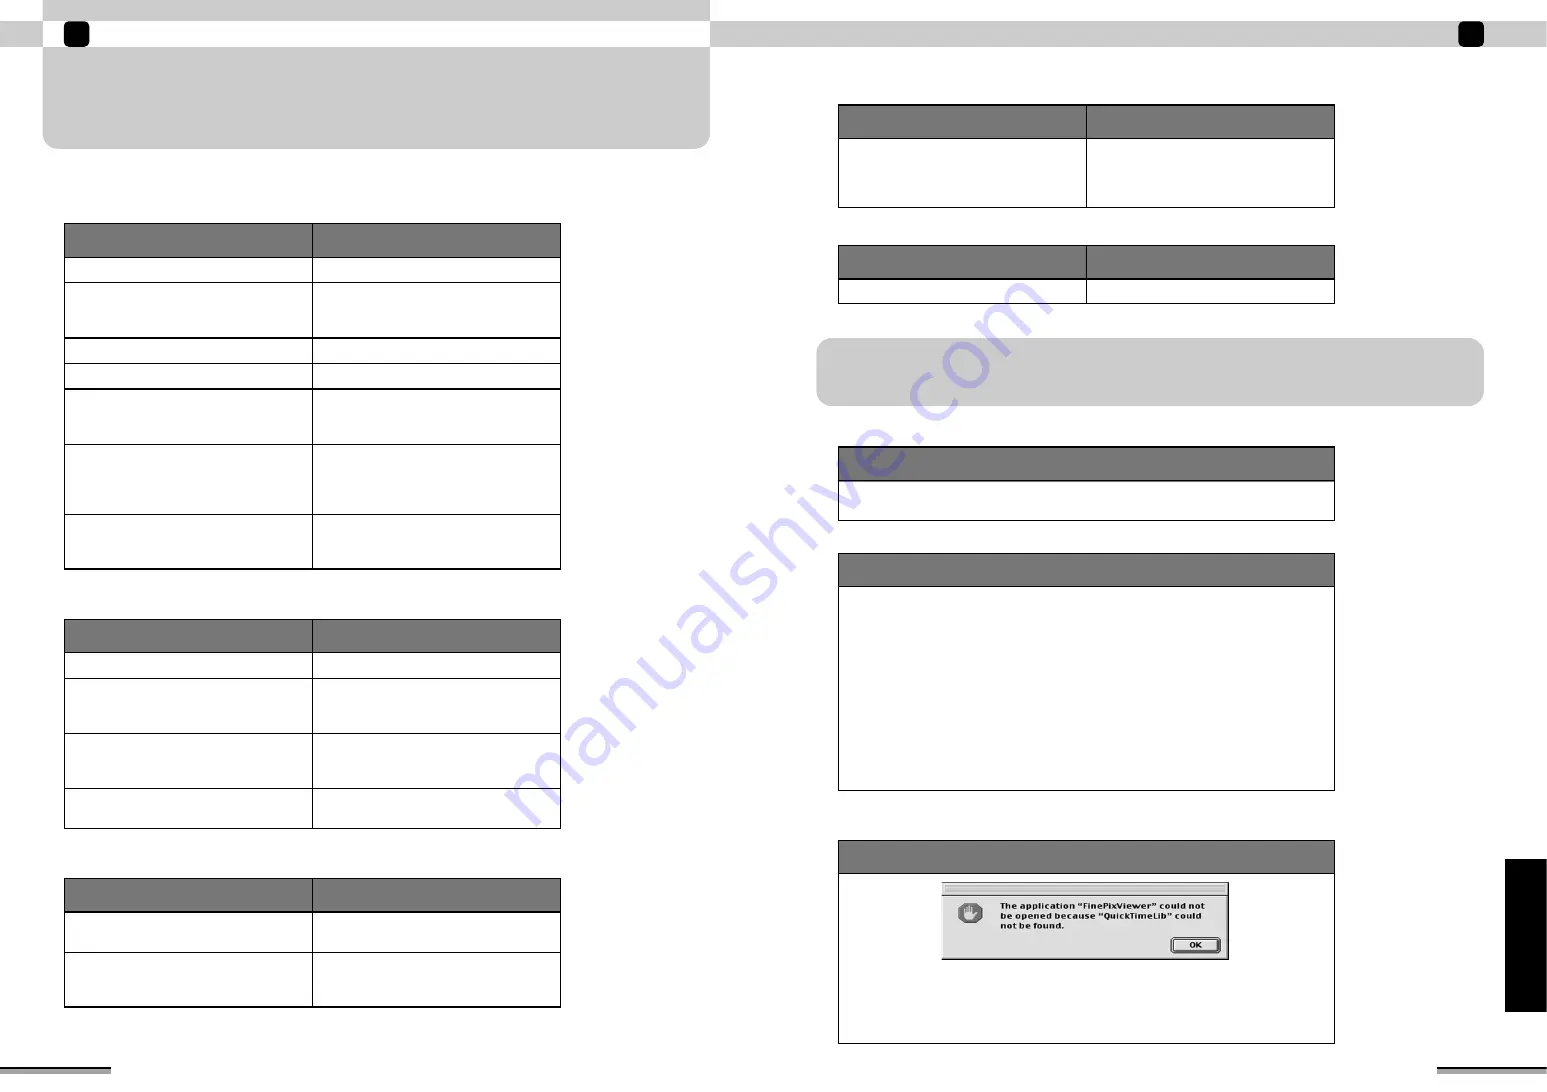
■
When I tried to launch FinePixViewer, the “Quick Time Lib could not be
found” message appeared.
Install QuickTime as described below.
q
Load the “Printpix” CD-ROM.
w
Open the “English” folder inside the “QuickTime” folder on the CD-ROM.
e
Double-click the “Qucick Time Installer” or the “Qucick Time Installer.exe” icon. Then
follow the on-screen instructions.
78
Using the printer connected to a PC
6
MEMORY CARD PROBLEMS-Macintosh
■
The printer is connected to the Macintosh, but the “Removable disk” icon
is not displayed.
Load a memory card into the printer.
Is a memory card loaded into the printer?
Check
Solution
■
Mac OS “Initialize disk” message was displayed.
Use a FinePix digital camera to format the
memory card.
Do you have a FinePix digital camera?
Enable “File Exchange” in Extension
Manager and then restart the Macintosh.
Is File Exchange enabled? (When viewing
pictures taken with a FinePix digital
camera.)
Check
Solution
Turn the printer power on.
Is the printer power turned on?
Use the printer with Mac OS 8.6 to 9.2.
Is a compatible OS used?
Check if one end of the USB cable is
connected to the printer and the other end is
connected to the Macintosh.
Are the printer and Macintosh connected by
a USB cable?
At the Extension Manager, enable
“USB04CB_StorageShim” and “USB04CB
_StorageDriver” and then restart the
Macintosh.
Is Mass Storage Driver enabled?
If the printer is connected as a printer,
switch to card reader connection (
→
P.80).
Is the “CONNECTED TO PC IN CARD
READER MODE” message displayed on
the printer screen?
Check
Solution
■
FinePixViewer does not recognize the memory card.
Turn the printer power on.
Is the printer turned on?
Check if one end of the USB cable is
connected to the printer and the other end is
connected to the Macintosh.
Are the printer and Macintosh connected by
a USB cable?
Select “View”
→
“Refresh” from the
FinePixViewer menu.
Is the window of FinePixViewer updated to
the newest information?
If the printer is connected as a printer,
switch to card reader connection (
→
P.80).
Is the “CONNECTED TO PC IN CARD
READER MODE” message displayed on
the printer screen?
Switch the printer off, insert only the
memory card to be used and then switch
the printer back on.
Is the icon for the memory card inserted into
the printer displayed on the screen on the
top of the printer?


