


14
Try to print!
1
15
Try to print!
1
Try
to
p
rint!
SELECTING THE PHOTOGRAPHS
AND PRINTING
Select the picture to be printed
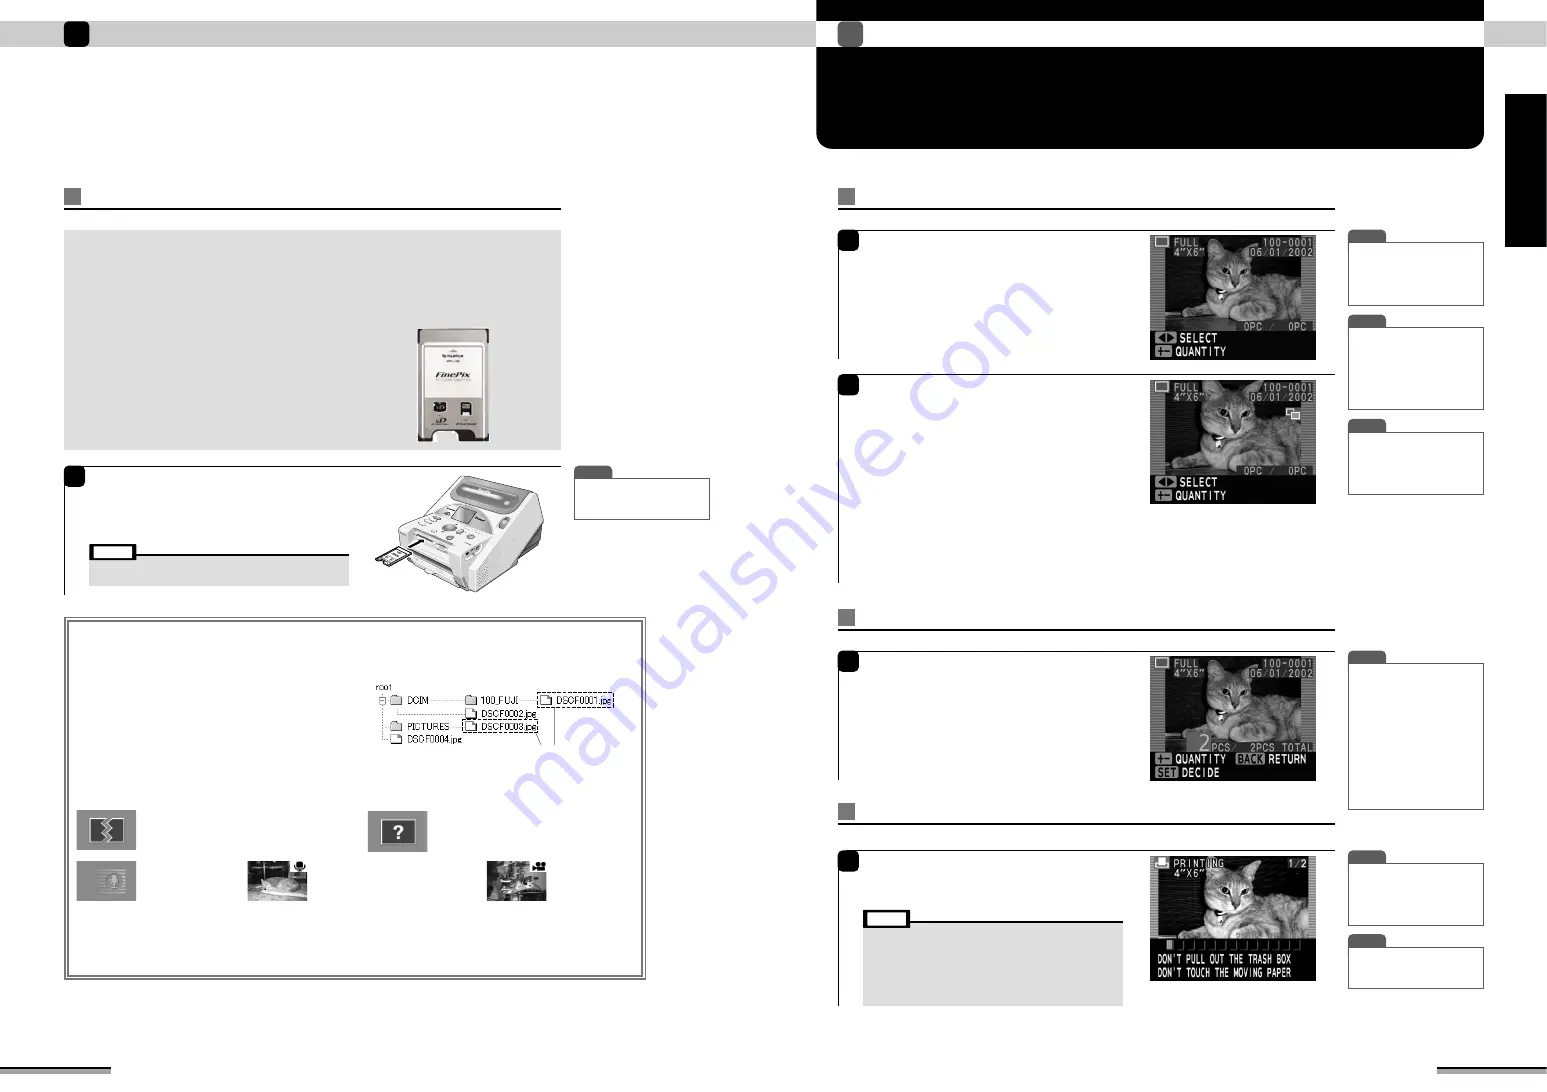
Loading a PC card
1
• When using a PC card adapter, insert the memory card to
the adapter in advance.
Note
Open the memory card cover.
Insert the PC card fully into the slot with the front
of the card facing upward.
Close the memory card cover.
Always use a PC card corresponding to PCMCIA TYPE
I
/
II
Standard compliant
ATA.
Various memory cards can be used by using a PC card adapter matched to the
memory card.
<Supported PC card adapters>
Usable PC cards
• Microdrive only PC card adapter (IBM, MELCO, FUJIFILM)
• PC card adapter MSAC PC2/MSAC-PC3 for memory stick
(SONY)
• PC card adapter for CompactFlash (SanDisk)
• PC card adapter for SD card (MATSUSHITA ELECTRIC)
• PC card adapter DPC-AD for xD-Picture Card (FUJIFILM)
✽
Use a Digital Camera to format xD-Picture Card.
• Windows 98/98 SE/Me: Normal format
• Windows 2000 Professional / XP: FAT
• Macintosh: DOS format
1
The picture window is displayed. Use
g
to
select the picture you want to print.
• Do not touch the moving paper while printing.
• Do not remove the memory card while printing.
• Do not pull out the trash box while printing.
• When an error window or information window is displayed,
refer to pages 54 to 61.
• Do not turn off the printer during printing.
• Do not open the memory card cover during printing.
Note
T I P
• When the image is 4 frames or
more, and
g
is pressed for
1 second or longer, the image
is quick scrolled. However, for
files other than Exif (JPEG,
TIFF-YC/RGB), only image
type characters are displayed.
T I P
• When the [BACK] button is
pressed before printing is
executed, the monitor is
returned to the picture
window.
T I P
• When the LCD monitor is
difficult to view, adjust the
brightness by pressing the
[DISPLAY] button for 2
seconds.
T I P
• Plural frames can be selected
and the number of prints can
then be specified for those
frames. To select an additional
frame, use the
g
buttons to
view the frame and then
specify the number of prints.
• To view your print press the
[DISPLAY] button to open
the preview window.
• Press the [PRINT] button in
the preview window to print
your images (
→
P.18).
T I P
• When there is DPOF
information, pictures are
printed in accordance with
the DPOF information
(
→
P.36).
T I P
• To halt printing during multi-
picture printing, press the
[BACK] button.
Setting the print quantity
1
Use the [QUANTITY] [+] [–] buttons to set the
print quantity.
After setting the print quantity, press the [SET]
button.
Printing
Note: Do not pull out the trash box while printing.
1
Press the [PRINT] button.
The printing window is displayed, and printing is
started.
■
The following files cannot be printed in the full print, multi print and ID print modes:
Voice file
Cannot be printed.
Destroyed file
Files of supportable format, but since the picture
was destroyed, they cannot be displayed.
Supportable formats: Page 82 (Specifications)
Unknown file
File other than supportable format.
Cannot be displayed.
Supportable formats : Page 82 (Specifications)
Picture file with voice memory
Can be printed.
Picture file (AVI)
Cannot be printed.
PRINT ALL PICTURES (
→
P.20):
The number of prints is counted for files that cannot be printed, but the files are not printed.
INDEX PRINT (
→
P.29):
Icons are printed depending on the kind of picture. See page 30.
T I P
• When the [BUSY] lamp is
off, the memory card can be
removed at any time.
■
Image display order
• Images are displayed by directory number and by file name.
■
Images that cannot be displayed or saved/erased
• No more than 9999 images can be displayed.
• It is also possible to display and save or erase only the
images saved on a specific level.
Images that conform to the DCF digital camera industry
standard and images in and immediately below the first-
level folder can be displayed and saved or erased (See
figure at right).
• The supported file formats are JPEG, TIFF, BMP, AVI and
WAV (
→
P.82).
2
During image display, the information shown
below is displayed on the screen. (single frame /
with text)
✽
Use the [DISPLAY] button to switch to a window with
no information displayed (single frame - no text) or a
window showing 9 frames (9 frame).
!
: Print type, print size
@
: Help (functions of each button)
#
: Image file name, shooting date and time
$
: Photo editing icon
(Displayed for images where ZOOM/MOVE, ROTATION, PREFERABLE QUALITY, etc. has been used.)
%
: Number of prints
(The number on left shows the number of prints currently selected, while the number on the right
shows the total number of prints.)
@
#
$
%
!
First level
Third level
Second level
Images can be displayed or saved/erased.
{
{ {


