Operation, cont’d
Digital XPoint Matrix Switchers • Operation
3-10
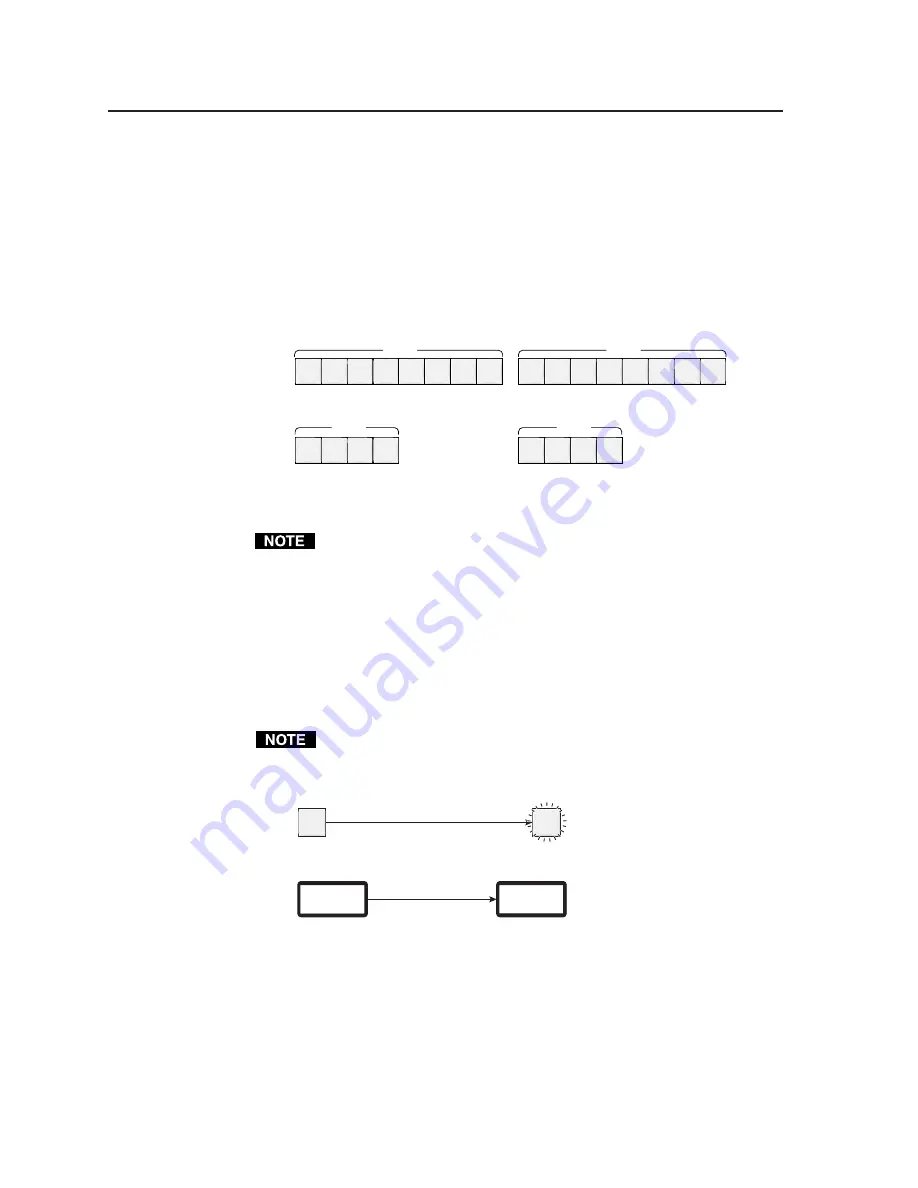
Using presets
The current configuration (configuration 0) can be saved as a preset in any of 16
preset memory addresses. On the DXP 88 SDI, presets 1 through 8 are assigned to
the input buttons 1 through 8, and presets 9 through 16 are assigned sequentially to
output buttons 1 through 8 (figure 3-17). On the DXP 44 SDI, presets 1 through 4
are assigned to input buttons 1 through 4 and presets 5 through 8 are assigned to
output buttons 1 through 4.
All presets, including DXP 44 SDI presets 9 through 16, which are not available
from the front panel, can be stored and retrieved via the RS-232/RS-422 link.
DXP 88 SDI
1
3
5
7
9
11
13
15
2
4
6
8
10
12
1
Preset #
Preset #
3
5
7
2
4
6
8
14
16
DXP 44 SDI
INPUTS
1 2 3 4
OUTPUTS
1 2 3 4
INPUTS
1 2 3 4 5 6 7 8
OUTPUTS
1 2 3 4 5 6 7 8
Figure 3-17 — Presets assignment to input and output buttons
1
.
The current configuration and all presets are stored in non-volatile
memory. When power is removed and restored, the current configuration
is still active and all presets are retained.
2
.
When a preset is recalled, it replaces the current configuration, which is
lost unless it is also stored as a preset. The recalled preset overwrites all of
the current configuration ties in favor of the preset configuration ties.
Example 4: Save a preset
The following steps show an example in which, on a DXP 88 SDI, the current
configuration is saved as a preset. Each step shows the front panel indications that
result from your action.
The switch mode, quick or enter, is for ties only and has no effect on saving
presets.
1
.
Press and hold the Preset button for approximately 2 seconds (figure 3-18).
P r e s e t
S a v e
1 2 3
5 6
4
7 8
Press and hold the Preset button until it blinks.
Outputs displayed until the DXP enters save preset mode.
2 Seconds
PRESET
PRESET
Figure 3-18 — Selecting save preset mode
im Vertrieb von
CAMBOARD Electronics
www.camboard.de
Tel. 07131 911201
Fax 07131 911203


