


284
8.
Select the
Index Word
field, use the displayed keyboard to enter a word to use when searching for a
group (up to 30 characters), and select
OK
. (This field is optional.)
9.
Select the
Contact(s) Added to the Group
field.
You see your contacts list.
10. Select each contact you want to include in your group.
A check mark appears next to each selected contact.
11. Select
Close
when complete.
12. Select
Assign to Frequent Use
to list the group on the
Recipient
tab.
13. Select
OK
to save the group.
Parent topic:
Setting Up Contacts Using the Product Control Panel
Editing or Deleting a Contact Group
You can edit an existing contact group to add or delete entries. You can also delete the entire contact
group.
1.
Press the
home button, if necessary.
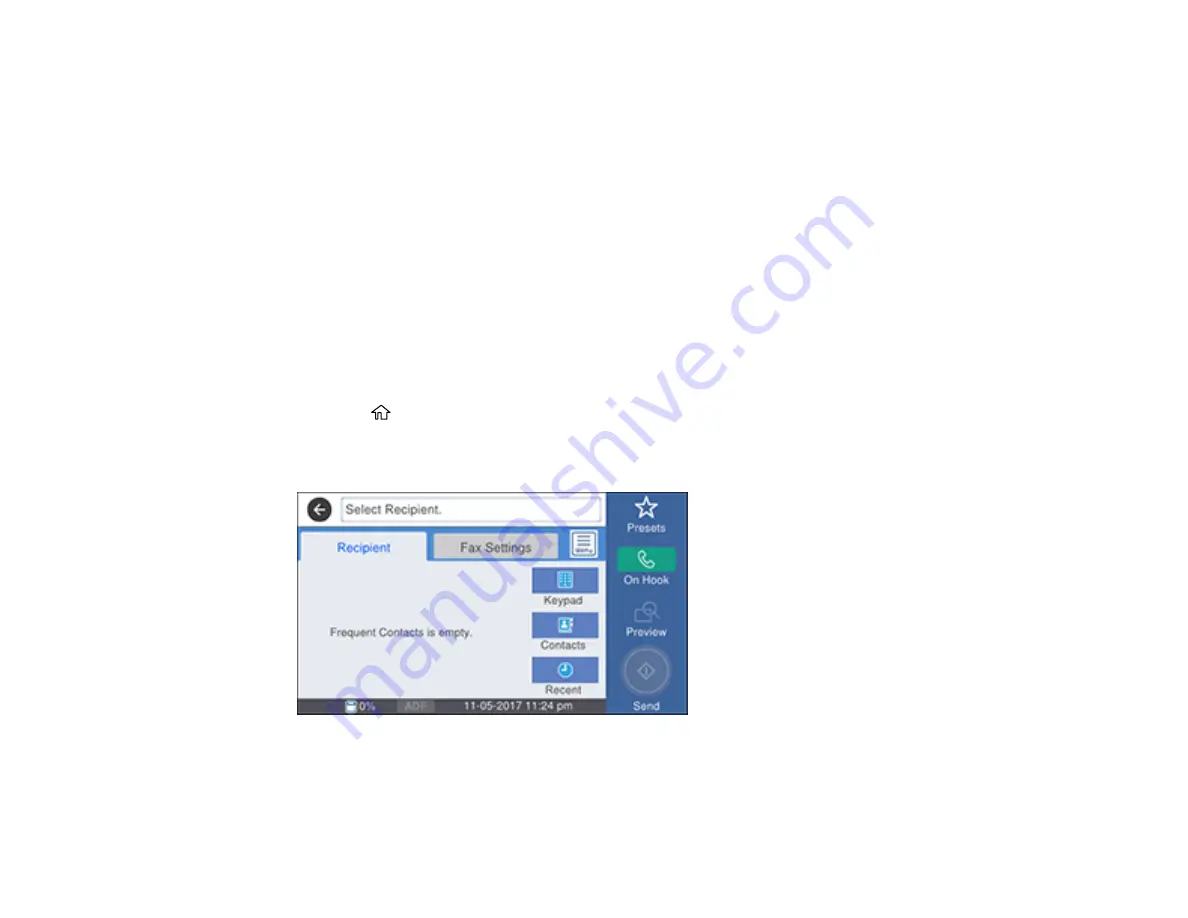
2.
Select
Fax
.
You see a screen like this:
3.
Select
Contacts
.
4.
Select the tab containing the first letter of the contact name, then select the
>
icon next to the group
you want to edit or delete.
Summary of Contents for WorkForce Pro WF-C579R
Page 1: ...WF C579R User s Guide ...
Page 2: ......
Page 19: ...19 7 Lower paper cassette 2 onto the optional paper cassette unit as shown ...
Page 20: ...20 8 Lower the product onto paper cassette 2 as shown ...
Page 116: ...116 1 Open the document cover ...
Page 122: ...122 Scanning Faxing ...
Page 255: ...255 You see a window like this ...
Page 261: ...261 ...
Page 351: ...351 8 Open the ADF cover ...
Page 355: ...355 9 Uninstall the optional paper cassette if necessary ...
Page 437: ...437 Copyright Attribution 2019 Epson America Inc 4 19 CPD 56082 Parent topic Copyright Notice ...


