232
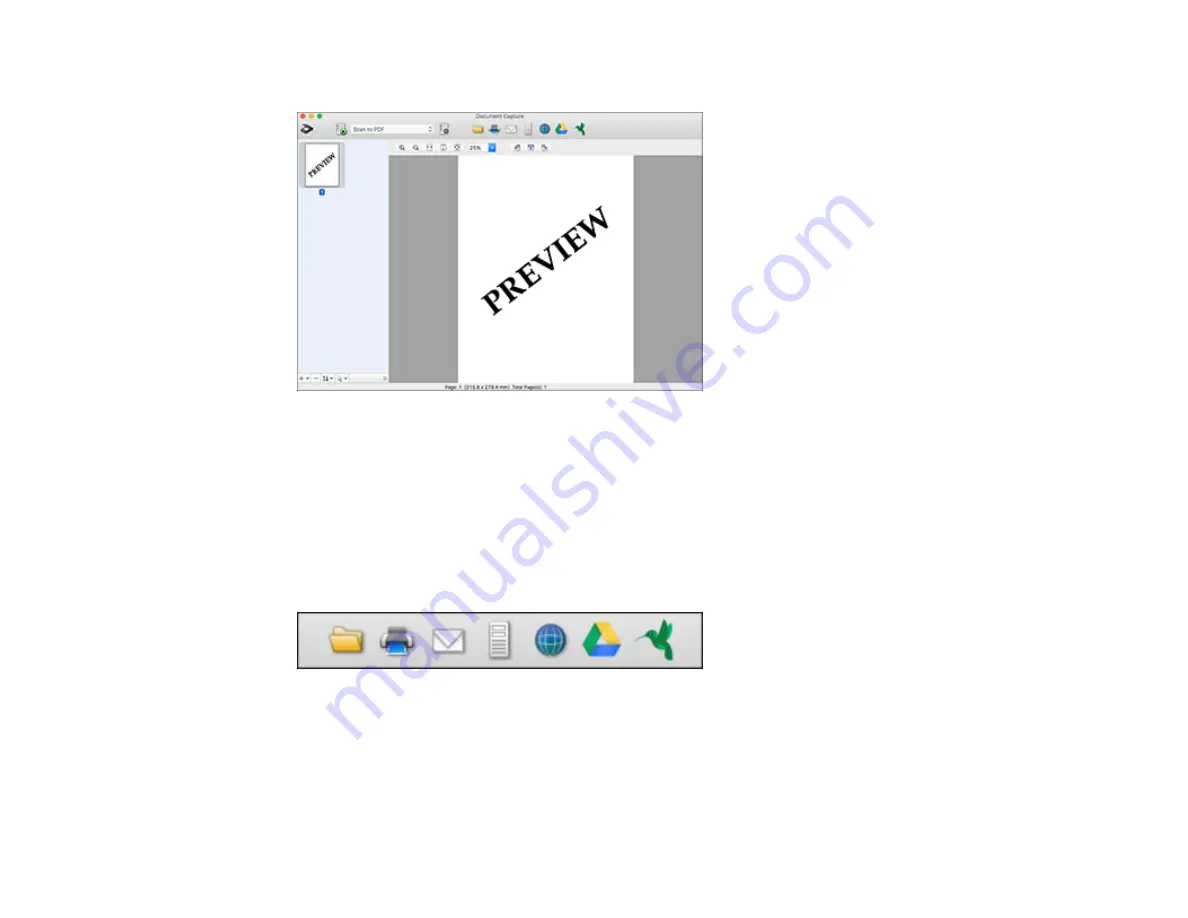
You see a preview of your scan in the Document Capture window.
Note:
You may have to close the Epson Scan 2 window to view your scan in the Document Capture
window.
8.
If you would like to scan additional originals and add them to the current captured images, click the +
icon, select
Acquire from Scanner
, and repeat the previous steps.
9.
Check the scanned images and edit them as necessary.
10. Click one of the Destination icons to choose where to send your scanned files. (If you cannot see all
of the icons below, click the arrow next to the icons.)
11. Depending on the destination you chose, click
OK
or
Send
to complete the operation.
Parent topic:
Summary of Contents for WorkForce Pro WF-C579R
Page 1: ...WF C579R User s Guide ...
Page 2: ......
Page 19: ...19 7 Lower paper cassette 2 onto the optional paper cassette unit as shown ...
Page 20: ...20 8 Lower the product onto paper cassette 2 as shown ...
Page 116: ...116 1 Open the document cover ...
Page 122: ...122 Scanning Faxing ...
Page 255: ...255 You see a window like this ...
Page 261: ...261 ...
Page 351: ...351 8 Open the ADF cover ...
Page 355: ...355 9 Uninstall the optional paper cassette if necessary ...
Page 437: ...437 Copyright Attribution 2019 Epson America Inc 4 19 CPD 56082 Parent topic Copyright Notice ...


