281
7.
Select the
Name
field, use the displayed keyboard to enter the contact name (up to 30 characters),
and select
OK
.
8.
Select the
Index Word
field, use the displayed keyboard to enter a word to use when searching for
an entry (up to 30 characters), and select
OK
. (This field is optional.)
9.
Select the
Fax Number
field, use the displayed keypad or the buttons on the product to enter the fax
number, and select
OK
. You can enter up to 64 characters.
Note:
If necessary, enter an outside line access code (such as
9
) at the beginning of the fax number.
If the access code has been set up in the
Line Type
setting, enter the
#
pound sign instead of the
code.
10. If you are sending a fax to a confidential box or relay box, enter a sub-address and password in the
Subaddress (SUB/SEP)
and
Password (SID/PWD)
fields.
11. Select any additional settings as necessary.
12. Select
OK
to save the entry.
Parent topic:
Setting Up Contacts Using the Product Control Panel
Editing or Deleting a Contact
You can edit or delete any of the contacts on your list.
1.
Press the
home button, if necessary.
2.
Select
Fax
.
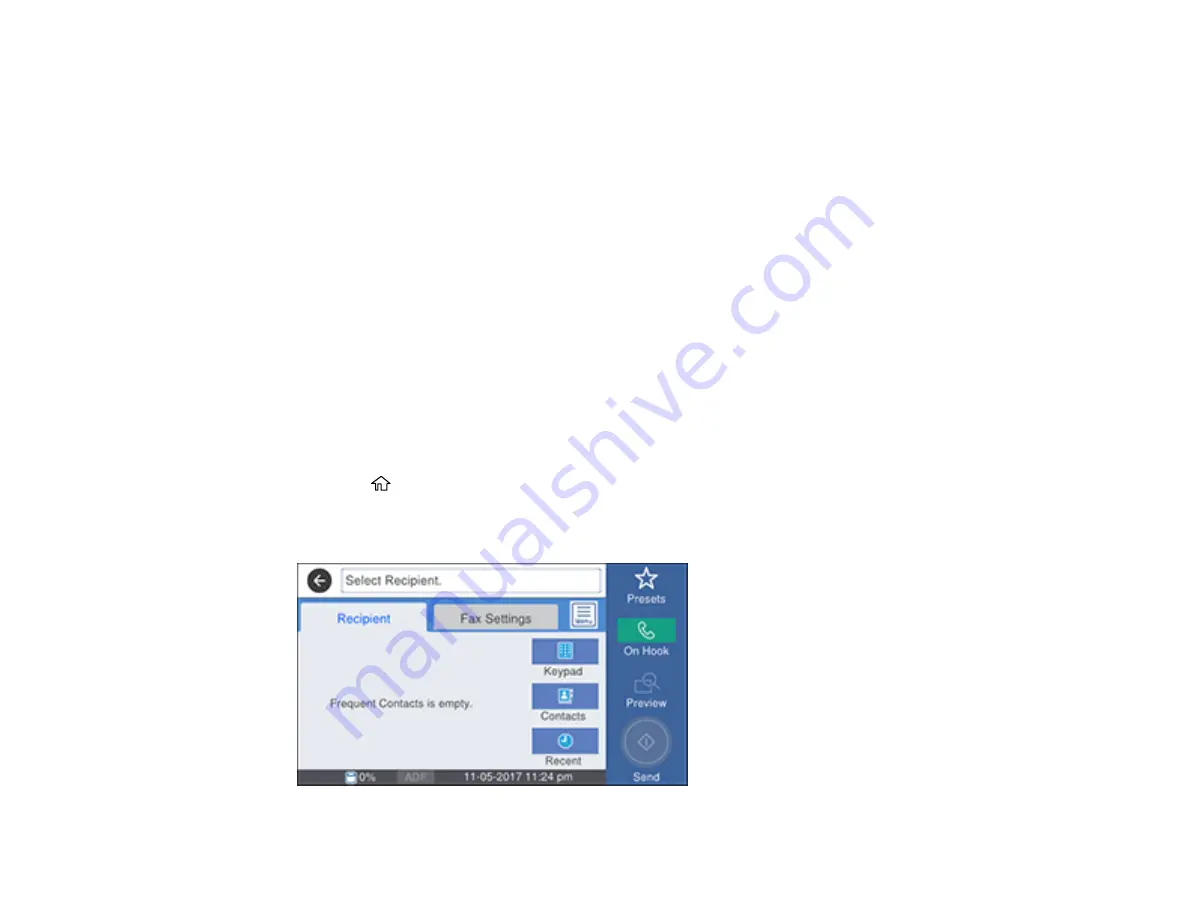
You see a screen like this:
Summary of Contents for WorkForce Pro WF-C579R
Page 1: ...WF C579R User s Guide ...
Page 2: ......
Page 19: ...19 7 Lower paper cassette 2 onto the optional paper cassette unit as shown ...
Page 20: ...20 8 Lower the product onto paper cassette 2 as shown ...
Page 116: ...116 1 Open the document cover ...
Page 122: ...122 Scanning Faxing ...
Page 255: ...255 You see a window like this ...
Page 261: ...261 ...
Page 351: ...351 8 Open the ADF cover ...
Page 355: ...355 9 Uninstall the optional paper cassette if necessary ...
Page 437: ...437 Copyright Attribution 2019 Epson America Inc 4 19 CPD 56082 Parent topic Copyright Notice ...


