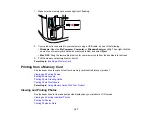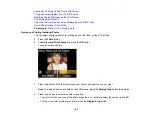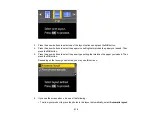
5.
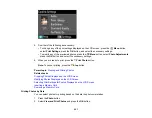
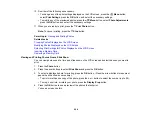
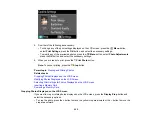
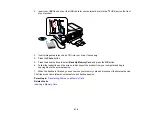
Do either of the following as necessary:
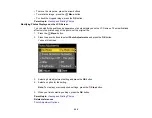
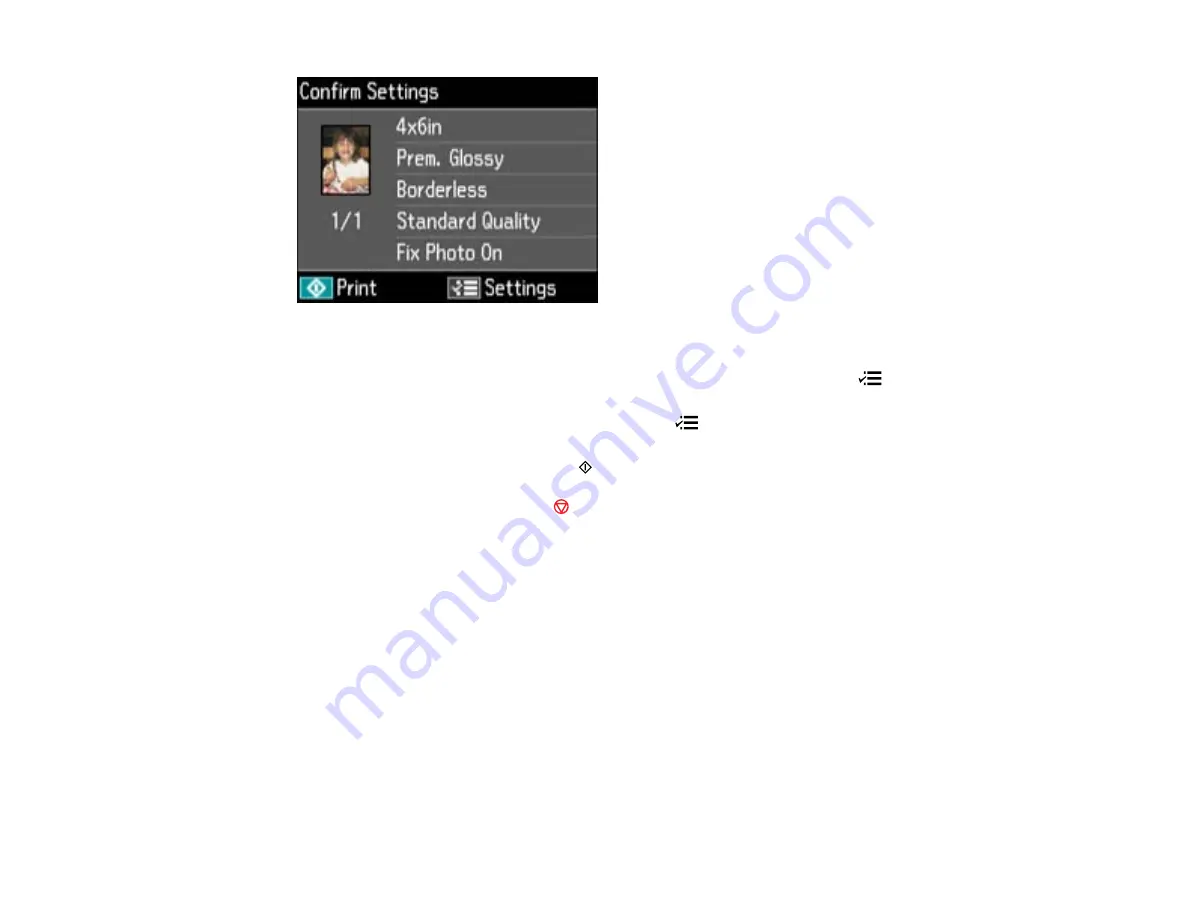
• To change any of the print settings displayed on the LCD screen, press the
Menu
button,
select
Print Settings
, press the
OK
button, and select the necessary settings.
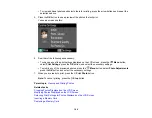
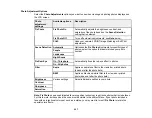
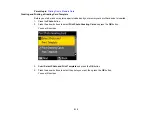
• To modify any of the previewed photos, press the
Menu
button, select
Photo Adjustments
,
press the
OK
button, and select the necessary settings.
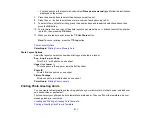
6.
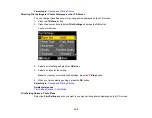
When you are ready to print, press the
Print Photo
button.
Note:
To cancel printing, press the
Stop
button.
Parent topic:
Related tasks
Cropping Photos Displayed on the LCD Screen
Modifying Photos Displayed on the LCD Screen
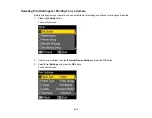
Selecting Print Settings for Photos Displayed on the LCD Screen
Inserting a Memory Card
Removing a Memory Card
Cropping Photos Displayed on the LCD Screen
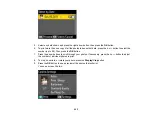
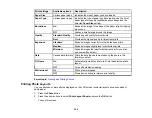
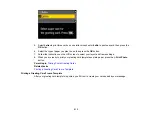
If you want to crop or rotate photos displayed on the LCD screen, press the
Display/Crop
button and
select the necessary options.
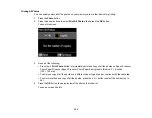
• To crop the photo, press the
+
button to move the yellow crop area inward or the
–
button to move the
crop area outward.
205
Summary of Contents for WorkForce 545
Page 1: ...WorkForce 545 645 Series User s Guide ...
Page 2: ......
Page 13: ...WorkForce 545 645 Series User s Guide Welcome to the WorkForce 545 645 Series User s Guide 13 ...
Page 29: ...4 Slide the edge guide shown below to your paper size 29 ...
Page 34: ...2 Pull out the paper cassette 3 Slide the edge guides outward 34 ...
Page 39: ...2 Pull out the paper cassette 3 Slide the edge guides outward 39 ...
Page 52: ...Parent topic Placing Originals on the Product Related topics Copying Scanning 52 ...
Page 116: ...3 Adjust the scan area as necessary 116 ...
Page 123: ...123 ...
Page 131: ...3 Adjust the scan area as necessary 131 ...
Page 164: ...You see this window 5 Select Fax Settings for Printer You see this window 164 ...
Page 175: ...5 Select Fax Settings for Printer You see this window 175 ...
Page 249: ...249 ...
Page 254: ...254 ...
Page 290: ...6 Lower the document cover 7 Raise the ADF input tray 8 Carefully remove the jammed paper 290 ...


