Using an External Device with Your Product
Follow the instructions in these sections to use your product with an external device, such as a camera,
smartphone, flash drive, or other device.
Wireless Printing from a Mobile Device
Printing from a Camera Connected to Your Product
Viewing or Printing from a USB Flash Drive or External Device
Charging a USB Device Using Your Product
Wireless Printing from a Mobile Device
You can print photos, documents, web pages, and more from a compatible wireless mobile device, such
as a smartphone, iPhone, tablet, iPad, or iPod.
1.
Set up your product for wireless printing as described on the
Start Here
sheet.
2.
Visit
to learn more about mobile device printing and check the compatibility
of your mobile device.
3.
Download and install one of the available printing applications for your mobile device, such as Epson
iPrint and PrintJinni for Epson.
4.
Connect your mobile device to the same wireless network that your product is using.
5.
Print from your mobile device to your product.
Parent topic:
Using an External Device with Your Product
Printing from a Camera Connected to Your Product
If you have a digital camera that supports PictBridge printing, you can connect it to the product and print
your photos directly from the camera. Check your camera manual to see if it is compatible.
Note:
Your photos must be in JPG format and sized from 80 × 80 to 9200 × 9200 pixels. Epson cannot
guarantee the compatibility of your camera. Some combinations of paper type, size, and layout may not
be supported, depending on your camera and the product settings.
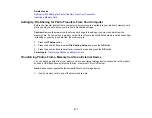
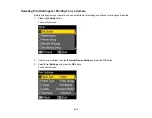
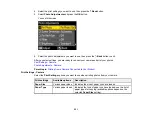
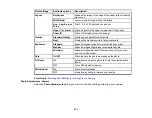
Selecting Print Settings for Printing From a Camera
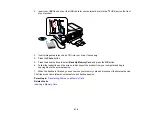
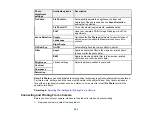
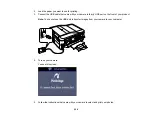
Connecting and Printing From a Camera
Parent topic:
Using an External Device with Your Product
219
Summary of Contents for WorkForce 545
Page 1: ...WorkForce 545 645 Series User s Guide ...
Page 2: ......
Page 13: ...WorkForce 545 645 Series User s Guide Welcome to the WorkForce 545 645 Series User s Guide 13 ...
Page 29: ...4 Slide the edge guide shown below to your paper size 29 ...
Page 34: ...2 Pull out the paper cassette 3 Slide the edge guides outward 34 ...
Page 39: ...2 Pull out the paper cassette 3 Slide the edge guides outward 39 ...
Page 52: ...Parent topic Placing Originals on the Product Related topics Copying Scanning 52 ...
Page 116: ...3 Adjust the scan area as necessary 116 ...
Page 123: ...123 ...
Page 131: ...3 Adjust the scan area as necessary 131 ...
Page 164: ...You see this window 5 Select Fax Settings for Printer You see this window 164 ...
Page 175: ...5 Select Fax Settings for Printer You see this window 175 ...
Page 249: ...249 ...
Page 254: ...254 ...
Page 290: ...6 Lower the document cover 7 Raise the ADF input tray 8 Carefully remove the jammed paper 290 ...

