4.
Select
Wi-Fi/Network Settings
.
5.
Select
Advanced Setup
.
6.
Select
Email Server
.
7.
Select
Server Settings
.
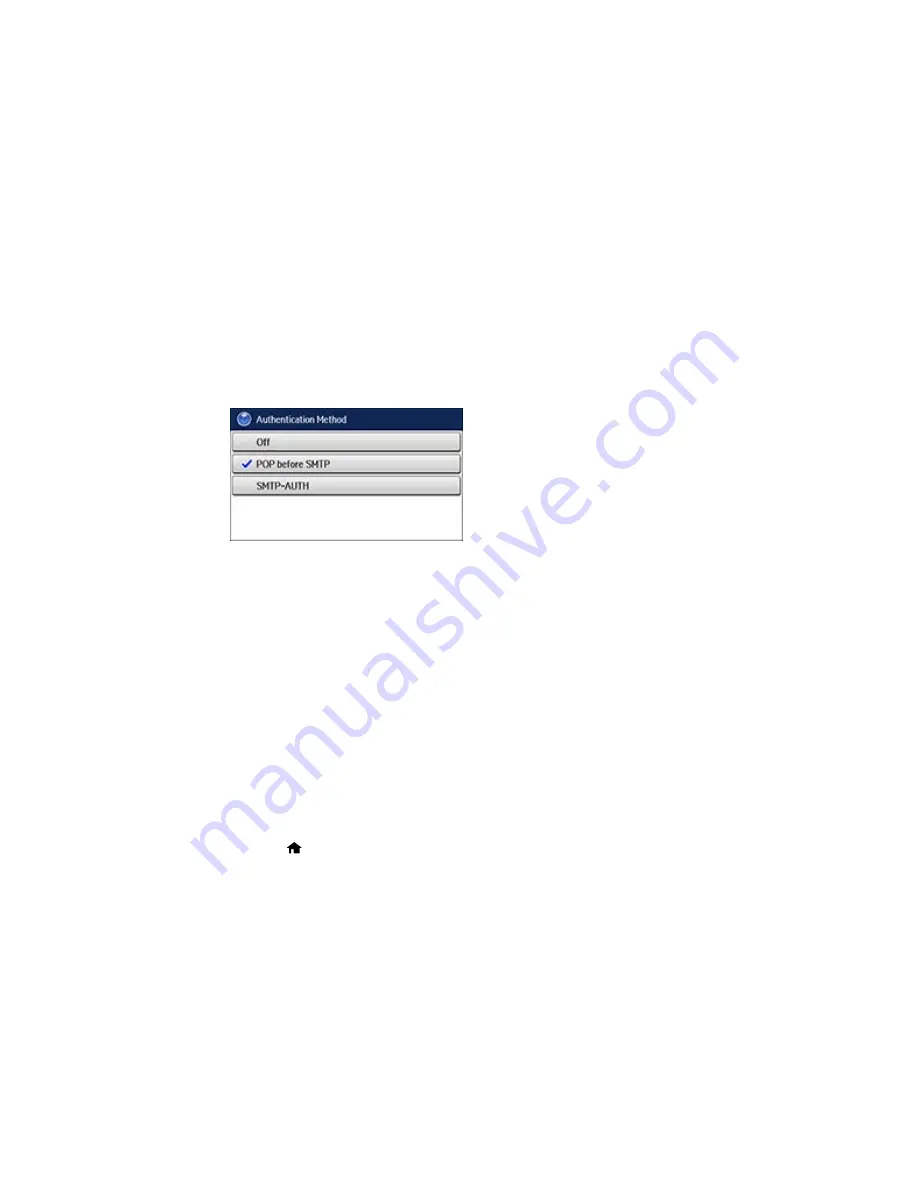
You see a screen like this:
8.
Select one of the options shown above, then select the settings you want to use. Contact your
internet service provider if necessary to confirm the authentication method for the email server.
9.
Select
OK
to save and select
Done
to exit.
10. Select
Connection Check
to verify the connection to the email server.
Parent topic:
Changing or Updating Network Connections
Related tasks
Scanning to Email
Forwarding Received Faxes
Disabling Wi-Fi Features
You may need to disable your product's Wi-Fi features if you change your network connection type or
need to solve a problem with your network connection.
Note:
Before disabling Wi-Fi features, make a note of your product's SSID (network name) and
password, and any network settings selected for the Epson Connect services you may use.
1.
Press the
home button, if necessary.
57
Summary of Contents for WF-8590
Page 1: ...WF 8590 User s Guide ...
Page 2: ......
Page 70: ...1 Open the feeder guard and pull up the paper support 2 Slide the edge guides outward 70 ...
Page 92: ...Note Secure the optional cassette to the cabinet as shown here 92 ...
Page 219: ...You see this window 219 ...
Page 242: ...4 Click OK Parent topic Scanning 242 ...
Page 245: ...DSL connection 1 Telephone wall jack 2 DSL filter 3 DSL modem 245 ...
Page 246: ...ISDN connection 1 ISDN wall jack 2 Terminal adapter or ISDN router 246 ...
Page 278: ...You see this window 3 Select Fax Settings for Printer Select your product if prompted 278 ...
Page 279: ...You see this window 4 Select Speed Dial Group Dial List 279 ...
Page 373: ...2 Open rear cover 1 D1 3 Carefully remove any jammed paper 373 ...
Page 378: ...4 Carefully remove any jammed pages 5 Close the ADF cover then raise the document cover 378 ...
Page 379: ...6 Carefully remove any jammed pages 7 Lower the document cover 379 ...


