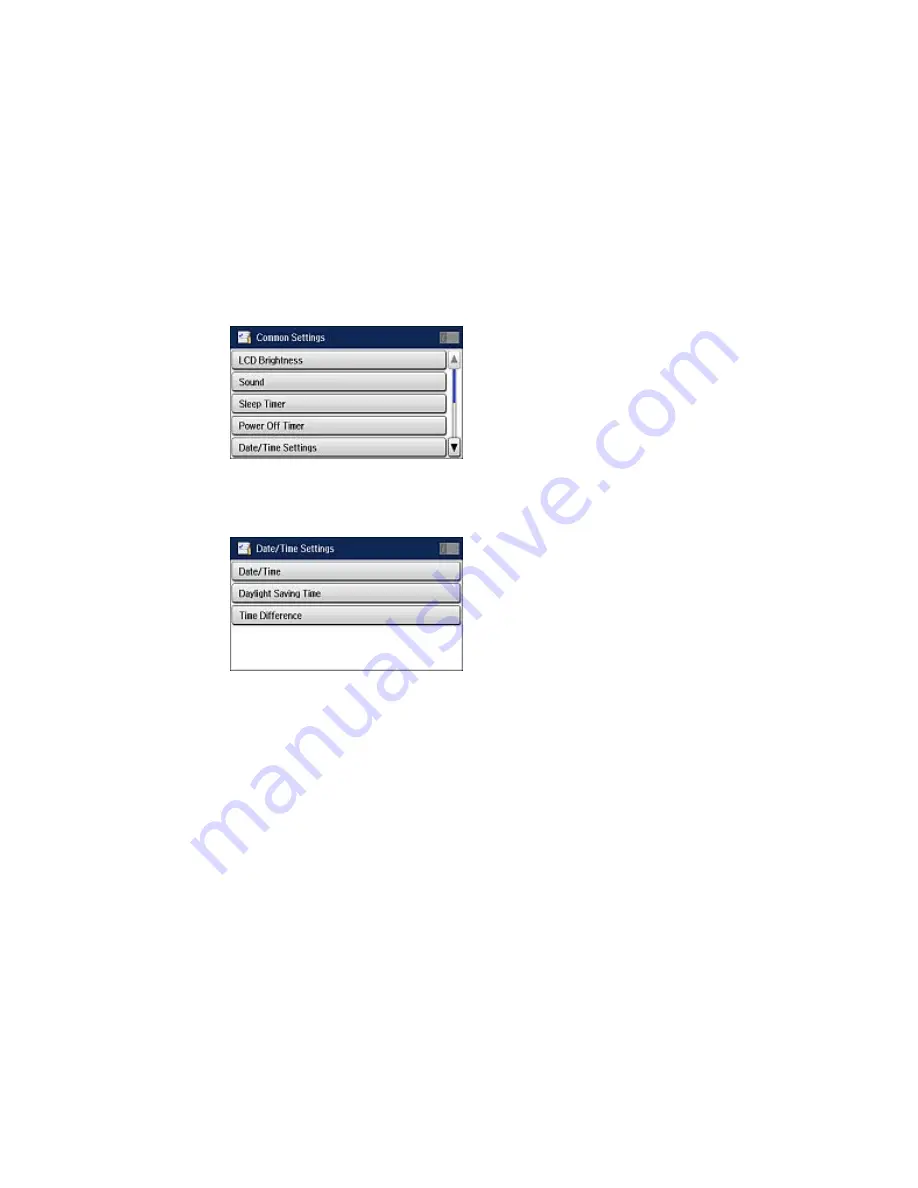
4.
Select
Common Settings
.
5.
Select
Date/Time Settings
.
You see a screen like this:
6.
Select
Daylight Saving Time
.
7.
Select the setting that applies to your area:
•
Winter
: it is winter or your region does not use Daylight Saving Time (DST)
•
Summer
: it is spring or summer and your region uses Daylight Saving Time (DST)
Note:
If your region uses Daylight Saving Time (DST), you must change this setting to match the
season. When you change from
Winter
to
Summer
, your product automatically sets its clock ahead
one hour. When you change from
Summer
to
Winter
, it sets its clock back one hour.
8.
Select
Date/Time
.
252
Summary of Contents for WF-8590
Page 1: ...WF 8590 User s Guide ...
Page 2: ......
Page 70: ...1 Open the feeder guard and pull up the paper support 2 Slide the edge guides outward 70 ...
Page 92: ...Note Secure the optional cassette to the cabinet as shown here 92 ...
Page 219: ...You see this window 219 ...
Page 242: ...4 Click OK Parent topic Scanning 242 ...
Page 245: ...DSL connection 1 Telephone wall jack 2 DSL filter 3 DSL modem 245 ...
Page 246: ...ISDN connection 1 ISDN wall jack 2 Terminal adapter or ISDN router 246 ...
Page 278: ...You see this window 3 Select Fax Settings for Printer Select your product if prompted 278 ...
Page 279: ...You see this window 4 Select Speed Dial Group Dial List 279 ...
Page 373: ...2 Open rear cover 1 D1 3 Carefully remove any jammed paper 373 ...
Page 378: ...4 Carefully remove any jammed pages 5 Close the ADF cover then raise the document cover 378 ...
Page 379: ...6 Carefully remove any jammed pages 7 Lower the document cover 379 ...


