• To resize the scan area, place your cursor over the edge or corner of the marquee, then click and
drag the edges where you want them. (Hold down the
Shift
key as you resize the marquee to
retain the same width/height proportions.)
•
Normal preview
: To create additional marquees (up to 50, if available), click the
Copy
Marquee icon to copy the existing marquee and paste it on the preview image.
• To delete a marquee, click the marquee, then click the
Delete Marquee icon.
•
Thumbnail preview
: To change the preview style, click one of the
Size
icons.
Note:
If you draw multiple marquees, make sure you select the
All
button in the Preview window
before you scan. Otherwise, only the area inside the currently selected marquee will be scanned.
3.
Click inside the scan area and make any necessary settings in the Epson Scan window.
Parent topic:
Scanning in Professional Mode
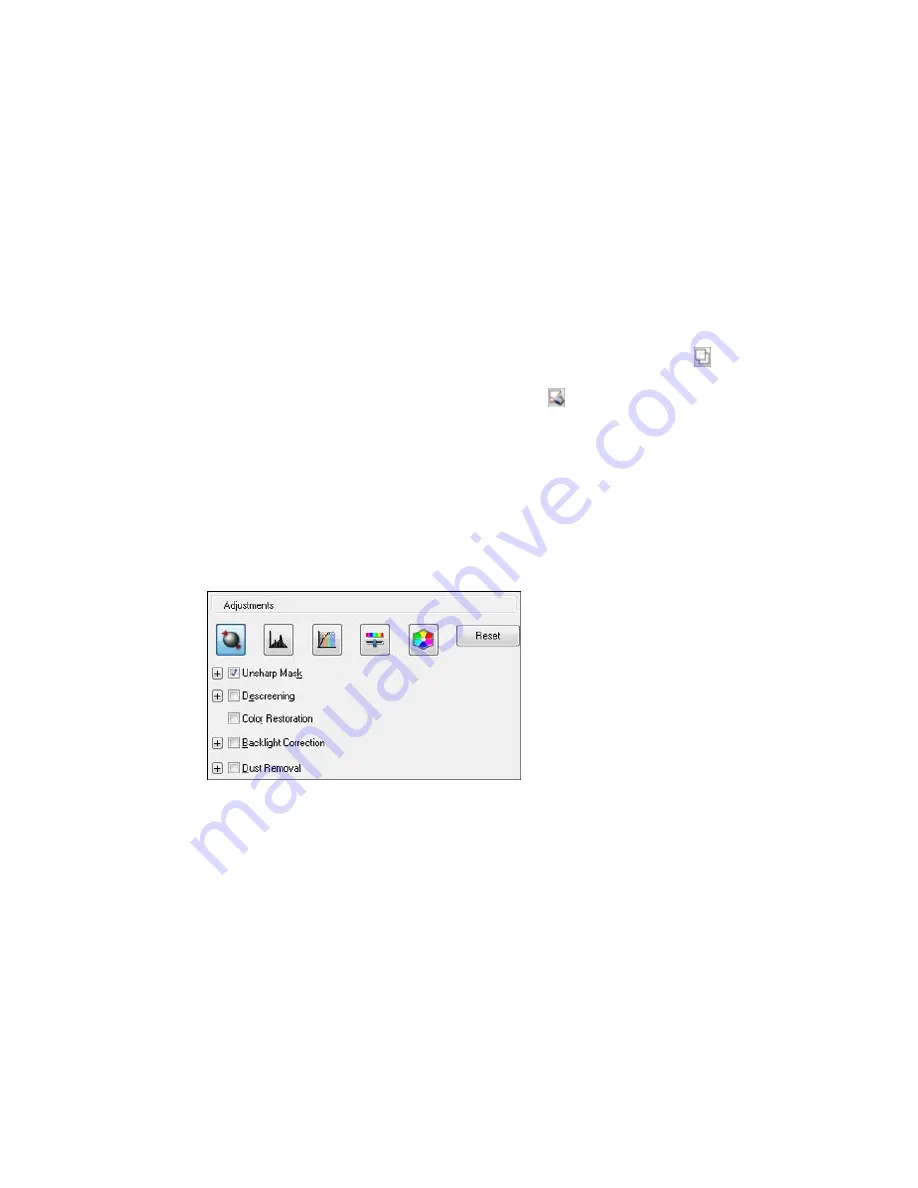
Available Image Adjustments - Professional Mode
You can select these Adjustments options in Epson Scan Professional Mode. Not all adjustment settings
may be available, depending on other settings you have chosen.
Note:
Select the
Image Option
checkbox if you need to set any of the grayed-out image adjustments
beneath the checkbox.
225
Summary of Contents for WF-8590
Page 1: ...WF 8590 User s Guide ...
Page 2: ......
Page 70: ...1 Open the feeder guard and pull up the paper support 2 Slide the edge guides outward 70 ...
Page 92: ...Note Secure the optional cassette to the cabinet as shown here 92 ...
Page 219: ...You see this window 219 ...
Page 242: ...4 Click OK Parent topic Scanning 242 ...
Page 245: ...DSL connection 1 Telephone wall jack 2 DSL filter 3 DSL modem 245 ...
Page 246: ...ISDN connection 1 ISDN wall jack 2 Terminal adapter or ISDN router 246 ...
Page 278: ...You see this window 3 Select Fax Settings for Printer Select your product if prompted 278 ...
Page 279: ...You see this window 4 Select Speed Dial Group Dial List 279 ...
Page 373: ...2 Open rear cover 1 D1 3 Carefully remove any jammed paper 373 ...
Page 378: ...4 Carefully remove any jammed pages 5 Close the ADF cover then raise the document cover 378 ...
Page 379: ...6 Carefully remove any jammed pages 7 Lower the document cover 379 ...


