•
Windows (other versions)
: Click
or
Start
, and select
All Programs
or
Programs
. Select
EPSON Software
, then select
Document Capture Pro
.
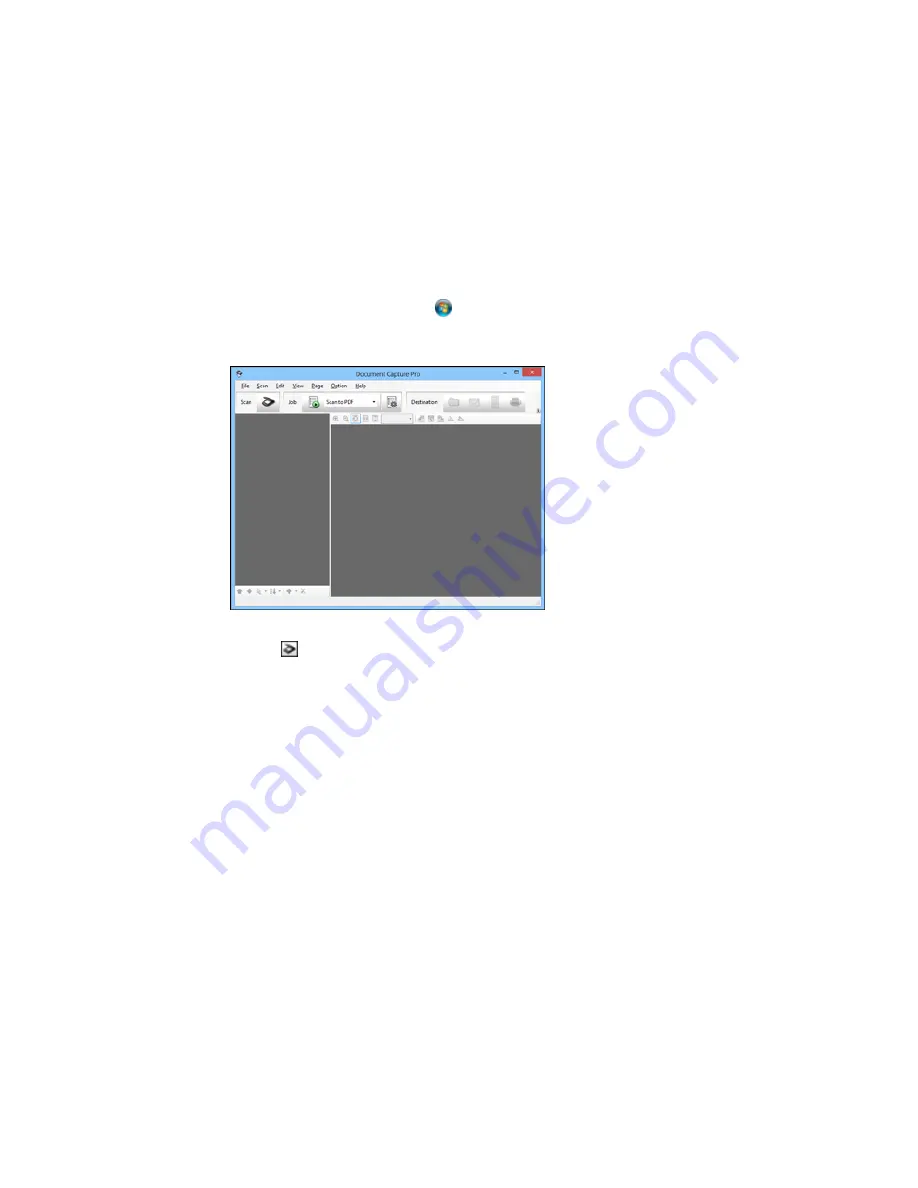
You see this window:
3.
Click the
Scan
icon.
4.
Select any displayed scan settings you want to use.
Note:
See the Help information in Document Capture Pro for details.
5.
Click
Scan
.
You see a preview of your scan in the Document Capture Pro window.
6.
Open the
File
menu and select
Batch Save
.
7.
Click
File Name Settings
.
8.
Select
Apply Job Separation
and click
Separation Settings
.
9.
Select the method you used to separate the originals, select a folder name specification and click
OK
.
233
Summary of Contents for WF-6590 series
Page 1: ...WF 6590 User s Guide ...
Page 2: ......
Page 97: ...Related tasks Enabling the Optional Paper Cassettes PostScript Printer Software OS X 97 ...
Page 99: ...1 Open the document cover 99 ...
Page 211: ...You see this window 211 ...
Page 237: ...DSL connection 1 Telephone wall jack 2 DSL filter 3 DSL modem 237 ...
Page 238: ...ISDN connection 1 ISDN wall jack 2 Terminal adapter or ISDN router 238 ...
Page 271: ...You see this window 4 Select Speed Dial Group Dial List 271 ...
Page 335: ...6 Raise the lever and open the ADF cover F 335 ...
Page 368: ...4 Carefully remove any jammed pages 368 ...
Page 369: ...5 Close the ADF cover then raise the document cover 369 ...
Page 370: ...6 Carefully remove any jammed pages 7 Lower the document cover 370 ...


