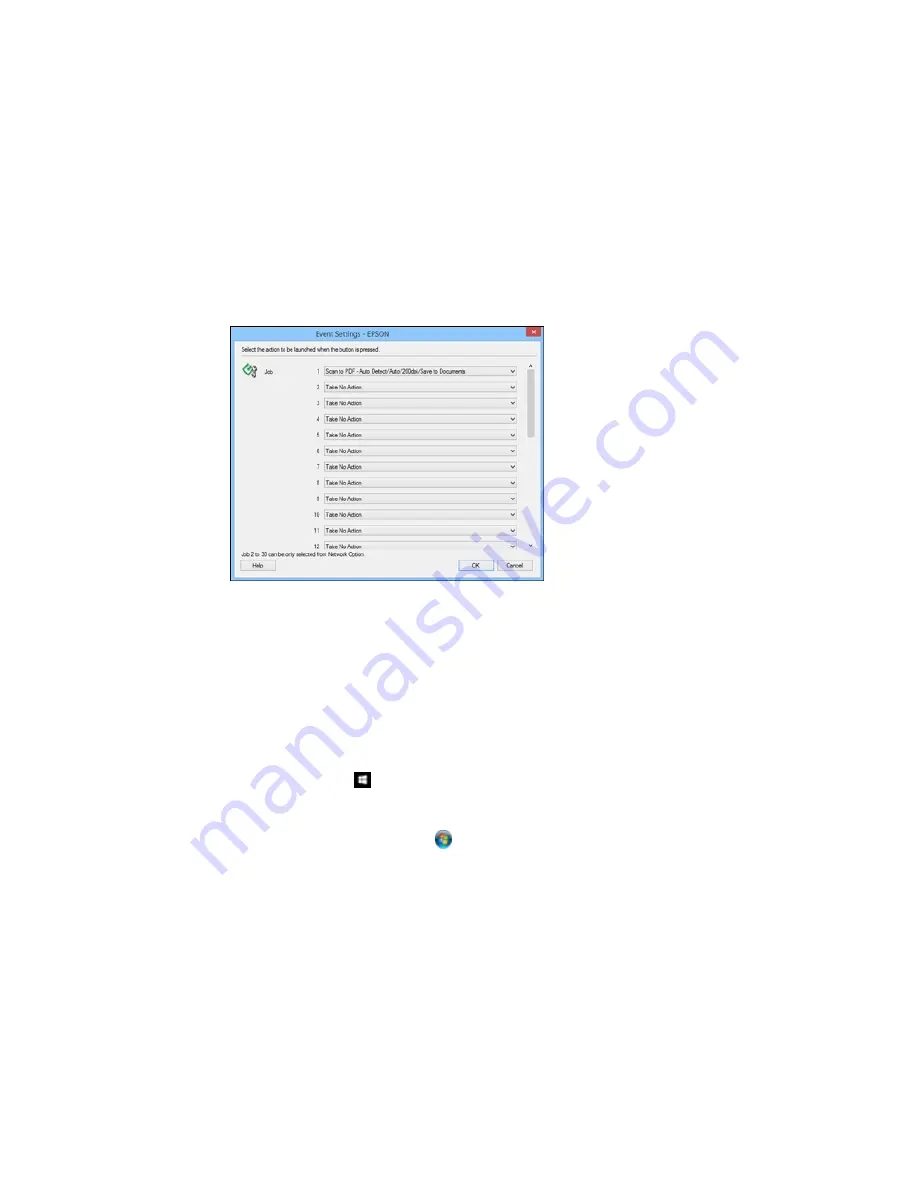
5.
Select the jobs that you want to assign to any of the pull-down menus.
You can now use the added scan jobs when you scan from the product control panel.
6.
Click
OK
, then click
OK
again.
Parent topic:
Starting a Scan Using the Product Control Panel
Starting a Scan with Document Capture Pro or Document Capture
When you scan with Document Capture Pro (Windows) or Document Capture (OS X), the program
automatically saves your scanned file on your computer in the folder you specify. You can select
settings, preview, and change the scanned file settings as necessary.
1.
Do one of the following to start Document Capture Pro or Document Capture:
•
Windows 10:
Click
and select
All apps
. Select
EPSON Software
, then select
Document
Capture Pro
.
•
Windows 8.x
: Navigate to the
Apps
screen and select
Document Capture Pro
.
•
Windows (other versions)
: Click
or
Start
, and select
All Programs
or
Programs
. Select
EPSON Software
, then select
Document Capture Pro
.
196
Summary of Contents for WF-6590 series
Page 1: ...WF 6590 User s Guide ...
Page 2: ......
Page 97: ...Related tasks Enabling the Optional Paper Cassettes PostScript Printer Software OS X 97 ...
Page 99: ...1 Open the document cover 99 ...
Page 211: ...You see this window 211 ...
Page 237: ...DSL connection 1 Telephone wall jack 2 DSL filter 3 DSL modem 237 ...
Page 238: ...ISDN connection 1 ISDN wall jack 2 Terminal adapter or ISDN router 238 ...
Page 271: ...You see this window 4 Select Speed Dial Group Dial List 271 ...
Page 335: ...6 Raise the lever and open the ADF cover F 335 ...
Page 368: ...4 Carefully remove any jammed pages 368 ...
Page 369: ...5 Close the ADF cover then raise the document cover 369 ...
Page 370: ...6 Carefully remove any jammed pages 7 Lower the document cover 370 ...


