3.
Press the
home button, if necessary.
4.
Select
Scan
.
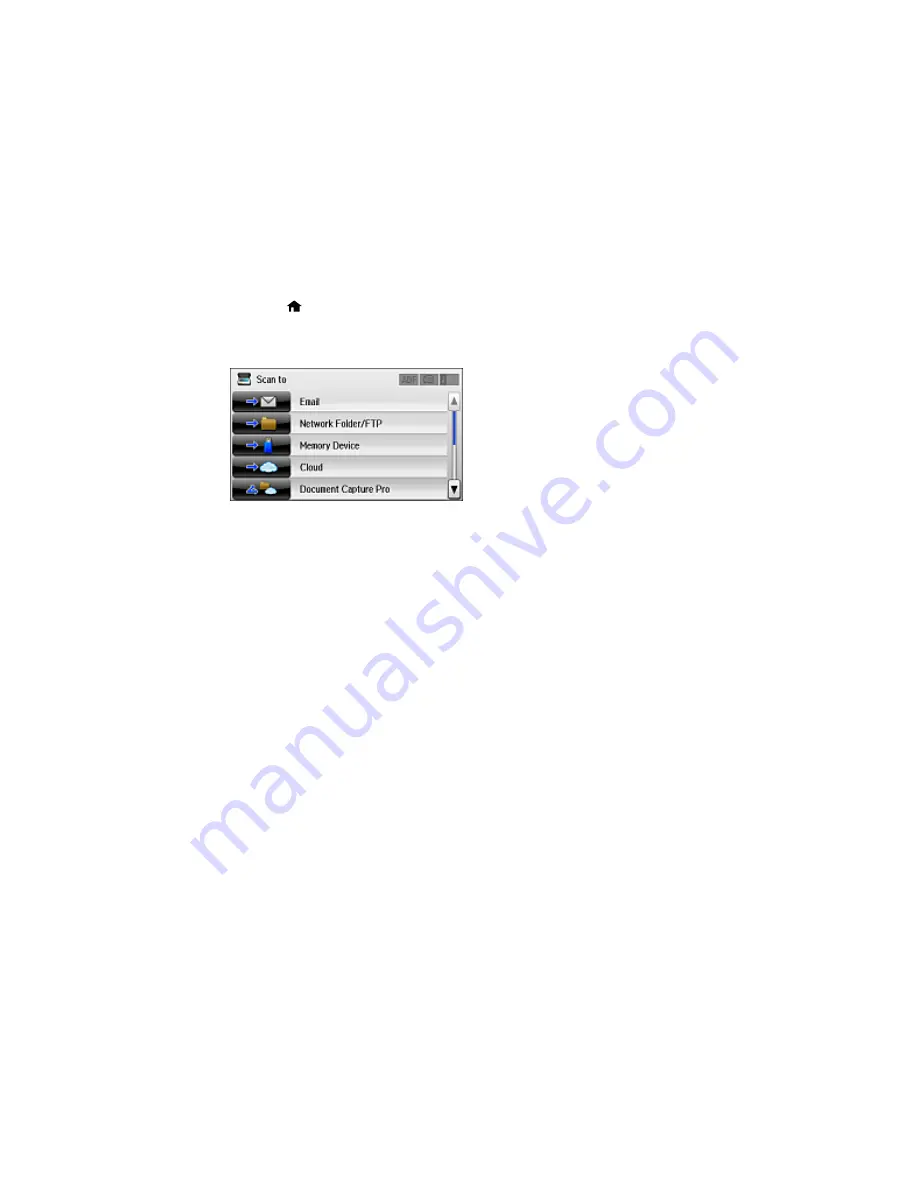
You see a screen like this:
5.
Select one of the following
Scan to
options:
•
lets you send scanned files through a pre-configured email server.
•
Network Folder/FTP
saves your scan file to a specified folder on a network.
•
Memory Device
saves your scan file on a USB device connected to your product.
•
Cloud
sends your scanned files to a destination that you have registered with Epson Connect.
•
Document Capture Pro
allows you to scan over a network using your saved job settings in
Document Capture Pro or Document Capture.
Note:
You cannot use this option to scan an image to Document Capture or Document Capture
Pro when your product is connected to your computer's USB port.
•
Computer (WSD)
lets you manage network scanning in Windows 10, Windows 8.x, Windows 7,
or Windows Vista (English only). To use this feature, you must first set up WSD (Web Services for
Devices) on the computer.
6.
Do any of the following, as necessary:
• Select the email address, location, destination, or computer, as necessary.
• Select
Contacts
to choose an email address or network folder.
• Select
Format
to choose the file format.
• Select
Settings
to display additional scanning options.
186
Summary of Contents for WF-6590 series
Page 1: ...WF 6590 User s Guide ...
Page 2: ......
Page 97: ...Related tasks Enabling the Optional Paper Cassettes PostScript Printer Software OS X 97 ...
Page 99: ...1 Open the document cover 99 ...
Page 211: ...You see this window 211 ...
Page 237: ...DSL connection 1 Telephone wall jack 2 DSL filter 3 DSL modem 237 ...
Page 238: ...ISDN connection 1 ISDN wall jack 2 Terminal adapter or ISDN router 238 ...
Page 271: ...You see this window 4 Select Speed Dial Group Dial List 271 ...
Page 335: ...6 Raise the lever and open the ADF cover F 335 ...
Page 368: ...4 Carefully remove any jammed pages 368 ...
Page 369: ...5 Close the ADF cover then raise the document cover 369 ...
Page 370: ...6 Carefully remove any jammed pages 7 Lower the document cover 370 ...


