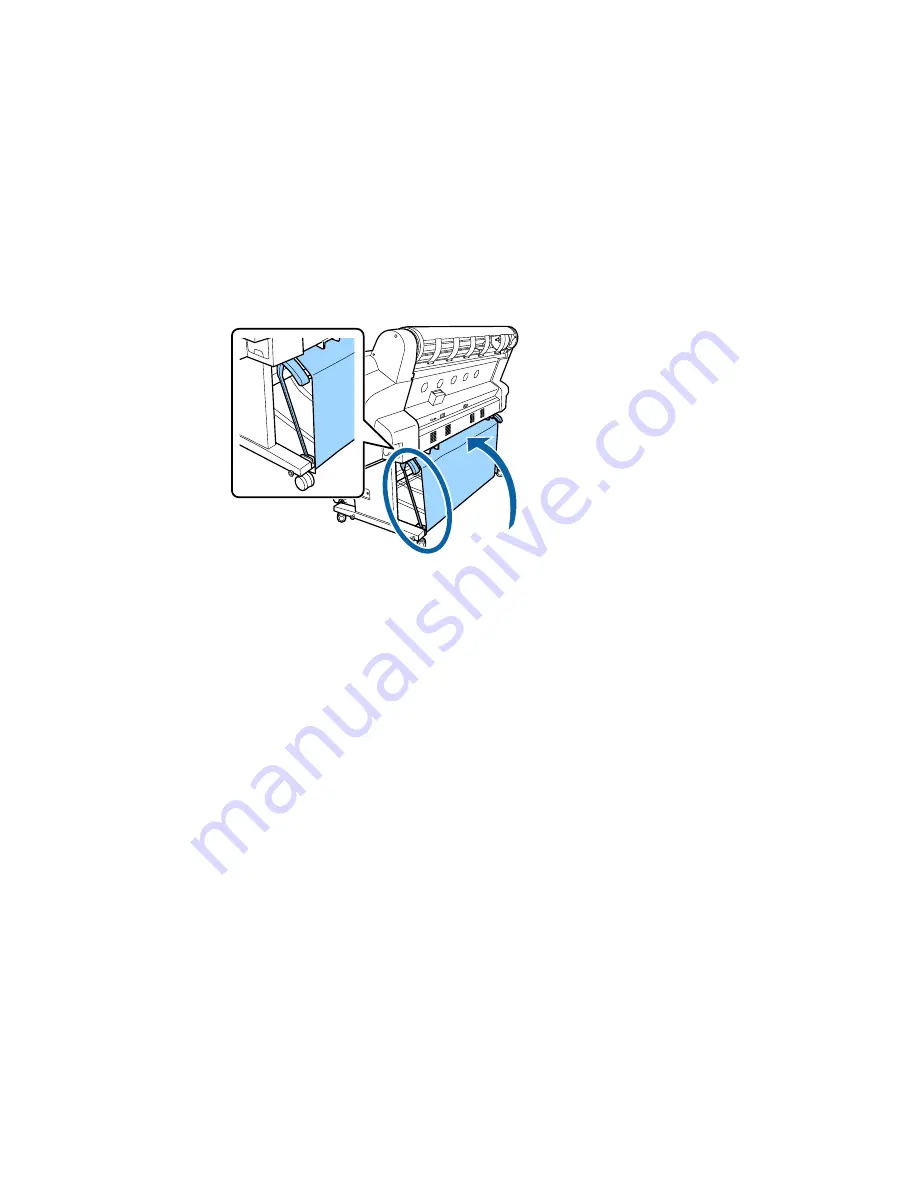
56
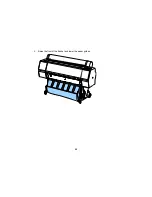
3.
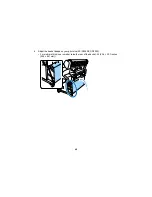
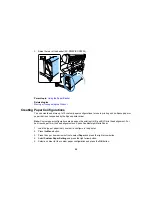
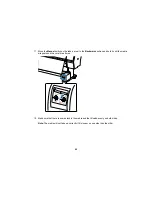
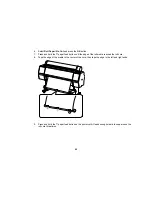
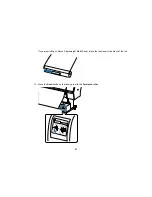
Raise the rear of the basket (SC-P8000/SC-P9000).
Parent topic:
Using the Paper Basket
Related topics
Moving or Transporting the Product
Creating Paper Configurations
You can create and store up to 10 custom paper configurations for use in printing on non-Epson paper or
paper that is not supported by the Epson printer driver.
Note:
Custom paper configurations are based on the existing Uni-D and Bi-D print head alignment. For
best results, perform the head alignments on Epson Doubleweight Matte Paper.
1.
Load the type of paper that you want to configure in the printer.
2.
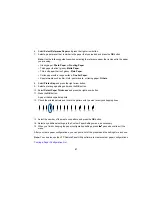
Press the
Menu
button.
3.
Press the up or down arrow button to select
Paper
and press the right arrow button.
4.
Select
Custom Paper Setting
and press the right arrow button.
5.
Select a number for the custom paper configuration and press the
OK
button.
Summary of Contents for SureColor P8000
Page 1: ...Epson SureColor P6000 P7000 P8000 P9000 User s Guide ...
Page 2: ......
Page 8: ......
Page 21: ...21 5 Release the tension levers on both roll media adapters ...
Page 31: ...31 If you are using the optional Auto Take Up Reel rewind the paper using the Manual switch ...
Page 42: ...42 1 Raise the paper guides ...
Page 43: ...43 2 Lower the front of the paper basket ...
Page 45: ...45 4 Raise the front of the basket one level ...
Page 46: ...46 5 Fasten the front of the basket with the tabs ...
Page 50: ...50 1 Unfasten the tabs at the front of the paper basket ...
Page 51: ...51 2 Raise the paper guides ...
Page 52: ...52 3 Raise the front of the basket so that the cloth is pulled taut ...
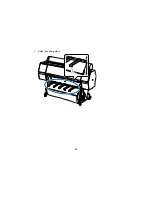
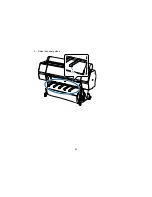
Page 54: ...54 1 Raise the paper guides ...
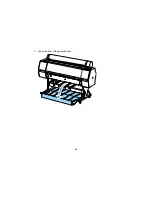
Page 55: ...55 2 Raise the front of the basket and lower the paper guides ...
Page 92: ...92 You can also place the same print data multiple times as shown here ...
Page 190: ...190 2 Cut the paper above the paper feed slot ...

