27
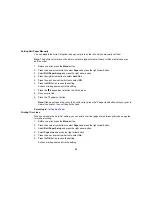
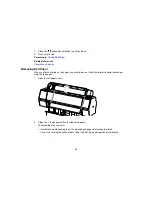
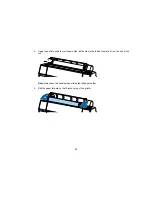
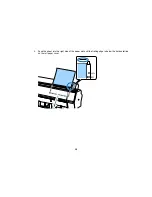
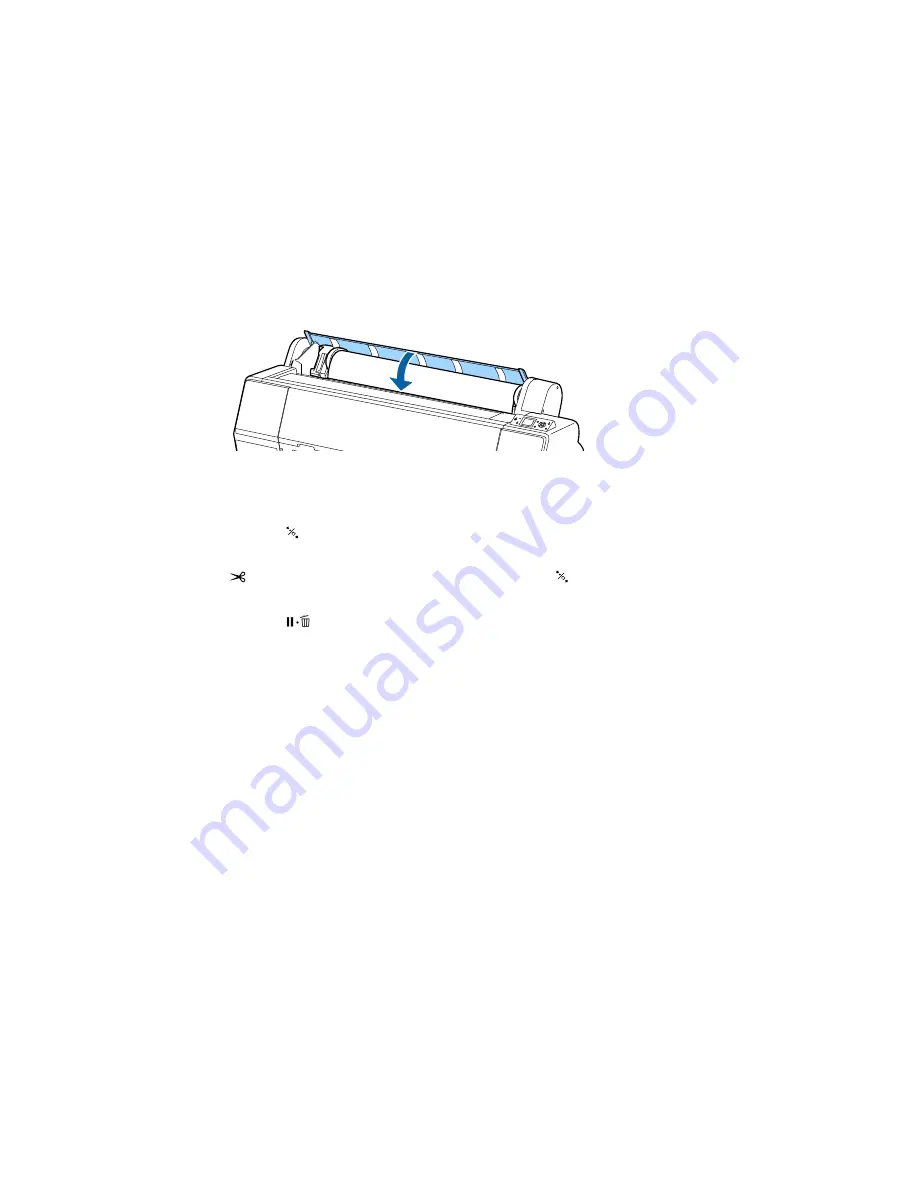
14. Close the roll paper cover.
Note:
To prevent dust from accumulating inside the printer, always keep the roll paper cover closed
unless you are loading or unloading media.
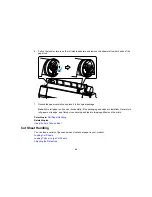
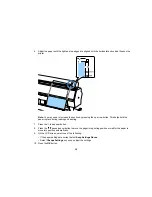
15. Press the
load paper button.
Note:
An uneven or damaged leading edge on the roll paper may cause loading issues. Press the
paper cut button once within 3 seconds of pressing the
load paper button to trim the edge of
the roll paper.
16. Press the
pause/cancel button to move the paper into printing position or wait for the paper to
move into position automatically.
17. On the screen that appears, select one of the following settings:
• If the paper settings are correct, select
Keep Settings Above
.
• Select
Change Settings
so you can adjust the settings.
18. Press the
OK
button.
To avoid indenting or creasing the paper, remove it from the paper path and roll it up when you are not
printing.
Note:
Store roll paper on its end or horizontally (if the packaging end-caps are installed). Never store roll
paper on its edge, as a flat spot can develop and lead to imaging artifacts on the prints.
Parent topic:
Roll Paper Handling
Related references
Available Epson Papers
Summary of Contents for SureColor P8000
Page 1: ...Epson SureColor P6000 P7000 P8000 P9000 User s Guide ...
Page 2: ......
Page 8: ......
Page 21: ...21 5 Release the tension levers on both roll media adapters ...
Page 31: ...31 If you are using the optional Auto Take Up Reel rewind the paper using the Manual switch ...
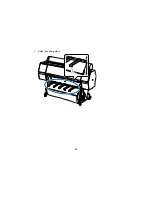
Page 42: ...42 1 Raise the paper guides ...
Page 43: ...43 2 Lower the front of the paper basket ...
Page 45: ...45 4 Raise the front of the basket one level ...
Page 46: ...46 5 Fasten the front of the basket with the tabs ...
Page 50: ...50 1 Unfasten the tabs at the front of the paper basket ...
Page 51: ...51 2 Raise the paper guides ...
Page 52: ...52 3 Raise the front of the basket so that the cloth is pulled taut ...
Page 54: ...54 1 Raise the paper guides ...
Page 55: ...55 2 Raise the front of the basket and lower the paper guides ...
Page 92: ...92 You can also place the same print data multiple times as shown here ...
Page 190: ...190 2 Cut the paper above the paper feed slot ...

