C
Enter the
Width
,
Height
for the
Paper Size
,
enter the margins, and then click
OK
.
The range of values available for page sizes and
margins vary with the printer model and the
values selected with the printer.
U
Note:
❏
To edit a saved custom size, choose its name
from the list on the left.
❏
To copy a saved custom size, select the size in
the list on the left and click
Duplicate
.
❏
To delete a saved custom size, select it in the list
on the left and click
-
.
❏
The custom paper size setting differs
depending on the operating system version.
See your operating system's documentation for
details.
D
Click
OK
.
You can select the paper size you saved from the
Paper Size pop-up menu.
You can now print as normal.
Printing CAD Drawings
The printer supports the HP-GL/2 driver and HP RTL
(Raster Transfer Language) used in plotters. You can
use one of the following methods to print CAD
drawings with this printer.
❏
Print in the CAD / Line Drawing mode of the
included printer driver.
❏
Print while emulating HP-GL/2 and HP RTL,
which are used in plotters.
Whether the printer prints normally or prints while
emulating HP-GL/2 and HP RTL is determined and
selected automatically by the print data sent. If
operation mode switching and printing are not
performed correctly, open the Setup menu and set
Printer Mode
to
HP-GL/2
.
Printing in the CAD / Line
Drawing mode of the printer
driver
When you will print a CAD drawing with Windows
applications software, we recommend printing in the
CAD / Line Drawing mode of the printer driver.
Windows
A
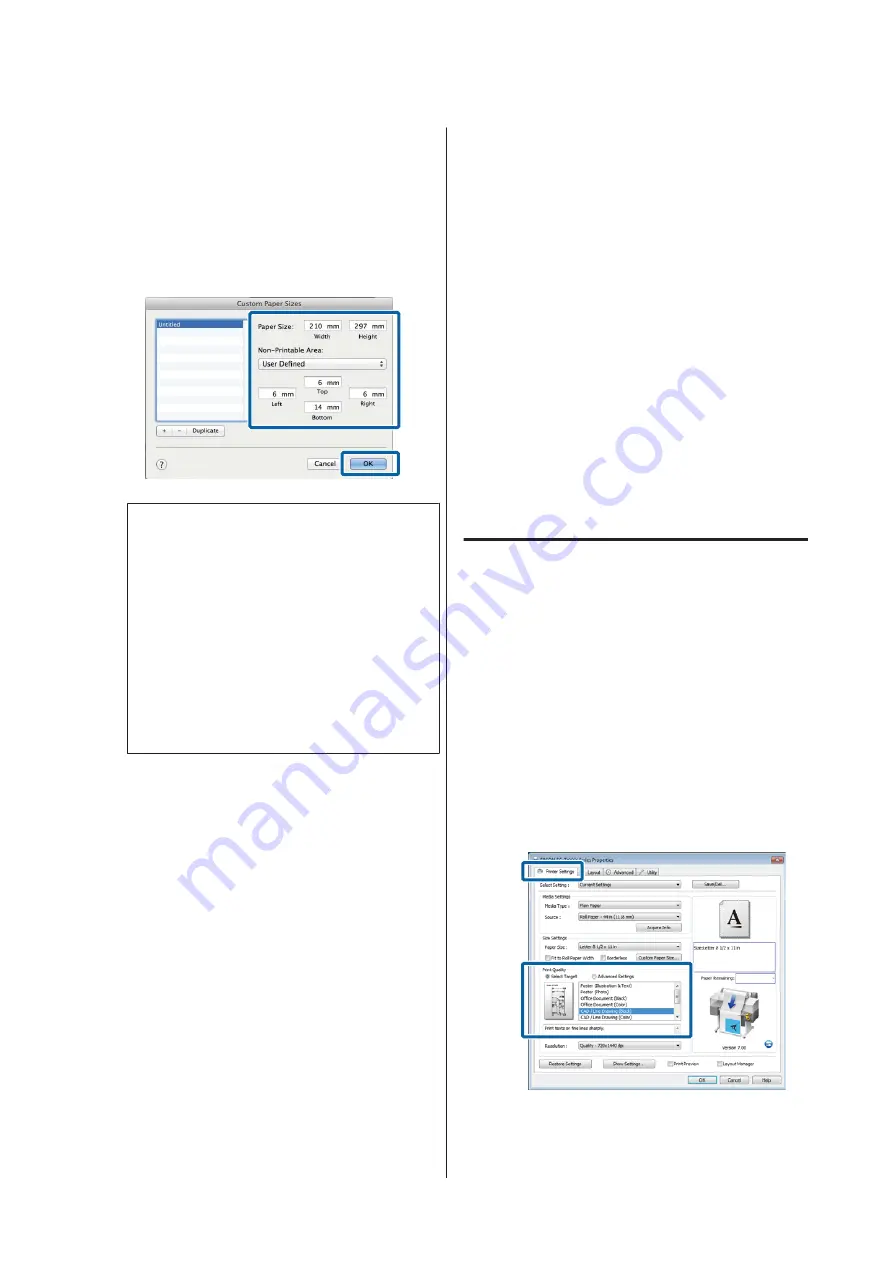
Open the Printer Settings tab of the printer
driver. Set
Print Quality
to
Select Target
, and
then select
CAD / Line Drawing (Black)
,
CAD /
Line Drawing (Color)
or
CAD / Line Drawing
(Bi-Level)
.
SC-T7200 Series/SC-T5200 Series/SC-T3200 Series/SC-T7200D Series/SC-T5200D Series User's Guide
More Ways to Print
89


