Control
panel
Copy
Center
Scan To e-mail
✓
✓
Receive e-mail
✓
✓
Scan To Shared Folder
✓
✓
Scan To HDD
✓
✓
Operations for image
files that were scanned or
received by e-mail
*2
*3
✓
✓
Send as an e-mail
attachment
✓
✓
Send to a folder
✓
✓
Download file
-
✓
Delete
✓
✓
Add or edit e-mail desti-
nation addresses
-
✓
Add or edit shared folder
addresses
-
✓
Check file operation his-
tory
-
✓
Scanner maintenance
Calibration
✓
-
Feed Adjust
✓
-
*1
Available only when the optional hard disk unit or
Adobe PostScript 3 Expansion Unit has been
installed.
*2
In the case of Scan To e-mail and Scan To Shared
Folder as well, all scanned image files are saved to
the hard disk of the printer.
*3
Printing is limited to JPEG files saved at a directly
printable resolution.
Starting Copy Center
Copy Center is included on the network interface of the
printer, and it functions when the MFP Scanner is
connected to the printer.
The following procedure describes how to start Copy
Center.
A
Start a web browser on a tablet terminal or
computer connected to the printer via the
network.
B
Enter the IP address specified on the printer in
the address bar, and then press the Enter key or
the return key.
C
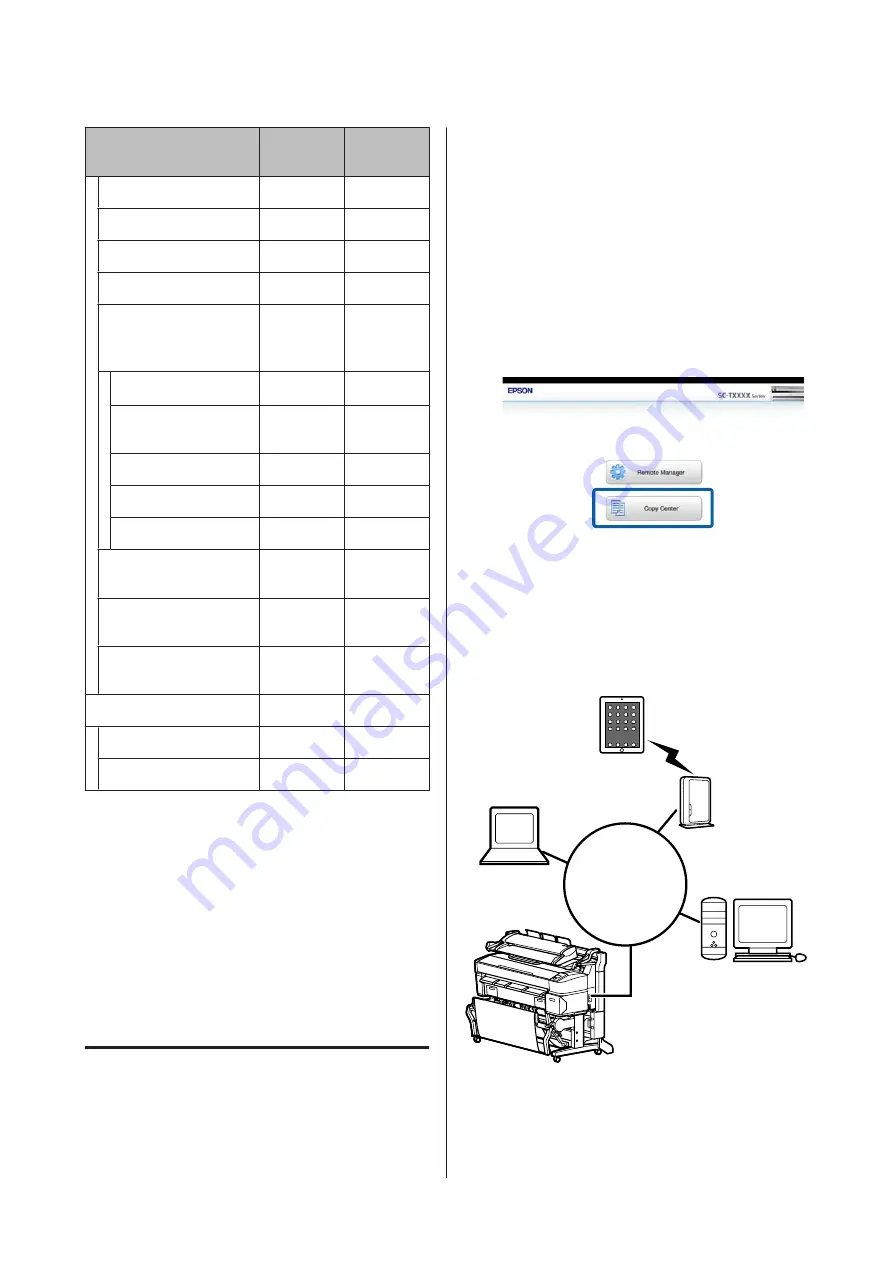
In the displayed screen, click Copy Center.
The printer does not have a wireless LAN function. To
connect the printer and a tablet terminal over the
network, you need a wireless LAN router or wireless
LAN access point.
Example
LAN
For supported operating systems and browsers, see the
following section.
U
“System Requirements” on page 210
SC-T7200 Series/SC-T5200 Series/SC-T3200 Series/SC-T7200D Series/SC-T5200D Series User's Guide
Copying and Scanning
72


