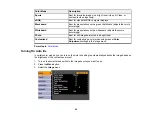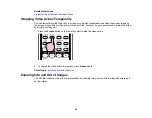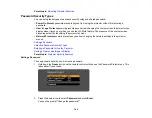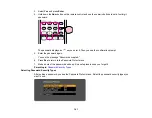
3.
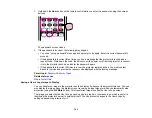
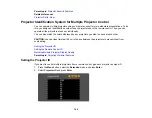
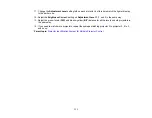
Use the arrow buttons on the remote control to select the identification number you want to use for
the projector. Then press
Enter
.
Repeat these steps for all the other projectors you want to operate from one remote control.
Parent topic:
Projector Identification System for Multiple Projector Control
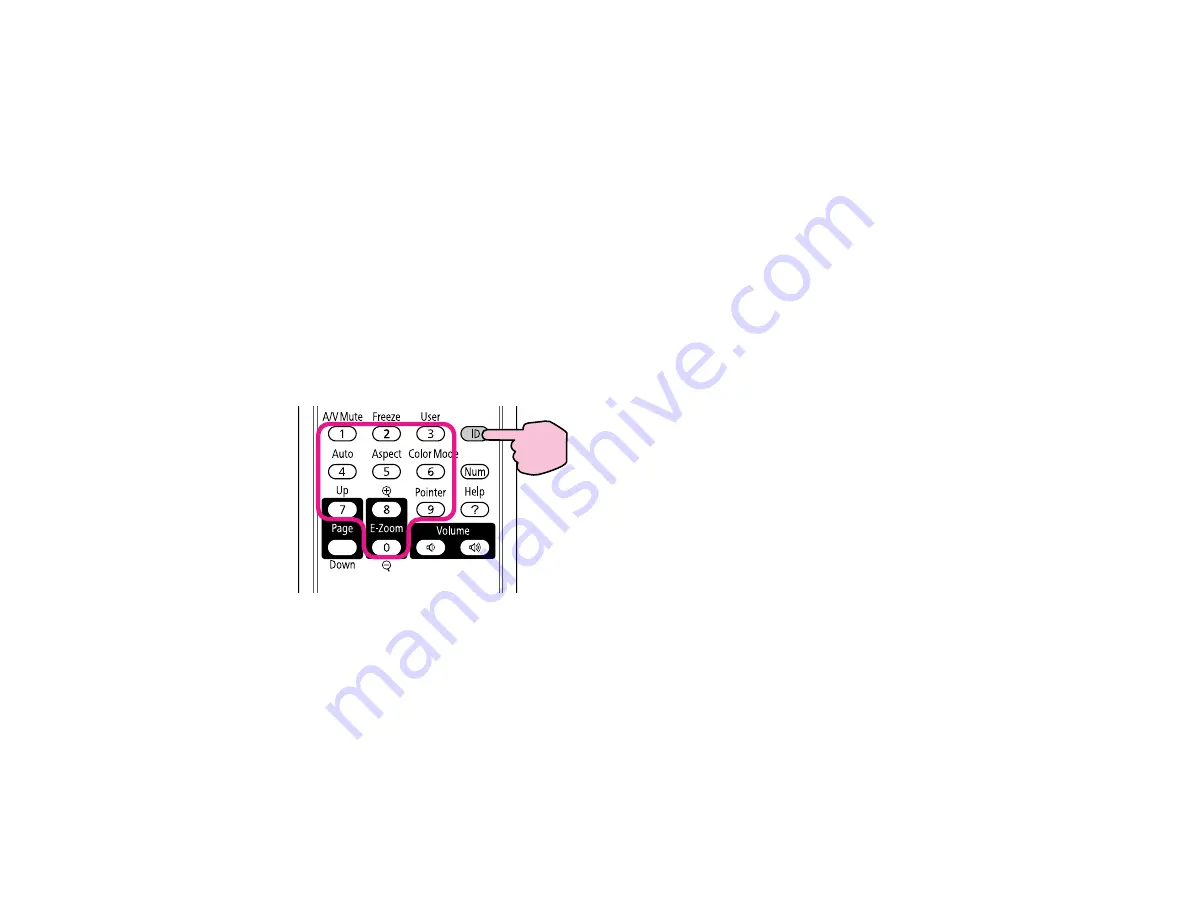
Setting the Remote Control ID
The remote control's ID is set to zero by default so it can operate any compatible projector. If you want to
set the remote control to operate only a particular projector, you need to set the remote control's ID to
match the projector's ID.
1.
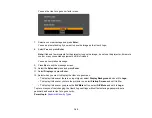
Turn on the projector you want the remote control to operate with exclusively.
2.
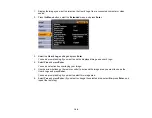
Make sure you know the projector's ID number as set in the
Extended
menu
Projector ID
setting.
3.
Aim the remote control at that projector.
4.
Hold down the
ID
button on the remote control while you press the numeric button that matches the
projector's ID. Then release the buttons.
5.
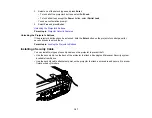
Press the
ID
button on the remote control to check if the ID-setting process worked.
You see a message displayed by the projector.
• If the remote control is listed as
On
, the remote control ID is set to operate only the listed projector.
• If the remote control is listed as
Off
, the remote control ID is not set properly. Repeat the steps
above to set the ID to match the projector you want to control.
Note:
You must set the remote control ID to match the projector ID each time you turn on the
projector you have set it to control.
109
Summary of Contents for PowerLite 1830
Page 1: ...PowerLite 1830 1915 1925W Projector User s Guide ...
Page 2: ......
Page 8: ......
Page 24: ...Front Rear Ceiling 24 ...
Page 47: ...1 Open the battery cover as shown 2 Insert the batteries with the and ends facing as shown 47 ...
Page 52: ...5 Select the Basic menu and press Enter PowerLite 1830 PowerLite 1915 1925W 52 ...
Page 56: ...2 Insert the wireless LAN module into the port 3 Replace the cover 56 ...
Page 117: ...Component video input source Composite video input source 117 ...
Page 134: ...2 Open the air filter cover 134 ...

