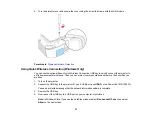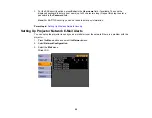
7.
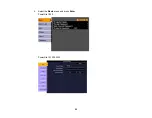
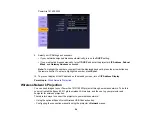
Select the
Wireless LAN
menu and press
Enter.
8.
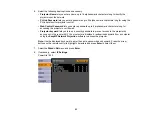
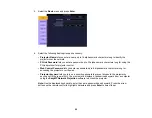
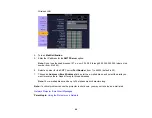
Select one of the following connection modes:
•
Quick
mode lets you easily connect one computer to the projector at a time. You can also select
this setting when you're using the optional Epson Quick Wireless Connection USB key.
•
Advanced
mode lets multiple computers access the projector at the same time and easily trade
off control of the projector. This method requires a wireless network access point or an AirPort
Extreme (or AirPort) base station.
Note:
The wireless network card or access point must comply with the 802.11g, 802.11b, or 802.11a
standard.
9.
Click
To Setup Wizard
if your access point is compatible with Wi-Fi Protected Setup (WPS), and
you want to use the Push Button or PIN Code method to configure the projector.
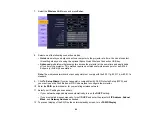
10. Enter the
SSID
(network name) for your existing wireless network.
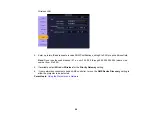
11. Select your IP settings as necessary:
• If your network assigns addresses automatically, turn on the
DHCP
setting.
• If you must set addresses manually, turn off
DHCP
and enter the projector's
IP Address
,
Subnet
Mask
, and
Gateway Address
as needed.
12. To prevent display of the SSID on the network standby screen, turn off
SSID Display
.
60
Summary of Contents for PowerLite 1830
Page 1: ...PowerLite 1830 1915 1925W Projector User s Guide ...
Page 2: ......
Page 8: ......
Page 24: ...Front Rear Ceiling 24 ...
Page 47: ...1 Open the battery cover as shown 2 Insert the batteries with the and ends facing as shown 47 ...
Page 52: ...5 Select the Basic menu and press Enter PowerLite 1830 PowerLite 1915 1925W 52 ...
Page 56: ...2 Insert the wireless LAN module into the port 3 Replace the cover 56 ...
Page 117: ...Component video input source Composite video input source 117 ...
Page 134: ...2 Open the air filter cover 134 ...


