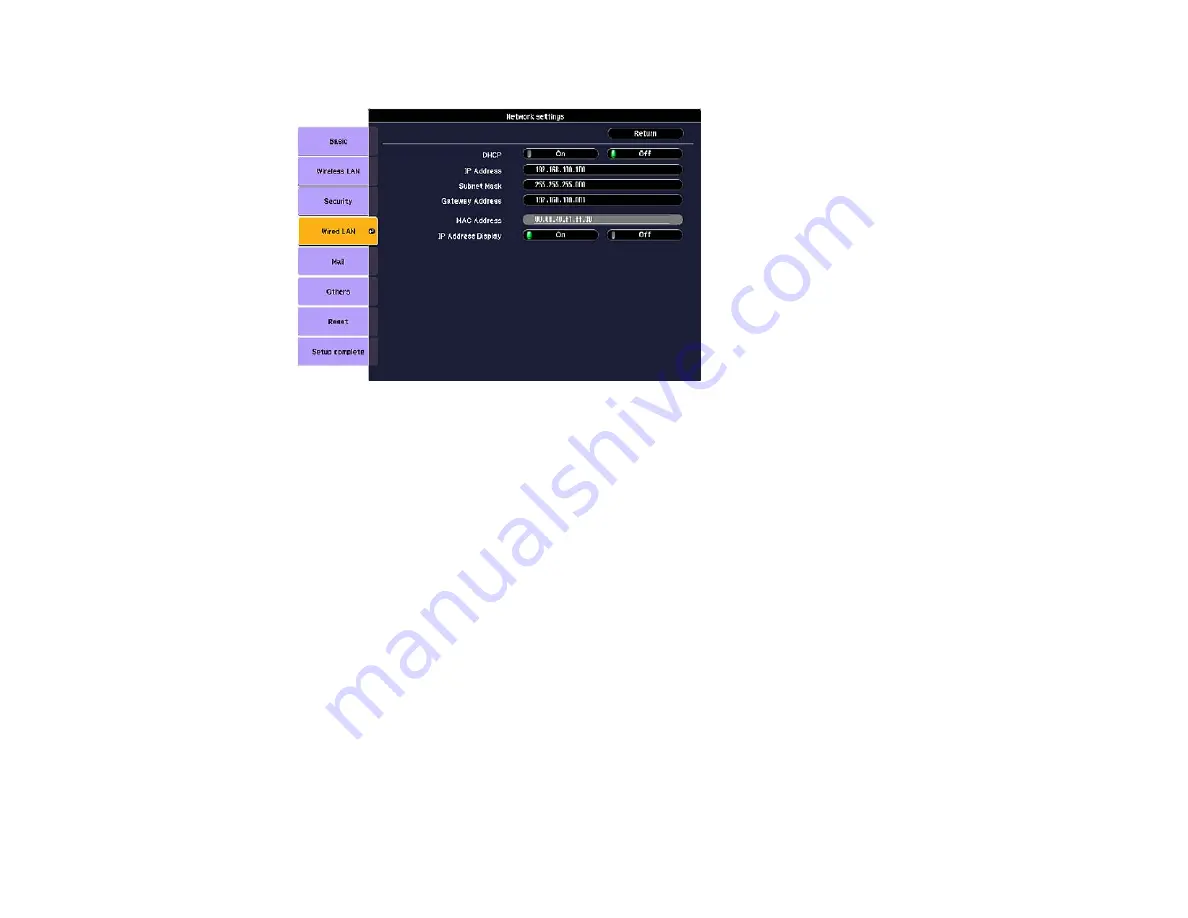
PowerLite 1915/1925W
9.
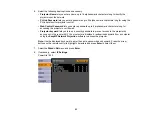
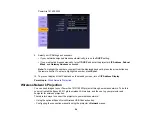
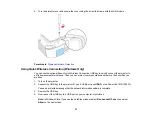
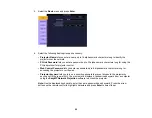
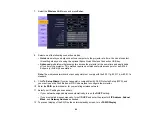
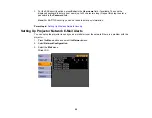
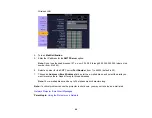
Select your IP Settings as necessary:
• If your network assigns addresses automatically, turn on the
DHCP
setting.
• If you must set addresses manually, turn off
DHCP
and enter the projector's
IP Address
,
Subnet
Mask
, and
Gateway Address
as needed.
Note:
To highlight the numbers you want from the displayed keyboard, press the arrow buttons on
the remote control. To select a highlighted number, press
Enter
.
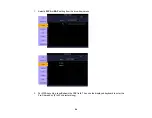
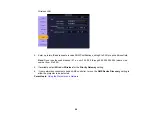
10. To prevent display of the IP address on the standby screen, turn off
IP Address Display
.
Parent topic:
Wireless Network Projection
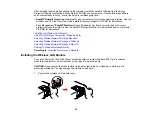
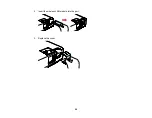
You can send images to your PowerLite 1915/1925W projector through a wireless network. To do this,
you must install the Epson 802.11g/b/a wireless LAN module, and then set up your projector and
computer for wireless projection.
There are two ways to connect the projector to your wireless network:
• Using the optional Epson Quick Wireless USB Connection key.
• Configuring the connection manually using the projector's
Network
menus.
54
Summary of Contents for PowerLite 1830
Page 1: ...PowerLite 1830 1915 1925W Projector User s Guide ...
Page 2: ......
Page 8: ......
Page 24: ...Front Rear Ceiling 24 ...
Page 47: ...1 Open the battery cover as shown 2 Insert the batteries with the and ends facing as shown 47 ...
Page 52: ...5 Select the Basic menu and press Enter PowerLite 1830 PowerLite 1915 1925W 52 ...
Page 56: ...2 Insert the wireless LAN module into the port 3 Replace the cover 56 ...
Page 117: ...Component video input source Composite video input source 117 ...
Page 134: ...2 Open the air filter cover 134 ...


