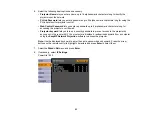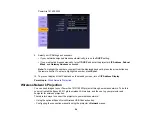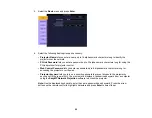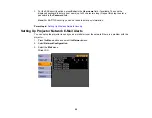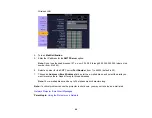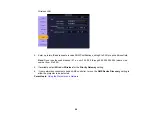
13. To prevent display of the IP address on the network standby screen, turn off
IP Address Display
.
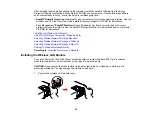
After you complete the wireless settings for your projector, you need to select the wireless network on
your computer.
Parent topic:
Selecting Wireless Network Settings in Windows
Before connecting to the projector, select the correct wireless network on your computer.
1.
To access your wireless utility software, double-click the network icon on the Windows taskbar.
2.
Do one of the following:
• If your projector is set up on an existing network (
Advanced
mode), select the network name
(SSID).
• If your projector is configured for
Quick
mode, select the SSID you assigned to the projector.
3.
Click
Connect.
Parent topic:
Selecting Wireless Network Settings in Mac OS
Before connecting to the projector, select the correct wireless network on your Macintosh.
1.
Click the AirPort icon on the menu bar at the top of the screen.
2.
Make sure AirPort is turned on, then do one of the following:
• If your projector is set up on an existing network (
Advanced
mode), select the network name
(SSID).
• If your projector is configured for
Quick
mode, select the SSID you assigned to the projector.
Parent topic:
Setting Up Wireless Network Security
You can set up security for your projector to use on the wireless network (PowerLite 1915/1925W). Set
up one of the following security options to match the settings used on your network:
• WEP encryption
• WPA security
• EAP protocol
1.
Press the
Menu
button and select the
Network
menu.
61
Summary of Contents for PowerLite 1830
Page 1: ...PowerLite 1830 1915 1925W Projector User s Guide ...
Page 2: ......
Page 8: ......
Page 24: ...Front Rear Ceiling 24 ...
Page 47: ...1 Open the battery cover as shown 2 Insert the batteries with the and ends facing as shown 47 ...
Page 52: ...5 Select the Basic menu and press Enter PowerLite 1830 PowerLite 1915 1925W 52 ...
Page 56: ...2 Insert the wireless LAN module into the port 3 Replace the cover 56 ...
Page 117: ...Component video input source Composite video input source 117 ...
Page 134: ...2 Open the air filter cover 134 ...


