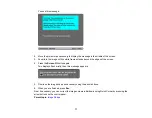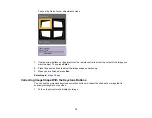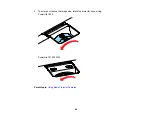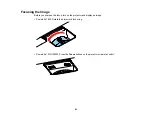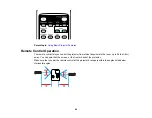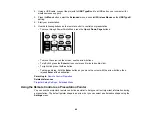
You see this message:
2.
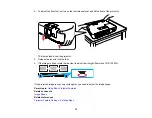
Move the projector as necessary to display the message in the middle of the screen.
3.
Zoom into the image until its white frame extends beyond the edges of the screen.
4.
Press the
Screen Fit
button again.
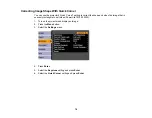
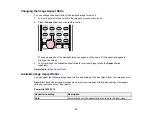
Two displays flash briefly, then this message appears:
5.
Fine-tune the image shape as necessary using the arrow buttons.
6.
When you are finished, press
Esc.
Now, if necessary, you can correct the image corners individually using Quick Corner by pressing the
arrow buttons on the control panel.
Parent topic:
77
Summary of Contents for PowerLite 1830
Page 1: ...PowerLite 1830 1915 1925W Projector User s Guide ...
Page 2: ......
Page 8: ......
Page 24: ...Front Rear Ceiling 24 ...
Page 47: ...1 Open the battery cover as shown 2 Insert the batteries with the and ends facing as shown 47 ...
Page 52: ...5 Select the Basic menu and press Enter PowerLite 1830 PowerLite 1915 1925W 52 ...
Page 56: ...2 Insert the wireless LAN module into the port 3 Replace the cover 56 ...
Page 117: ...Component video input source Composite video input source 117 ...
Page 134: ...2 Open the air filter cover 134 ...


