Installation
Eaton ePDU G3 Operation Manual P-164000277—Rev 5
30
Connecting to a LAN Ethernet Port
Connecting the ePDU to a LAN provides communication through an Internet or Intranet connection. You can
monitor the ePDU from any computer connected to the same network. (The network card is 10/100
MB-compatible.)
To connect the ePDU to a LAN:
1.
Locate the Ethernet cable (supplied).
2.
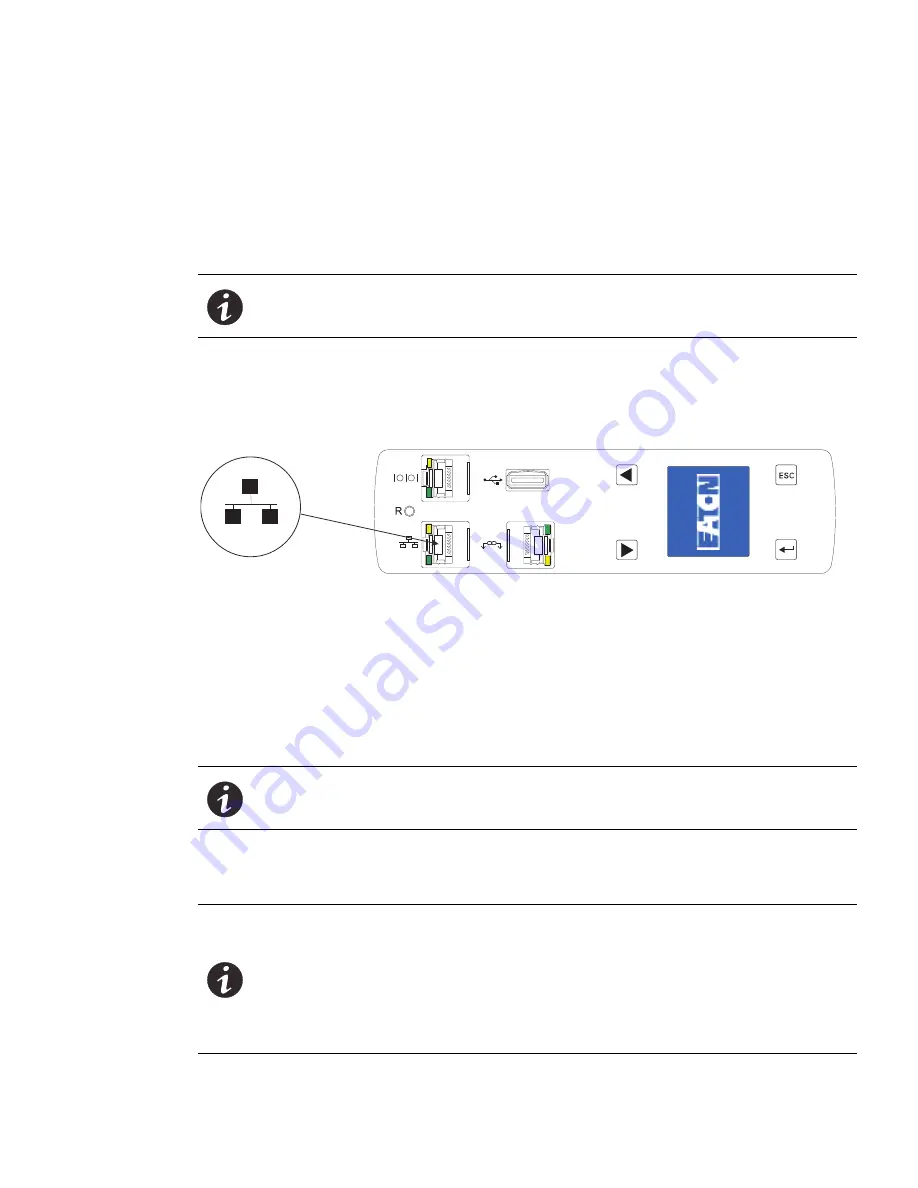
Connect one end of the cable to the Ethernet connector on the ePDU (see Figure 28). Connect the other
end of the cable to the Ethernet connector on the router (or other LAN device).
Figure 28. Connecting the ePDU to a LAN
Connecting Multiple ePDUs in a Daisy Chain
Two to eight ePDUs can be chained together using an Ethernet cable between the Daisy Chain ports located
on the front panel. Daisy chain uses Eaton's patented RS-485 daisy chain (strapping) technology. This allows
access to the ePDU data of multiple ePDUs from the same network connection. One ePDU is defined as the
Host. This is the ePDU with a connection to the network. The other ePDU (or ePDUs) are Device(s).
To physically connect ePDUs in a Daisy Chain:
1.
Locate an Ethernet cable or cables (one cable is supplied).
NOTE
A short network cable is supplied in the network accessory pack. This cable is
useful for setup or can be used where the network switch is in close proximity to
the ePDU. Any standard network cable can be used if longer lengths are needed
NOTE
You should connect the daisy-chained group only to the ePDU defined as the Host.
NOTE
When daisy-chaining ePDUs, observe the following:
l
For two ePDUs, you do not need a splitter.
l
For three or more ePDUs, you use Y splitters.
l
The maximum distance between units is 5m (16 ft). For example, when
connecting one host and seven devices, this means that the total maximum
distance between the first and last ePDUs is 35m (115 ft).


