E-45
2
List of Direct Button Combinations
CTL+ Input (1-10)
Switches to any selected signal found in the Entry List.
To enable this combination, you must first assign specific remote buttons
for direct input selection in the Entry Edit window.
CTL+ ENTER (While displaying Entry list)
Displays the selected signal.
CTL+ CANCEL
Returns to the previous menu without closing the slidebar or dialog.
CTL+ UNDO
Clears all menus or adjustment/setting screens. All adjustments are saved
automatically.
CTL+
GHFE
Moves the slidebar or dialog box horizontally or vertically.
CTL+
F
(BS)
Deletes one letter or numeral in the entry screen.
CTL+ MUTE OSD
Turns off the on-screen display forcibly.
CTL+ MENU (ADDRESS)
Displays the remote ID entry window.
CTL+ IMAGE (PROJECTOR)
Sequentially selects the Projector Options sub menu.
CTL+ KEYSTONE
This button has no function with the Projector.
CTL+ AMPLITUDE
Service personnel only.
CTL+ ENTRY LIST
Stores a signal in the Entry List.
6. Using On-Screen Menu
3
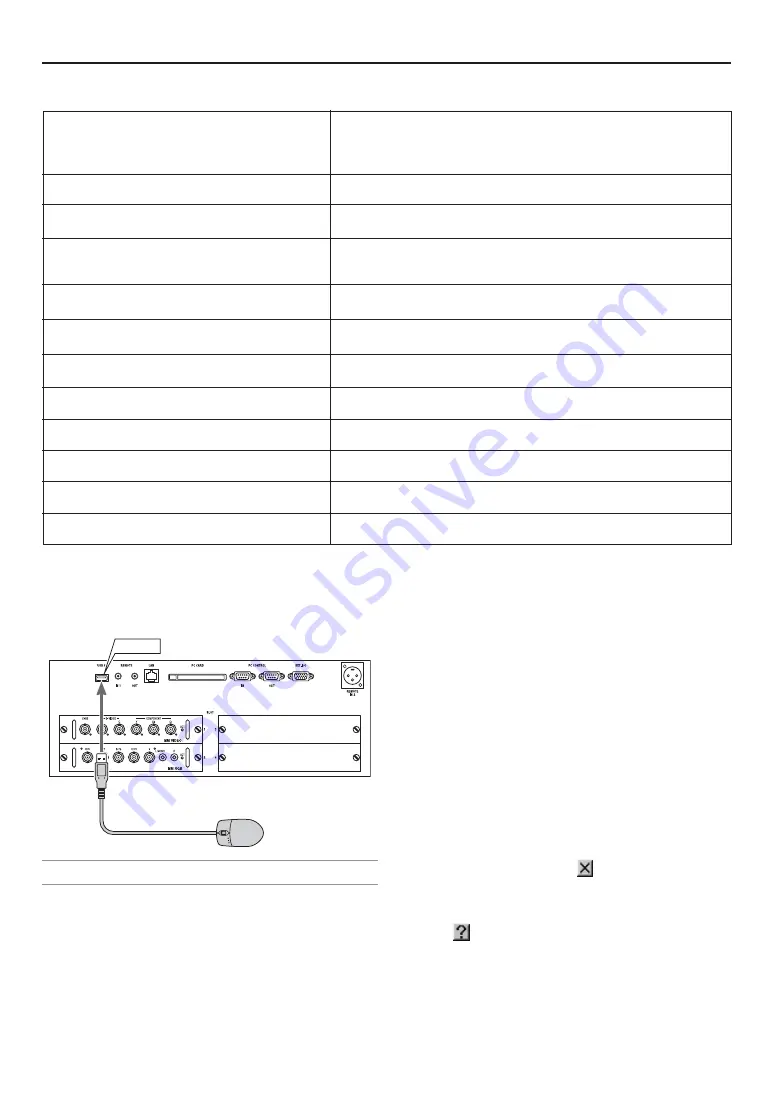
Using the USB Mouse
Using a commercially available USB mouse gives you smooth
operation.
NOTE: There may be some brands of USB mouse that the projector does not sup-
port.
Operate the Menus using the USB mouse
Mouse Cursor
When connecting a USB mouse to the projector, you get a
mouse cursor on the screen.
Unless you use your USB mouse within 10 seconds, the mouse
cursor disappears.
Menu Display
Clicking with a mouse button displays the menu.
Clicking
E
displays the pull-down menu. To close the menu,
click anywhere in the background.
Adjusting and Setting Display
You can select a menu item and click with a mouse button to
make adjustments and setting.
Examples
Click (or press and hold) the mouse button
F
or
E
to adjust
the brightness. Or click and drag the mouse button on the slide
bar horizontally to adjust it.
To save the adjustments, click
. This closes the menu. If
you click anywhere in the background while displaying an ad-
justment and setting menu or dialog box, you will go to the
main menu after clicking with the mouse.
Clicking
displays help.
HIGHlite 1
USB A
Summary of Contents for HIGHlite 10000Dsx+
Page 34: ...E 34...
Page 74: ...E 74 6 Using On Screen Menu...
Page 75: ...E 75 7 Maintenance 1 Cleaning the Cabinet and the Lens E 74...
Page 85: ...E 85 Unit mm 3 Cabinet Dimensions 8 Appendix HIGHlite 16000Dsx...
Page 86: ...E 86 Unit mm inch 8 Appendix HIGHlite 10000Dsx...
Page 94: ...E 94...
Page 95: ...E 95...
Page 96: ...E 96...


