


Digital Projection E-Vision Laser 15000 Series
Using the projector
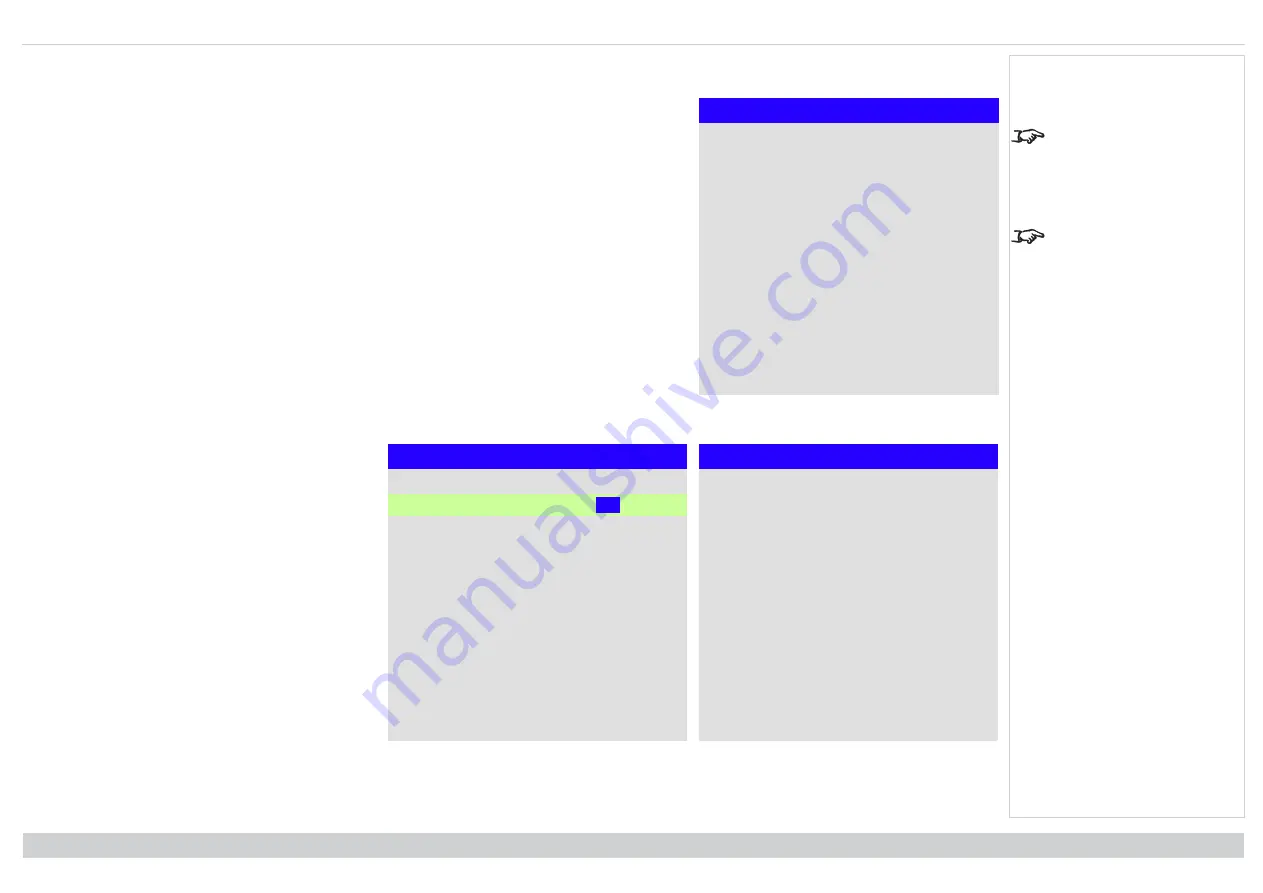
ColorMax
ColorMax
Measured Data
►
Target Data - User1
►
Target Data - User 2
►
Default Color Gamut
Peak
The
Projector Controller
software is available for download
from the Digital Projection website,
free of charge.
This tool is best used in conjunction
with a specialized light meter (a
photo spectrometer) to measure
color parameters within a particular
installation. However, the
preloaded generic factory default
data set is designed to give more
than satisfactory results.
ColorMax
permits seven point color matching of red, green, blue, yellow, cyan, magenta and white.
You can enter your own gamut values here, or edit values you have imported using the
Projector Controller
software. You can also set a default color gamut, choose from Peak or REC709.
Defining your own colorspace with individual x and y coordinates for each color enables you to match not only
the whites but each individual color as well.
Highlight the submenu you wish to open and press
ENTER/OK
to confirm your choice.
Measured data/ target data
Target Data - User1
Red
x: 0.640 y: 0.390
Green
x:0.300
y: 0.600
Blue
x: 0.150 y: 0.060
Yellow
x: 0.419 y: 0.505
Cyan
x: 0.225 y: 0.329
Magenta
x: 0.321 y: 0.154
White
x: 0.285 y: 0.302
Measured Data
Red
x: 0.658 y: 0.339
Green
x: 0.
315
y: 0.662
Blue
x: 0.146 y: 0.043
White
x: 0.276 y 0.283
Reset
1. Use the
UP
and
DOWN
arrow buttons to highlight a
color, then use the
LEFT
and
RIGHT
arrow buttons
to navigate to the x or y coordinate.
2. Use the
UP
and
DOWN
arrow buttons to increase
and decrease the value, respectively.
3. Exit edit mode:
l
press
ENTER/OK
, if you want to save the
edited values.
l
press
EXIT
, if you do not wish to save the
edited values
4. If necessary, highlight another color and repeat the
procedure.
Rev B April 2021
page 90
Operating Guide
Notes