Plug the 50-pin Honda connector of the SCSI cable from the first Optical Library
unit into the lowest-numbered SCSI port on the host computer back panel. Then,
plug the 50-pin Honda connector of the SCSI cable from the second Optical
Library unit into the next-lowest-numbered SCSI port on the host computer back
panel.
For example, if option slots 0 and 2 are labeled
PMAZ
and have the SCSI icon,
plug the SCSI cable from the first Optical Library unit into the 50-hole connector
in option slot 0, and plug the second Optical Library unit into option slot 2.
C.2 Connecting Two Optical Library Units to One SCSI
Port
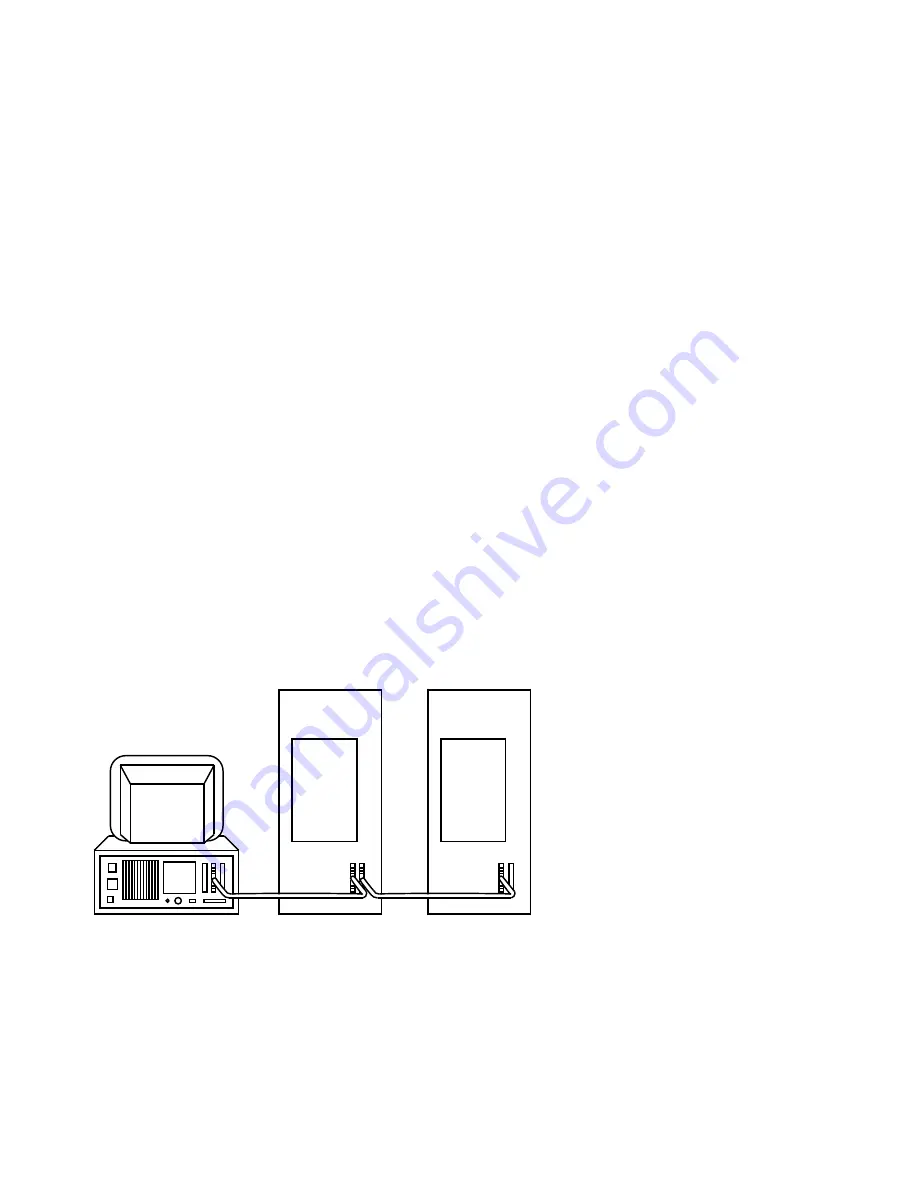
To connect two Optical Library units to one SCSI port on your host computer,
uncrate and remove the shipping screw on each Optical Library for connection to
the host computer. Then, see Figure C–1 and follow these steps:
Figure C–1 Connecting Two Optical Library Units (RW504/RW524) to One SCSI
Port
MK445−07
1.
If you have already connected one Optical Library to the host system, then go
to the next list item.
If you have not already connected one Optical Library to the host system,
then locate the lowest-numbered SCSI port on the host computer back panel.
Each SCSI port is labeled with the option identifier
PMAZ
and the SCSI icon.
Plug the 50-pin Honda connector of the SCSI cable from the first Optical
Library unit into the lowest-numbered SCSI port on the host computer.
C–2 Connecting Multiple Optical Libraries
Summary of Contents for RW504-ZA
Page 10: ......
Page 42: ......
Page 58: ......
Page 106: ......
Page 145: ...Figure 5 22 Optical Disk Library Exploded View Sheet 1 of 3 Removal and Replacement 5 39 ...
Page 146: ...Figure 5 23 Optical Disk Library Exploded View Sheet 2 of 3 5 40 Removal and Replacement ...
Page 147: ...Figure 5 24 Optical Disk Library Exploded View Sheet 3 of 3 Removal and Replacement 5 41 ...
Page 148: ......
Page 206: ......
Page 210: ......
Page 219: ...Voltage Configuration 2 10 Index 5 ...
Page 220: ......


