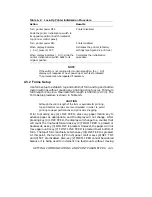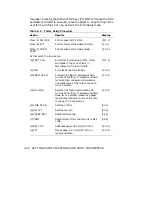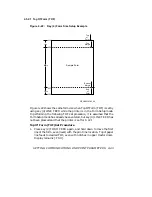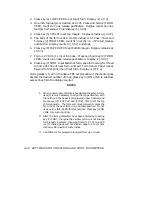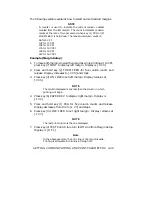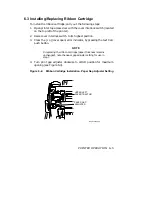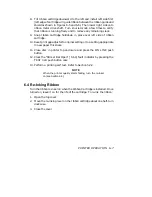
The following example explains how to select and set desired margins.
NOTE
A counter is used to indicate the current column number
counted from the left margin. The count increments or decre-
ments at the rate of two per second when key (1) PRG or (2)
FORM FEED is held down. The maximum column count is:
66 for 5 CPI
132 for 10 CPI
158 for 12 CPI
176 for 13.3 CPI
198 for 15 CPI
220 for 16.7 CPI
Example (Margin Setup)
1.
To move both margins inward five columns while printing at 10 CPI,
press key (7) FONT to display left margin. Display is [.0 0 0].
2.
Press and hold key (2) FORM FEED for five column counts and
release. Display increases to [.0 0 5] and stops.
3.
Press key (3) ON LINE to set left margin. Display remains at
[.0 0 5].
NOTE
The column displayed is one less than the column in which
printing will begin.
4.
Press key (6) PAPER REV to display right margin. Display is
[.1 3 2].
5.
Press and hold key (1) PRG for five column counts and release.
Display decreases from 132 to [.1 2 7] and stops.
6.
Press key (4) LINE FEED to set right margin. Display remains at
[.1 2 7].
NOTE
The last print column is the one displayed.
7.
Press key (0) TEST CLEAR to return to Off Line from Margin Setup.
Display is [ O F L].
Note
In the above example, the print line is 122 columns wide.
Printing is allowable in columns 6 through 127.
SETTING COMMUNICATIONS AND PRINT PARAMETERS
4–39

