Adding and Replacing Parts
279
10
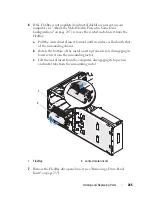
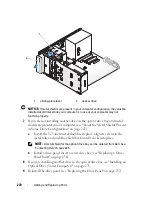
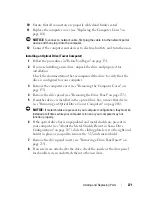
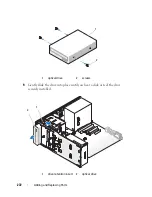
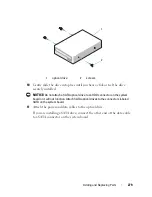
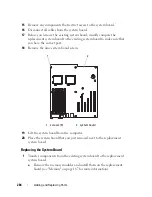
Gently slide the drive into place until you hear a click or feel the drive
securely installed.
NOTICE:
Do not attach a SATA optical drive to an HDD connector on the system
board or it will not function. Attach SATA optical drives to the connectors labeled
SATA on the system board.
11
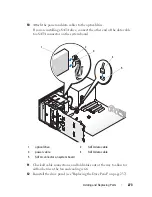
Attach the power and data cables to the optical drive.
If you are installing a SATA drive, connect the other end of the data cable
to a SATA connector on the system board.
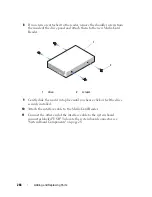
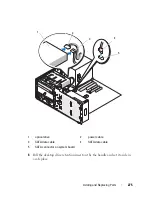
1
optical drive
2
screws
1
2
Summary of Contents for Precision NX046
Page 1: ...w w w d e l l c o m s u p p o r t d e l l c o m Dell Precision T5400 User s Guide Model DCTA ...
Page 18: ...18 Finding Information ...
Page 43: ...About Your Computer 43 ...
Page 44: ...44 About Your Computer ...
Page 88: ...88 Securing Your Computer ...
Page 120: ...120 Troubleshooting ...
Page 140: ...140 Troubleshooting Tools ...
Page 238: ...238 Adding and Replacing Parts 1 drive panel tabs 2 drive panel 2 Tower Orientation 1 ...
Page 286: ...286 Adding and Replacing Parts ...
Page 287: ...Adding and Replacing Parts 287 ...
Page 288: ...288 Adding and Replacing Parts ...
Page 296: ...296 Getting Help ...
Page 316: ...316 Glossary ...

