Compsee
49
Apex-0698-Part 2: Apex-trak
Part 2
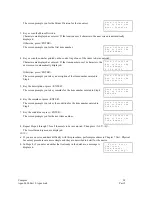
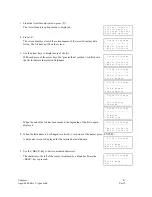
Otherwise, press <ENTER>.
The beginning Field Settings screen is displayed again (See Step 2). This time,
the new field name is displayed in capital letters.
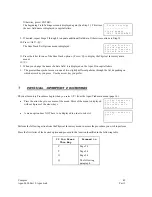
F i e l d S e t t i n g s
_ _ _ _ _ _ _ _ _ _ _ _ _ _ _ _
> I t e m N u m b e r
D E S T D E P A R T M E N T
9. If desired, repeat Steps 2 through 8 to update additional field data. Otherwise continue to Step 10.
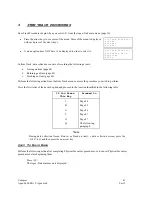
10. Press <ALT><Q>.
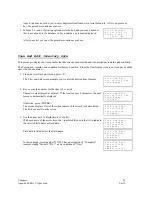
The Item Track Set Options menu is displayed.
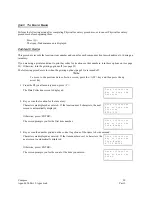
= = = I t e m T r a c k = = =
F ) i e l d O p t i o n s
P ) r i n t e r O p t i o n s
U ) p l o a d O p t i o n s
11. Press the letter for one of the Item Track options. (Press <Q> to display the Physical Inventory main
menu.)
NOTES
1. When you change the name of a data field, it is displayed on the Apex II in capital letters.
3.
The greater than symbol moves in one of two slightly different patterns through the list, depending on
which arrow key you press. Use the arrow key you prefer.
7
PHYSICAL INVENTORY PROCEDURES
Physical Inventory Procedures begin when you select <P> from the Apex-Trak main menu (page 16).
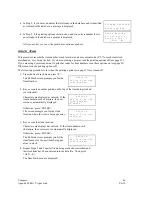
Press the arrow keys to see more of the menu. More of the menu is displayed
with each press of the arrow keys.
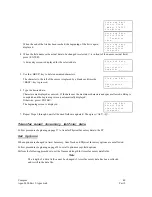
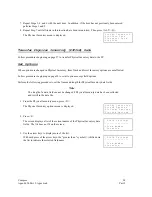
= = = P h y I n v e n t = = =
C ) o l l e c t D a t a
T ) r a n s f e r D a t a
O ) p t i o n s
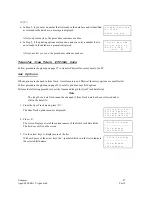
A menu option does NOT have to be displayed in order to select it.
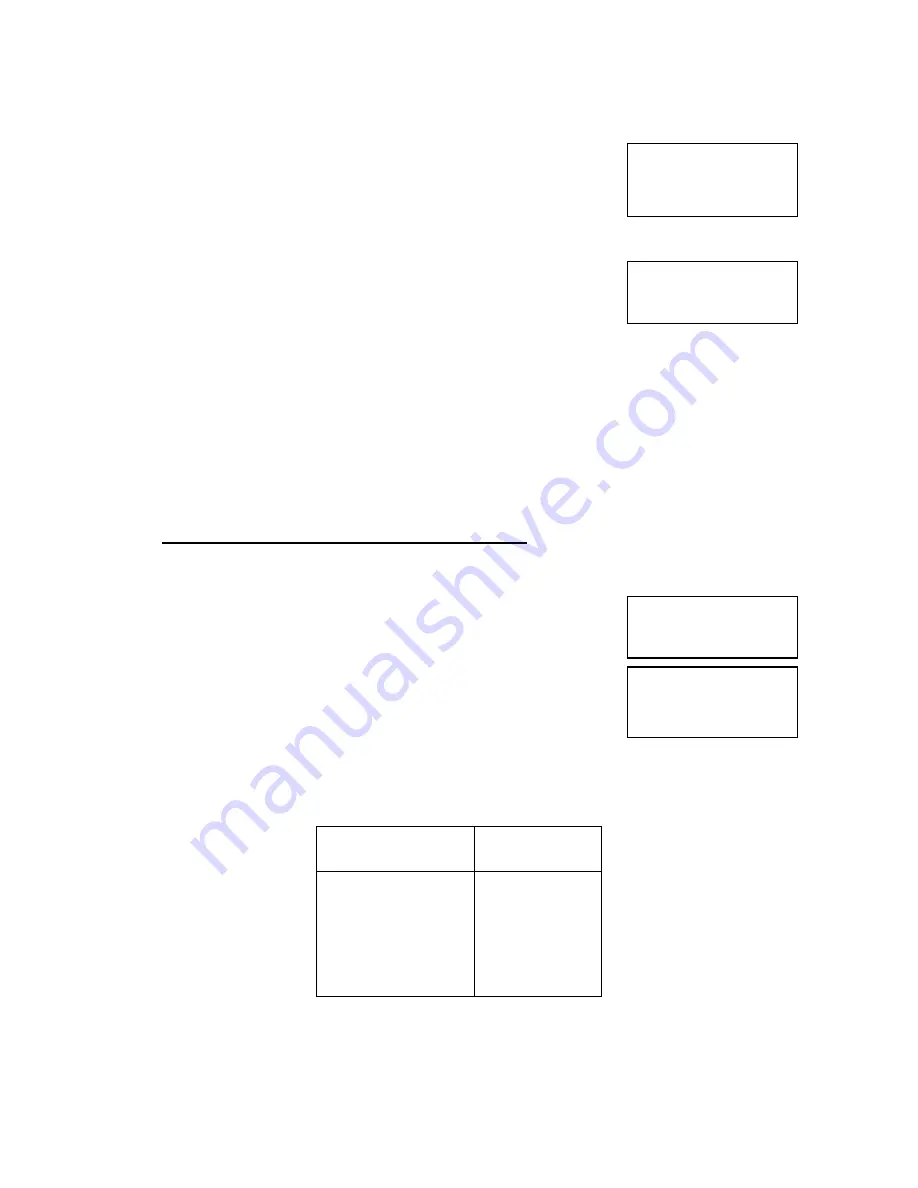
= = = P h y I n v e n t = = =
Q ) u i t
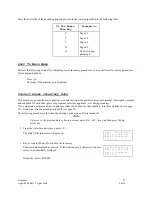
Perform the following action from the Physical Inventory menu to access the procedure you wish to perform.
Press the first letter of the desired option and proceed to the location identified in the following table.
If You Press
This Key
Proceed to
C Page
50
T Page
54
O Page
54
Q The
following
paragraph


