2
Press the
OK
button. The
Paper Menu
is displayed.
3
Press
▲
or
▼
to select
Paper Details
, and then press the
OK
button.
4
Press
▲
or
▼
to select the type of paper, and then press the
OK
button.
5
Press
▲
or
▼
to select
Cutting Mode
, and then press the
OK
button.
6
Press
▲
or
▼
to select
Manual
, and then press the
OK
button.
7
When "
Perform the detection of paper leading edge?
" is displayed, select
Do not perform
.
Note
•
If you set the detection of paper leading edge to
Do not perform
, a margin of about 10 cm is created at
the paper leading edge when printing starts.
•
When the detection of paper leading edge is set to
Do not perform
, printing will start at the position at
which the roll was set for the first printing after replacing a roll. Thus, the margin of the paper leading edge
will enlarge.
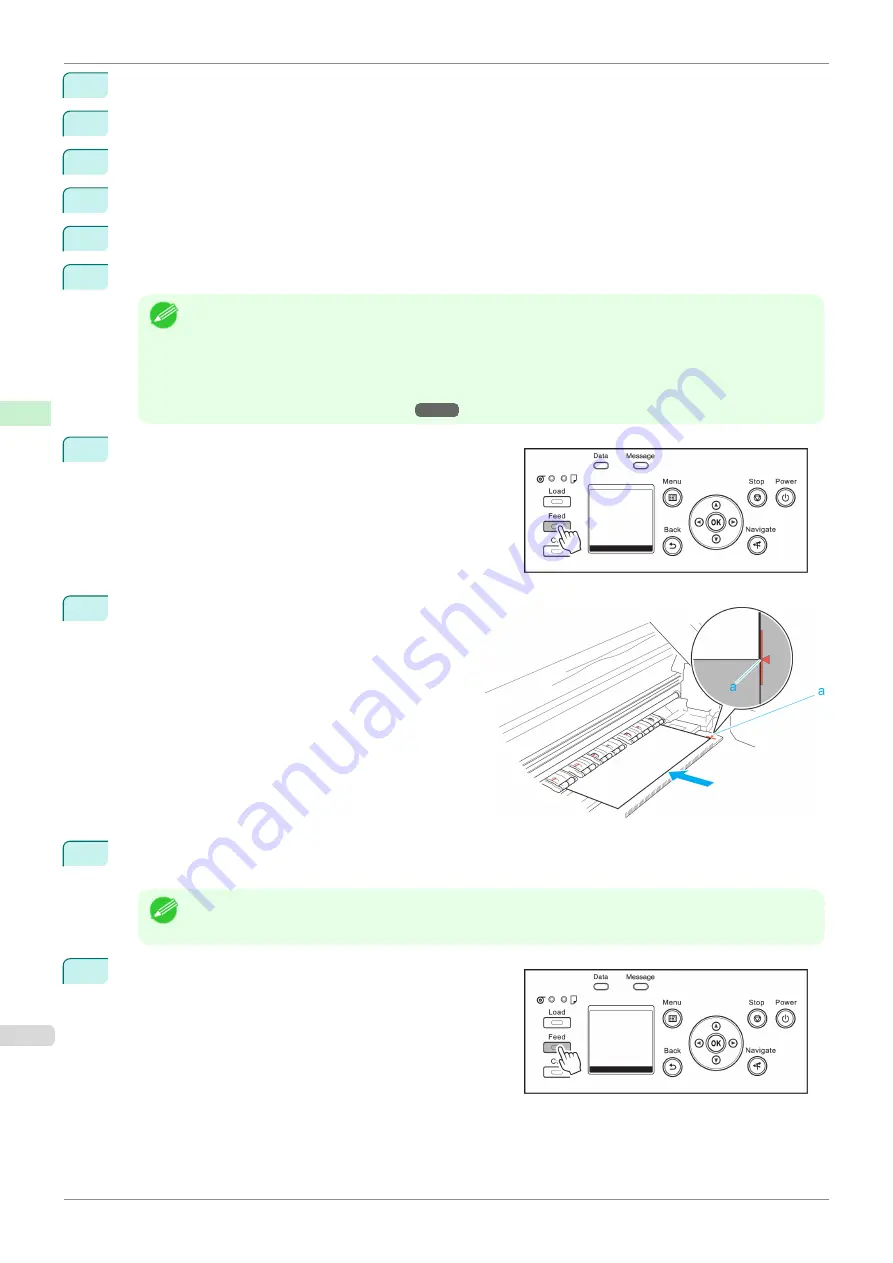
8
Press the
Feed
button.
9
Press
▲
or
▼
to align the paper leading edge with
the (a) position.
10
Print the job.
The printer stops advancing the paper after printing.
Note
•
The printer can continue to receive print jobs from computers. If a print job is received and printed here, it
can be printed without the margin of about 10 cm being created at the paper leading edge.
11
Press the
Feed
button.
Roll paper is fed to the specified cut position and then auto-
matically stopped.
Specifying the Cutting Method for Rolls
iPF850
Handling and Use of Paper
Handling rolls
364
Summary of Contents for IPF850
Page 14: ...14 ...
Page 28: ...iPF850 User s Guide 28 ...
Page 156: ...iPF850 User s Guide 156 ...
Page 330: ...iPF850 User s Guide 330 ...
Page 480: ...iPF850 User s Guide 480 ...
Page 500: ...iPF850 User s Guide 500 ...
Page 572: ...iPF850 User s Guide 572 ...
Page 616: ...iPF850 User s Guide 616 ...
Page 650: ...iPF850 User s Guide 650 ...
Page 692: ...iPF850 User s Guide 692 ...


