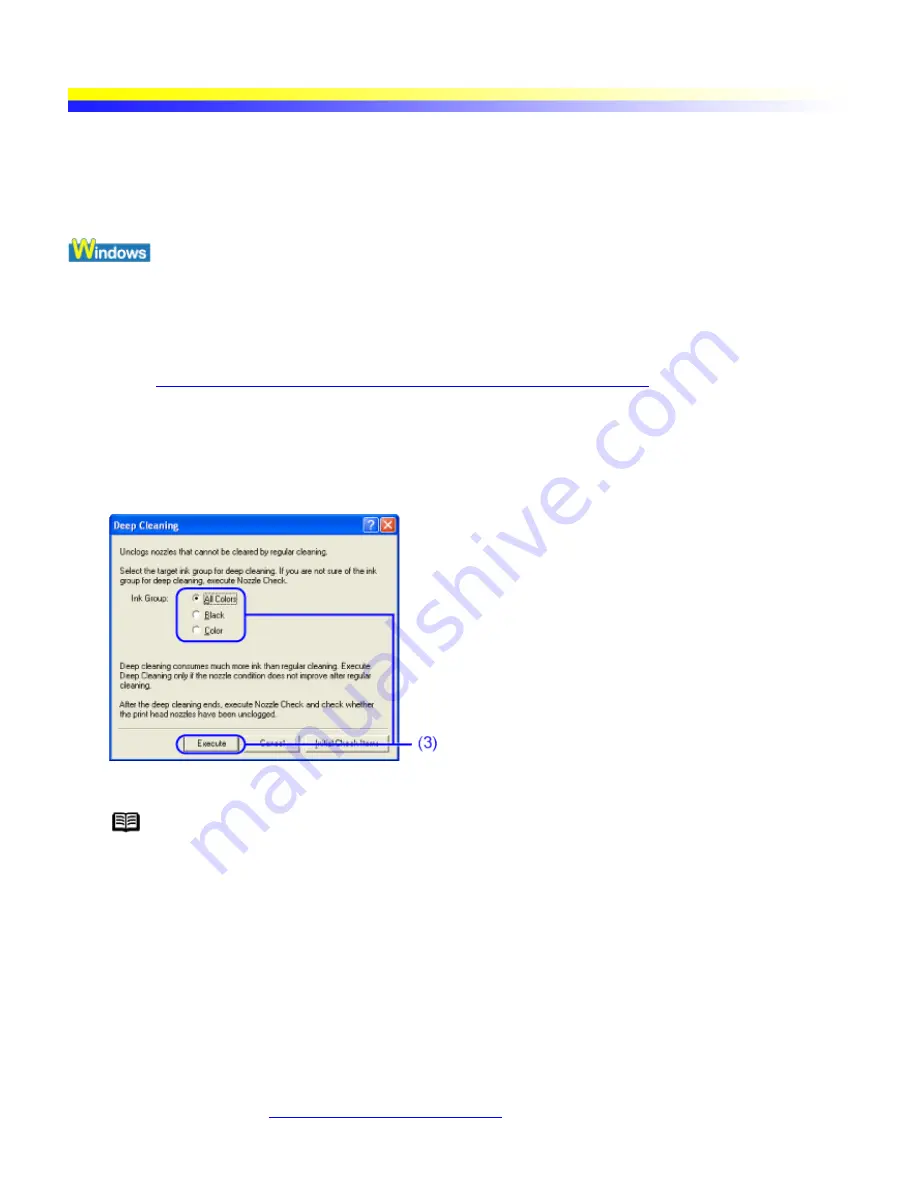
Print Head Deep Cleaning
If print quality does not improve by standard Print Head Cleaning, try Print Head Deep Cleaning, which is a more
powerful process. Print Head Deep Cleaning consumes more ink than standard Print Head Cleaning, so perform
this procedure only when necessary.
1
Ensure that the printer is turned on.
2
Open the Printer Properties dialog box.
See
Opening the Printer Properties Dialog Box Directly from the Start Menu
3
Start Print Head Deep Cleaning.
(1)
Click the Maintenance tab.
(2)
Click Deep Cleaning.
(3)
Select the Print Head to be cleaned, and then click Execute.
Note
Click the Initial Check Items button. Confirmation message for Print Head Deep Cleaning
is displayed.
(4)
When the confirmation message is displayed, click OK.
Print Head Deep Cleaning starts when the POWER lamp starts blinking.
Important
Do not perform any other operations until Print Head Deep Cleaning is completed (about
two to three minutes).
4
Check the Print Head condition.
(1)
Print a nozzle check pattern to check the Print Head condition.
For details, refer to
Printing the Nozzle Check Pattern
.
(2)
If the problem persists, perform step 3 again.
Summary of Contents for iP90 - PIXMA Color Inkjet Printer
Page 1: ......
Page 15: ......
Page 19: ... Transparent tape ...
Page 30: ...selected the background image is printed only on the first page ...
Page 41: ......
Page 45: ......
Page 70: ...Printable area ...
Page 84: ......
Page 98: ......
Page 108: ...Previews the appearance of the document to be printed before printing ...
Page 125: ......
Page 130: ......
Page 144: ......
Page 146: ...5Restart your computer ...
Page 179: ...When Printing Becomes Faint or Colors are Incorrect ...
Page 202: ...Printable area ...


