Monitoring and Controlling the Machine with SNMP
19YU-017
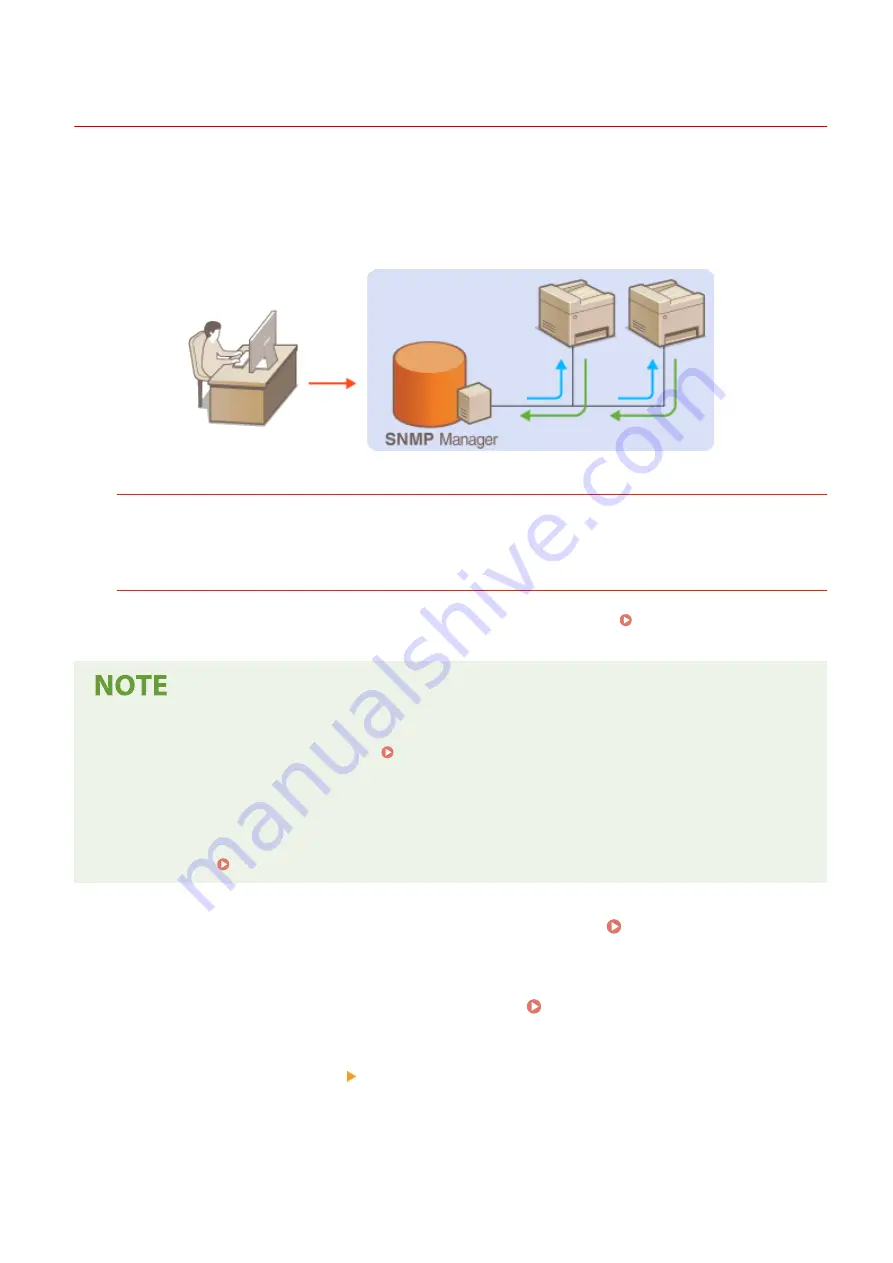
Simple Network Management Protocol (SNMP) is a protocol for monitoring and controlling communication devices in a
network by using Management Information Base (MIB). The machine supports SNMPv1 and security-enhanced
SNMPv3. You can check the status of the machine from a computer when you print documents or use the Remote UI.
You can enable either SNMPv1 or SNMPv3, or both at the same time. Specify the settings for each version to suit your
network environment and the purpose of use.
SNMPv1
SNMPv1 uses information called "community" to define the scope of SNMP communication. Because this
information is exposed to the network in plain text, your network will be vulnerable to attacks. If you want to
ensure network security, disable SNMPv1 and use SNMPv3.
SNMPv3
With SNMPv3, you can implement network device management that is protected by robust security features.
Note that TLS must be enabled for the Remote UI before configuring SNMPv3 ( Configuring the Key and
Certificate for TLS(P. 388) ).
●
The machine does not support the trap notification feature of SNMP.
●
To change the port number of SNMP, see Changing Port Numbers(P. 385) .
●
SNMP management software, when installed on a computer on the network, enables you to configure,
monitor, and control the machine remotely from the computer. For more information, see the instruction
manuals for your management software.
●
For more information about the basic operations to be performed when setting the machine from the
Remote UI, see Setting Up Menu Options from Remote UI(P. 434) .
1
Start the Remote UI and log in to System Manager mode. Starting Remote
UI(P. 427)
2
Click [Settings/Registration] on the Portal page. Remote UI Screen(P. 428)
3
Select [Network Settings] [SNMP Settings].
4
Click [Edit].
Setting Up
67
Summary of Contents for imageRUNNER C3025
Page 1: ...imageRUNNER C3025i C3025 User s Guide USRMA 1888 00 2017 06 en Copyright CANON INC 2017 ...
Page 84: ... Menu Preferences Network Device Settings Management On Setting Up 75 ...
Page 116: ...LINKS Loading Paper in the Paper Drawer P 135 Optional Equipment P 742 Basic Operations 107 ...
Page 160: ...Basic Operations 151 ...
Page 179: ...5 Select Apply LINKS Basic Operation P 121 Basic Operations 170 ...
Page 201: ... Start Use this button to start copying Copying 192 ...
Page 215: ...LINKS Basic Copy Operations P 193 Copying 206 ...
Page 228: ... Sending and Receiving Faxes via the Internet Using Internet Fax I Fax P 250 Faxing 219 ...
Page 330: ...LINKS Checking Status and Log for Scanned Originals P 303 Scanning 321 ...
Page 333: ...LINKS Using ScanGear MF P 325 Scanning 324 ...
Page 361: ...6 Click Fax Fax sending starts Linking with Mobile Devices 352 ...
Page 367: ...Updating the Firmware 444 Initializing Settings 446 Managing the Machine 358 ...
Page 444: ...5 Click Edit 6 Specify the required settings 7 Click OK Managing the Machine 435 ...
Page 567: ... Only When Error Occurs Setting Menu List 558 ...
Page 633: ...5 Select Apply Maintenance 624 ...
Page 772: ...Appendix 763 ...
Page 802: ... 18 MD4 RSA Data Security Inc MD4 Message Digest Algorithm ...


