


Changing the Scan Settings
1-126
1
V
a
rious Sending Methods
NOTE
•
To cancel this setting, press [Special Features]
➞
[Frame Erase]
➞
[Cancel].
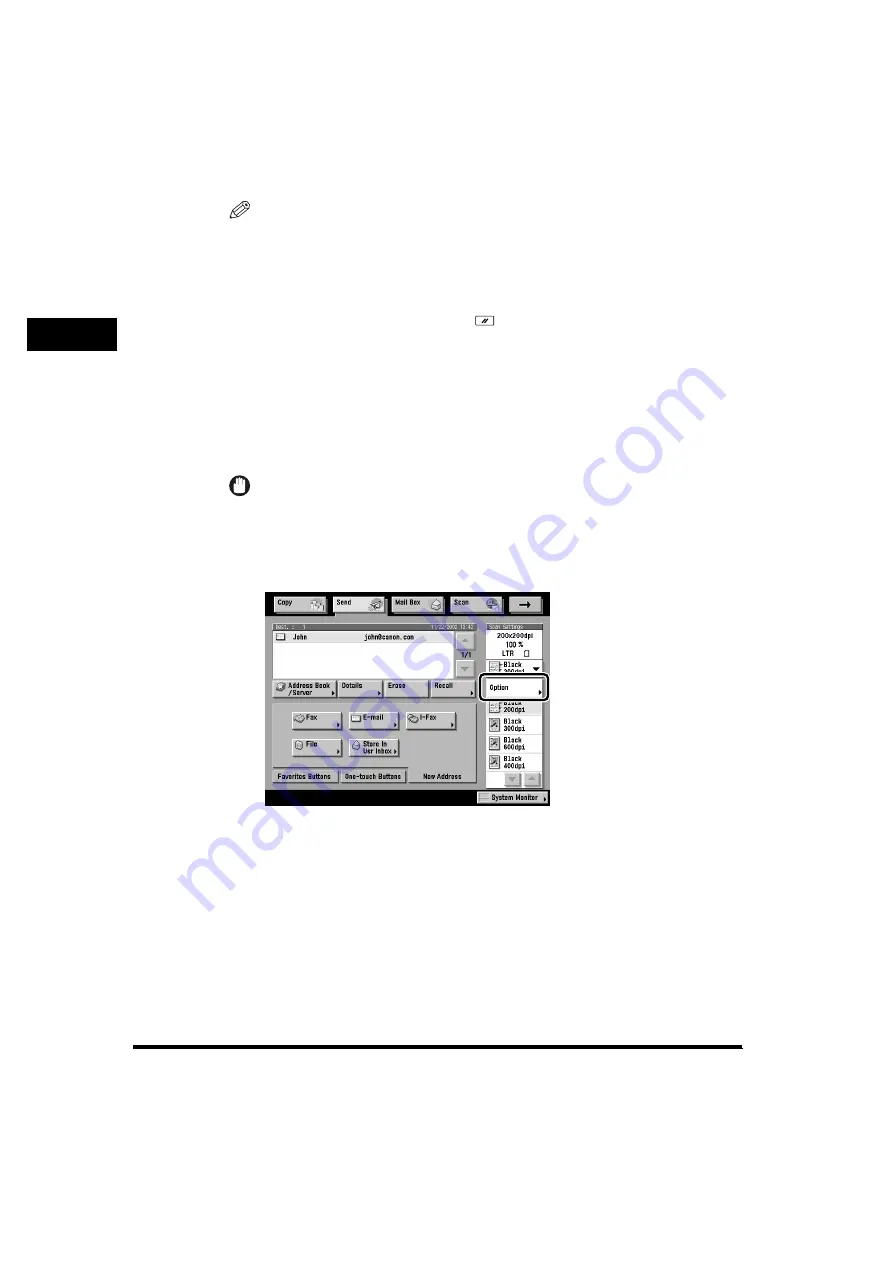
•
To cancel the scan setting, press the Scan Settings drop-down list
➞
press [Option]
➞
[Cancel].
•
If Preview is set to ‘On’, you can preview the images of documents before sending.
(See “Previewing Originals (Preview),” on p. 1-178.)
•
To cancel all settings at once, press
(Reset). (The machine returns to the
Standard Scanning mode.)
Binding Erase
1
Place your original on the platen glass
➞
specify the
destination.
IMPORTANT
Do not place originals with binding holes in the feeder, as this may damage the
originals.
2
Press the Scan Settings drop-down list
➞
press [Option].


